25th March 2016 - Wild Boar Fell & Swarth Fell
Walk Details
Distance walked: 8.5 miles
Total ascent: 2020 ft
OS map used: OL19 - Howgill Fells & Upper Eden Valley
Time taken: 6 hrs
Route description: Cotegill Bridge on the B6259-Aisgill Farm-Mallerstang Common-Angerholme Pots-High Dolphinsty-The Nab-Yoadcomb Scar-Wild Boar Fell-Sand Tarn-Wild Boar Fell-Swarth Fell-Swarth Fell Pike-Stubbing Rigg-Aisgill Moor Cottages-Cotegill Bridge on the B6259
I was recently reminded that Wild Boar Fell is one of my favourite Pennine hills and then I realised that it's been nearly fours years since my last visit. So, I decided that if there was a good day during the long Easter weekend I'd head for Mallerstang and do this route that I've done a couple of times before. I think it's the best as you get to walk under the dramatic limestone scars of the fell's eastern face. Unfortunately Good Friday was the only decent day of the long weekend but it was worth the effort of doing the long drive north as after looking a bit iffy for a while it turned into a great afternoon for being on the fells. It was lovely and sunny as I arrived in Mallerstang and stayed that way until I climbed up to High Dolphinsty. Cloud then built up and I suddenly became aware of how windy it was high up. That wind did help blow the cloud away so that it became sunny again during the afternoon and with the visibility improving there were great views from the tops.
Starting from a layby on the south side of Cotegill Bridge I set off by walking the road north to Aisgill Farm. Here a gate on the left gives access to a track that heads up to and under a viaduct to a gate in the intake wall. Once through I followed a reasonably clear path north in the grass above the intake wall to reach the limestone pavement of Angerholme Pots and then the bridleway up to High Dolphinsty. I then turned left and climbed the path up to The Nab on Wild Boar Fell and along the escarpment to Yoadcomb Scar. A shelter here proved useful for having lunch out of the wind. Lunch had, I made my way back to The Nab before heading up to the trig point on the summit. While I was here I had to see Sand Tarn, though it did mean climbing back up to the summit again afterwards. I then crossed the summit plateau to reach a fence and the path south down to Swarth Fell. After having a final break on Swarth Fell's summit I continued south to Swarth Fell Pike before starting my descent into Mallerstang. I aimed for Aisgill Moor Cottages on the Mallerstang road and the bit of hillside that's marked on the map as Stubbing Rigg. The going was pretty boggy in places but nothing that can't be gotten around. On making it down to Aisgill Moor Cottages I had a short walk north along the road back to Cotegill Bridge.
Route map
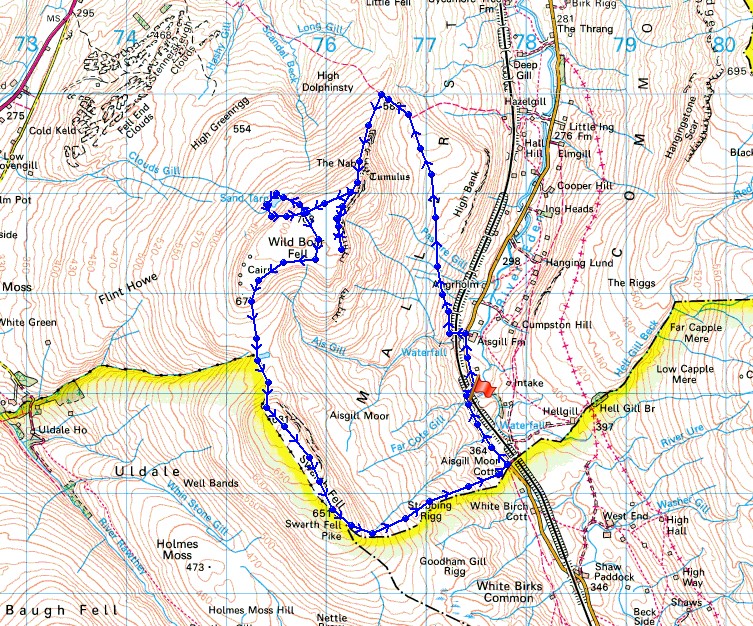
© Crown copyright. All rights reserved. License number PU 100034184.
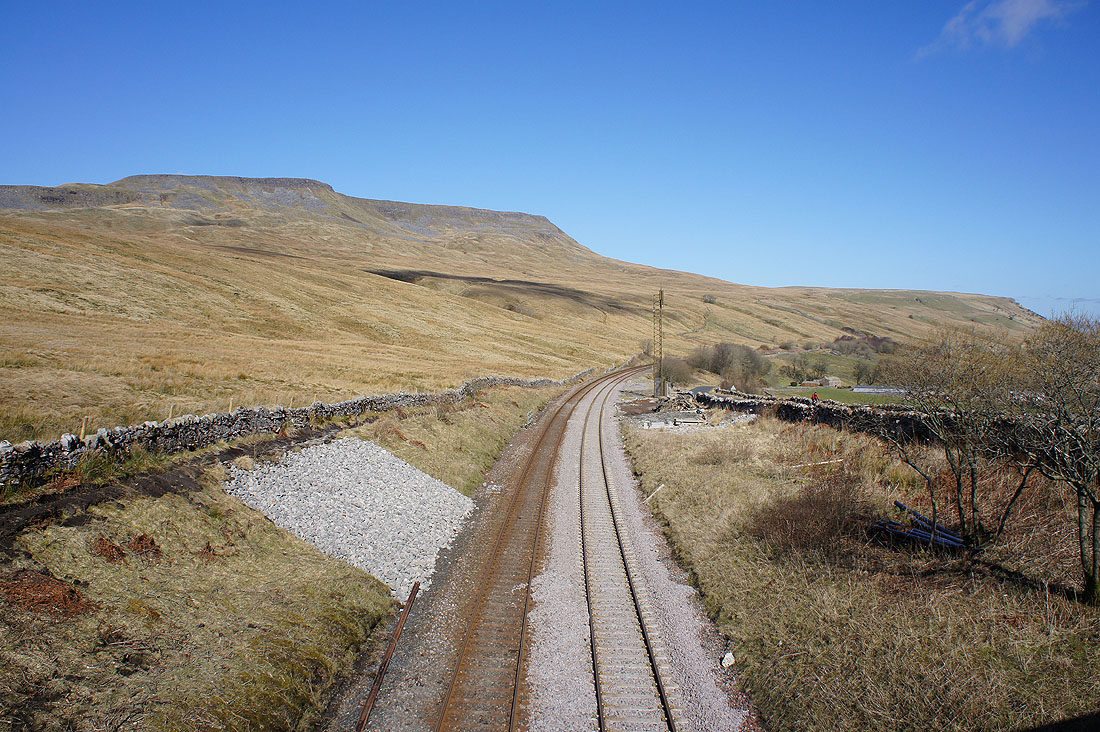
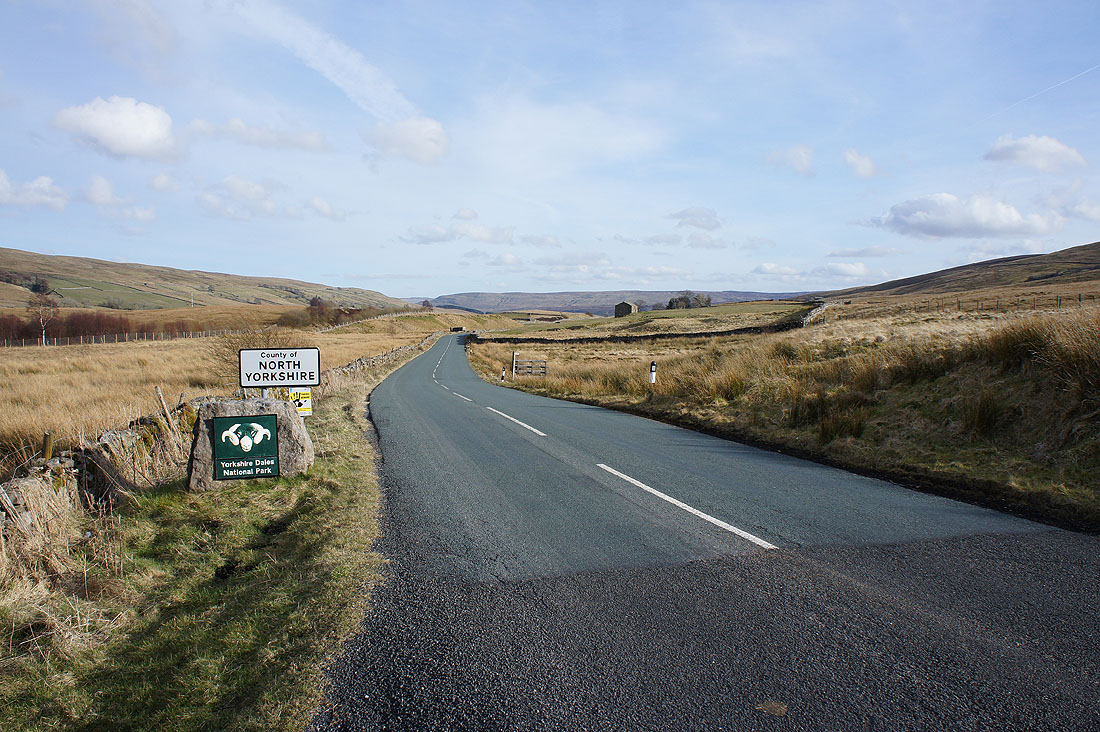
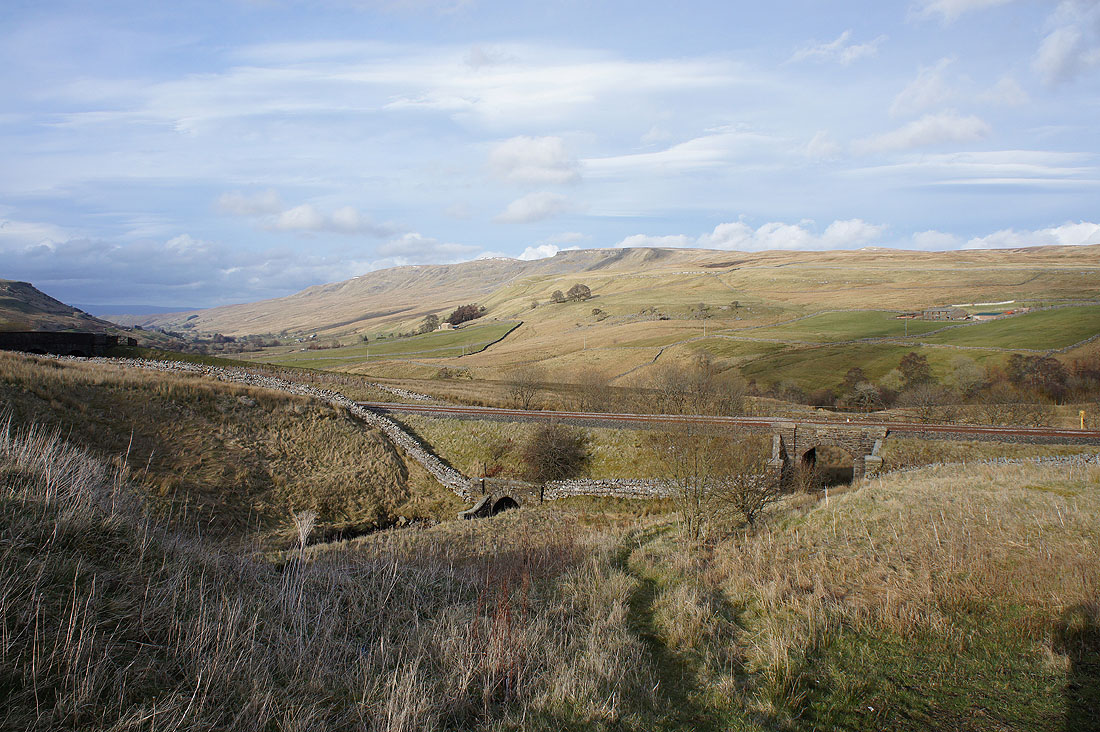
Wild Boar Fell as I cross the Settle to Carlisle line at Cotegill Bridge
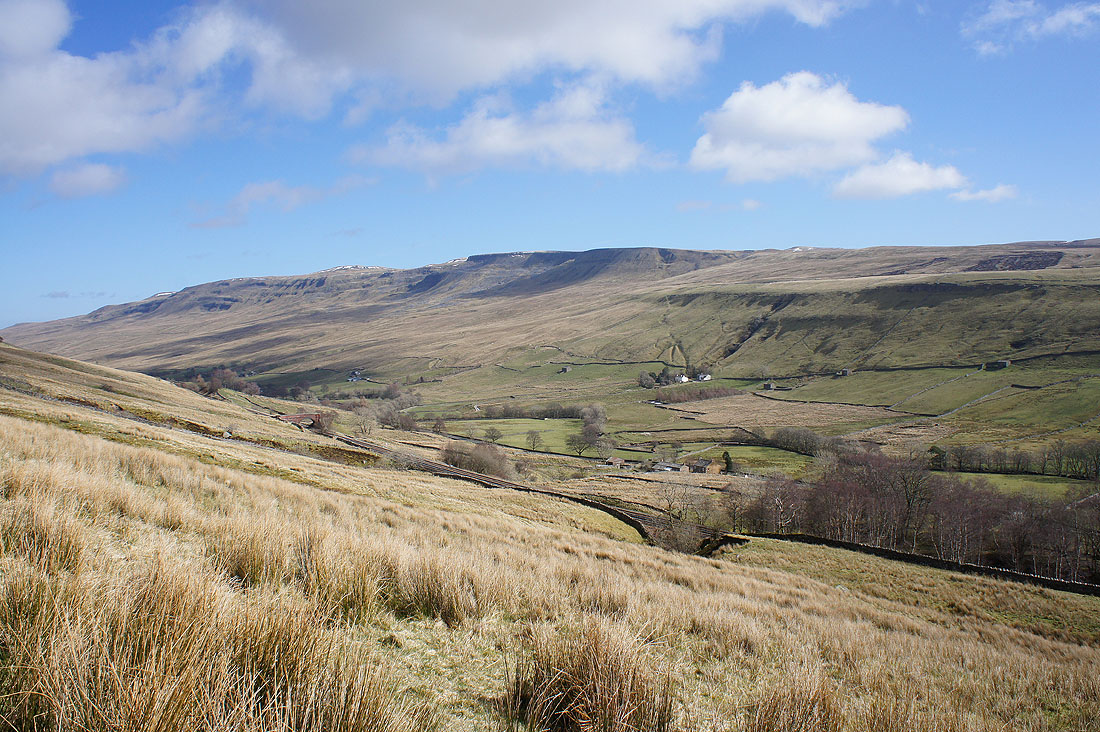
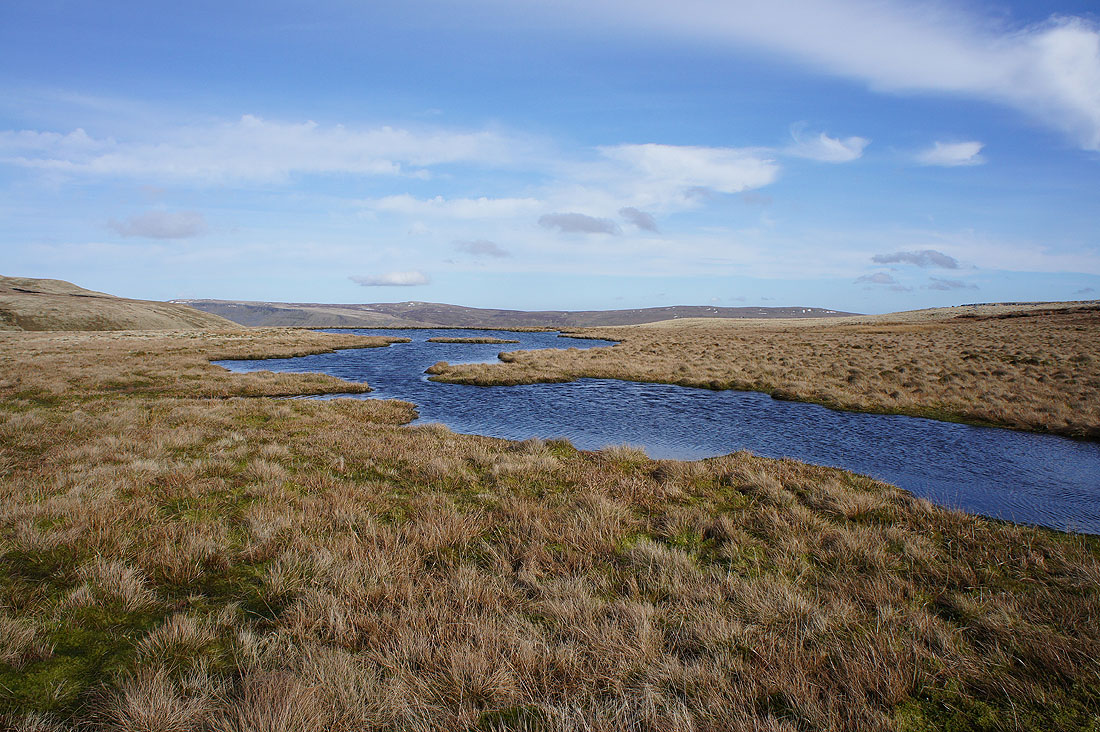
Onto the moorland of Mallerstang Common above Aisgill Farm. Looking across Mallerstang to High Seat and Hangingstone Scar.
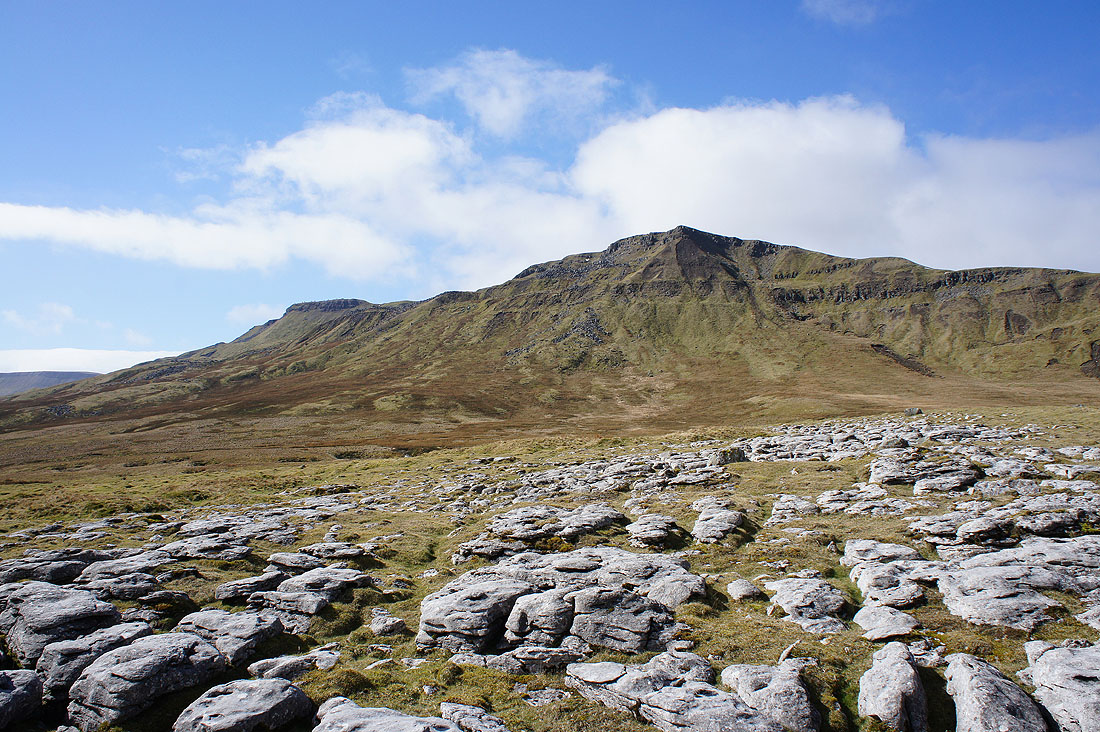
Yoadcomb Scar and The Nab from Angerholme Pots
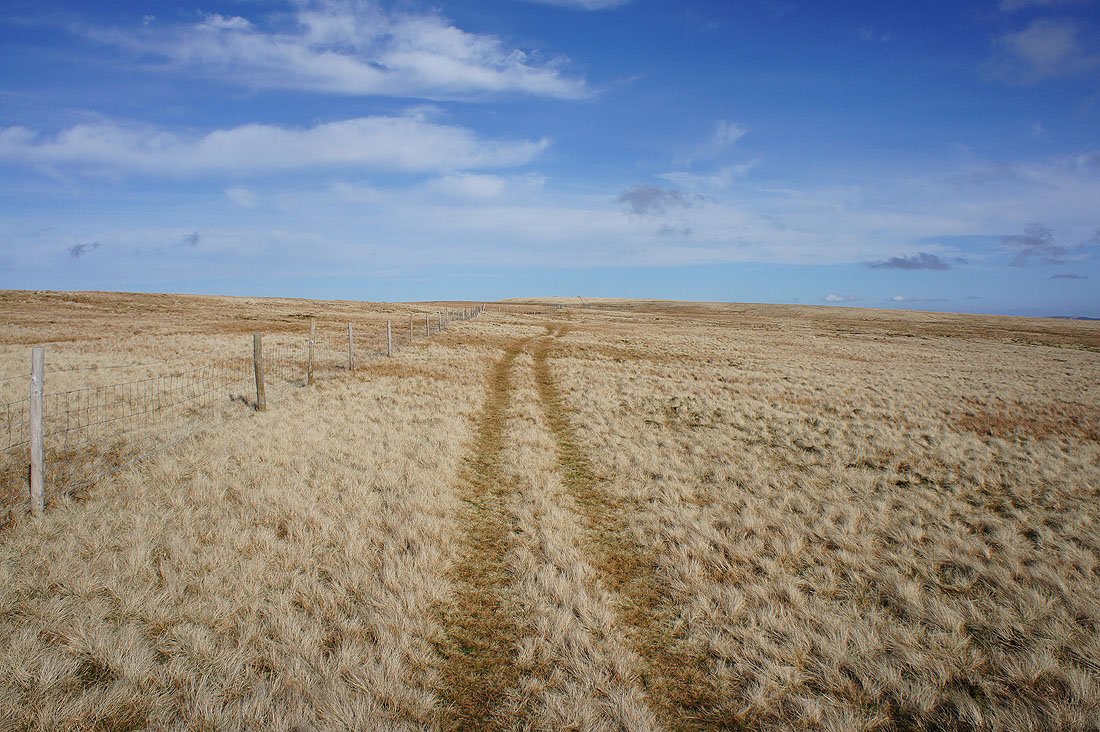
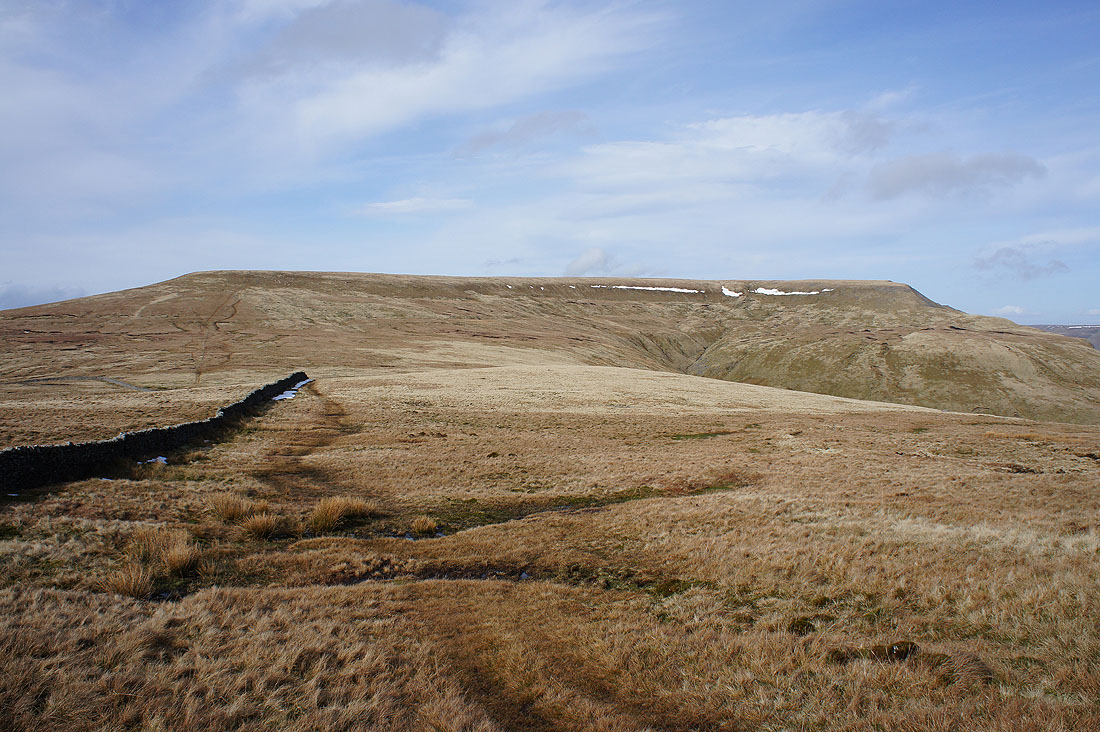
Heading for the ridgeline at High Dolphinsty
Little Fell to the north from High Dolphinsty
and looking down on the countryside around Ravenstonedale
The Howgills and the path to the summit trig as I take the edge top path to Yoadcomb Scar
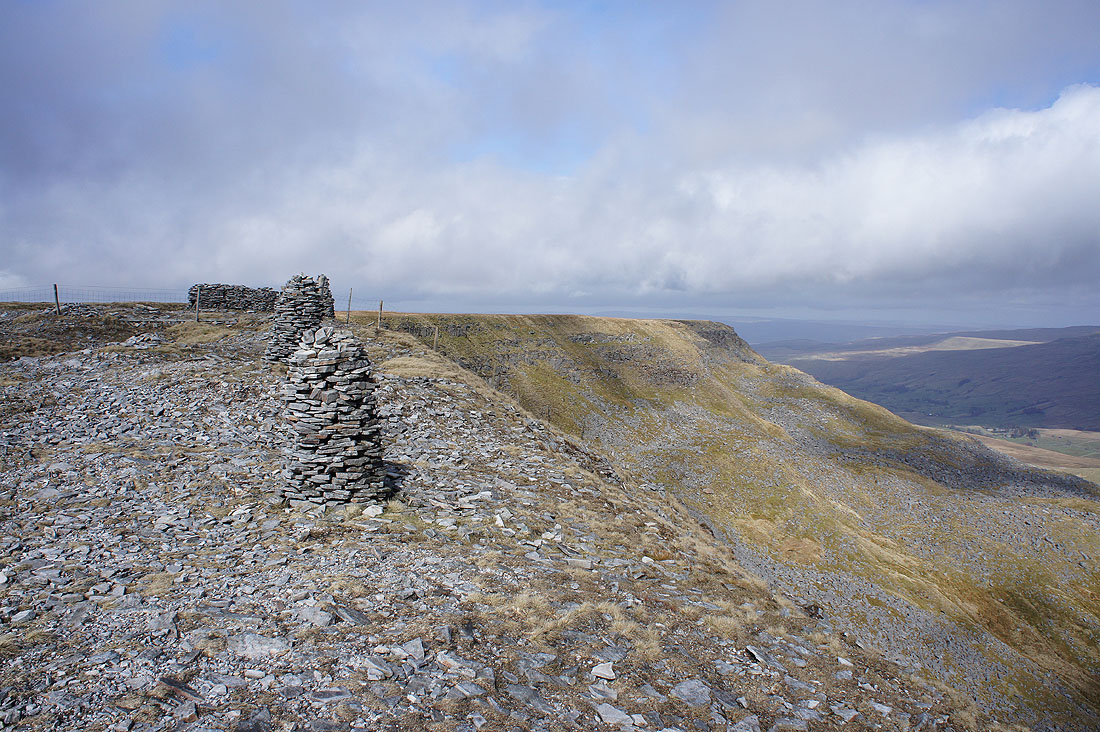
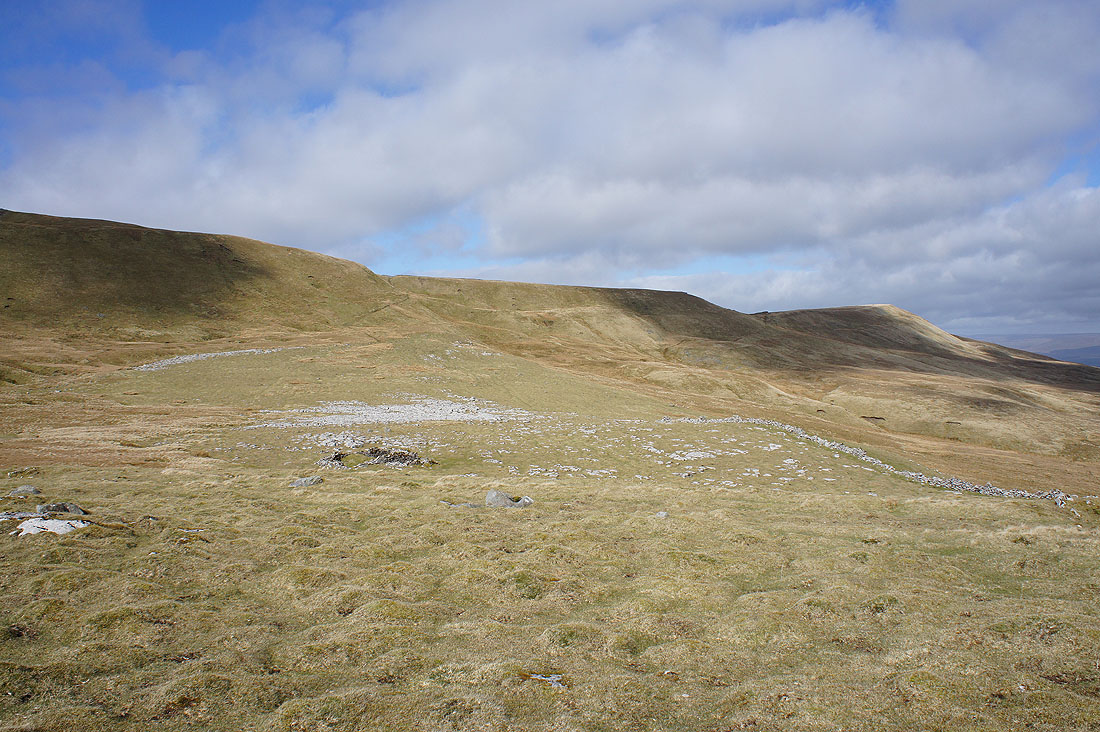
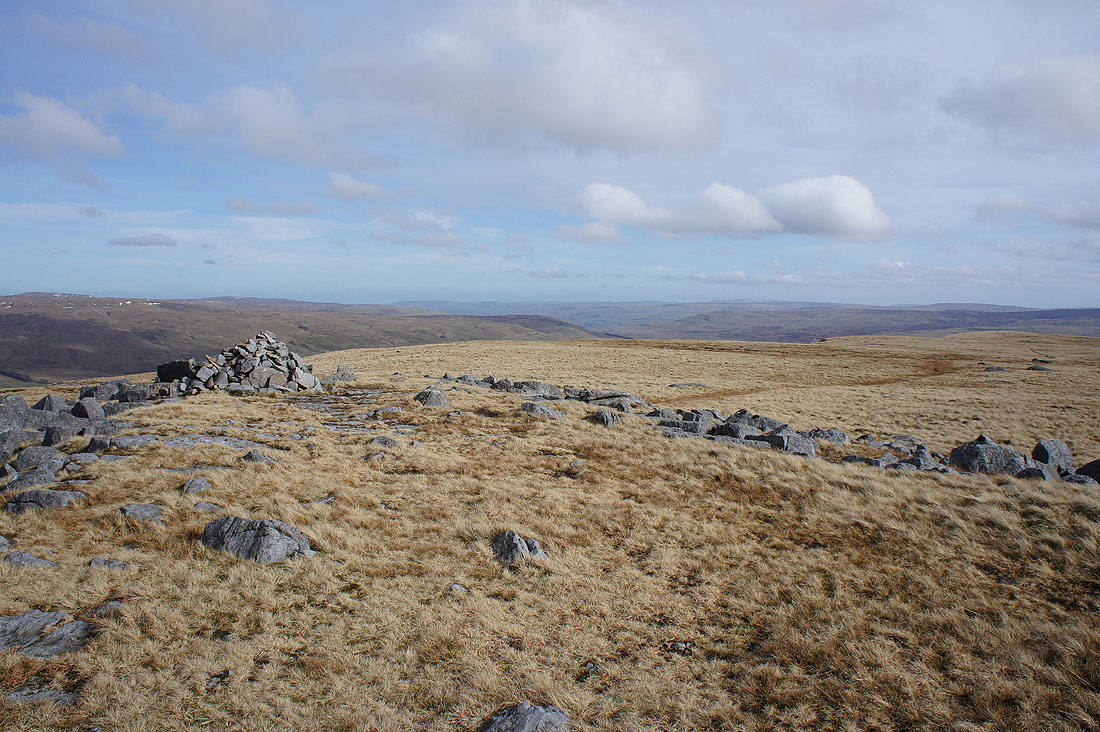
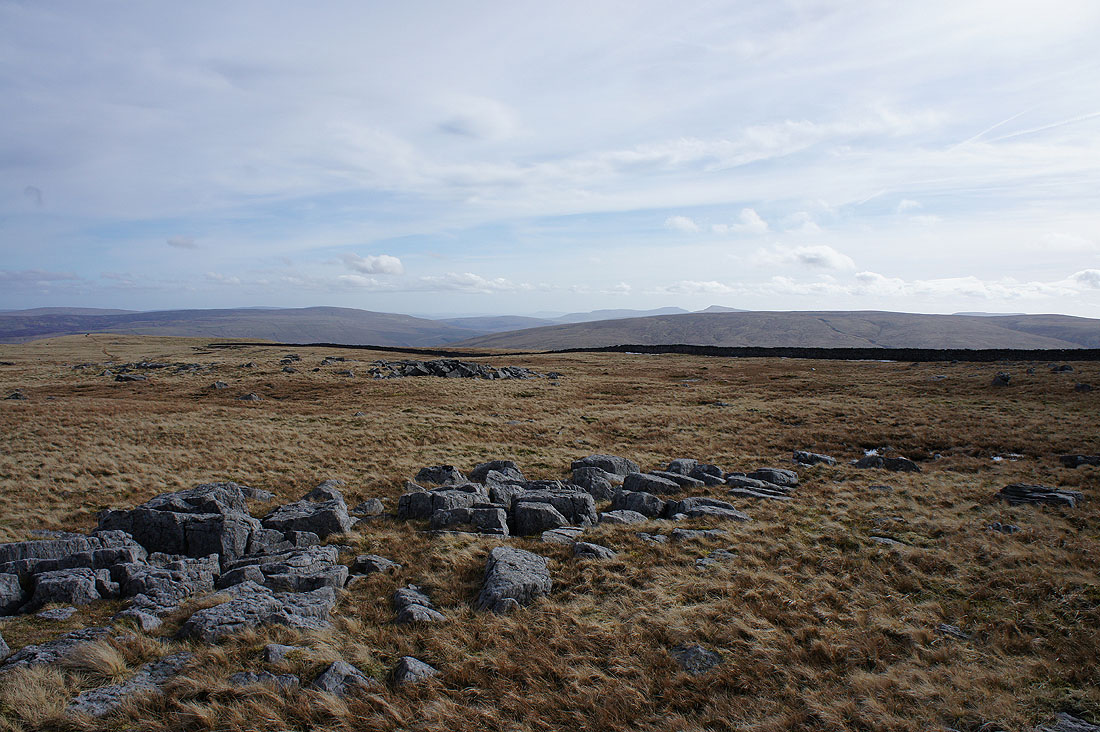
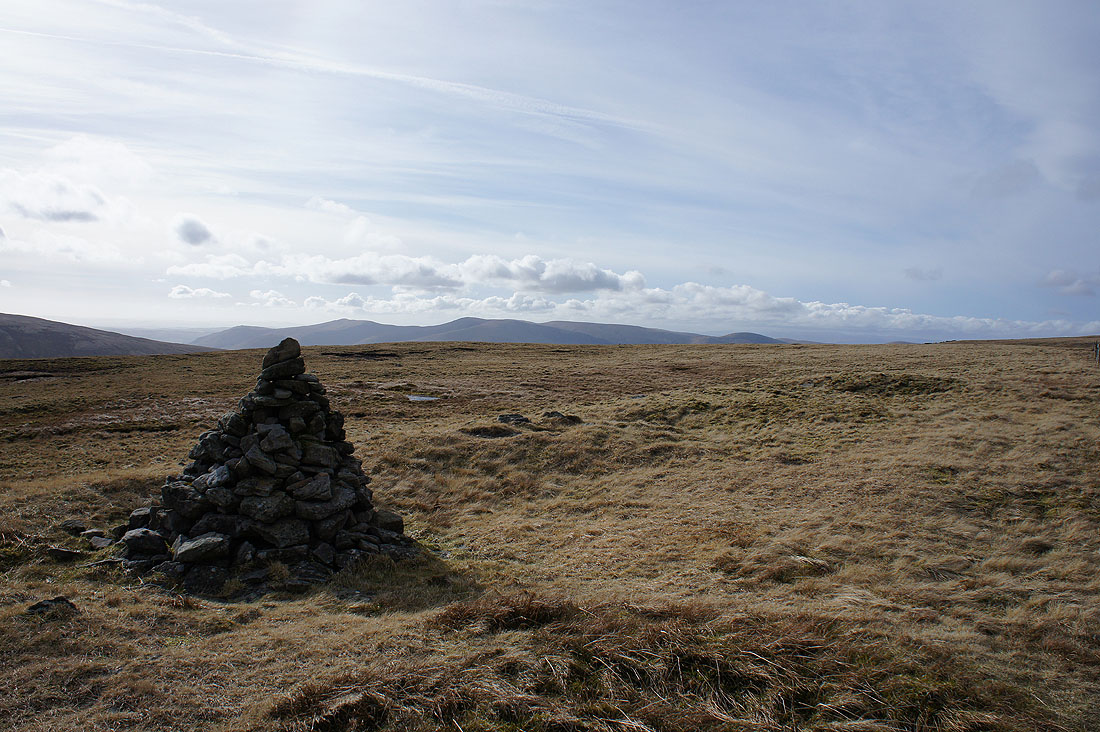
The fine collection of cairns on Yoadcomb Scar. The stone shelter here proved useful for getting out of the very strong wind to have lunch.
The weather improved a little while I sat having lunch. It's still very windy but the cloud has lifted and is starting to clear. I can now make out Ingleborough and Whernside in the distance as I look south from Blackbed Scar to Yoadcomb Scar.
High Seat and Hangingstone Scar with the limestone pavement of Angerholme Pots below
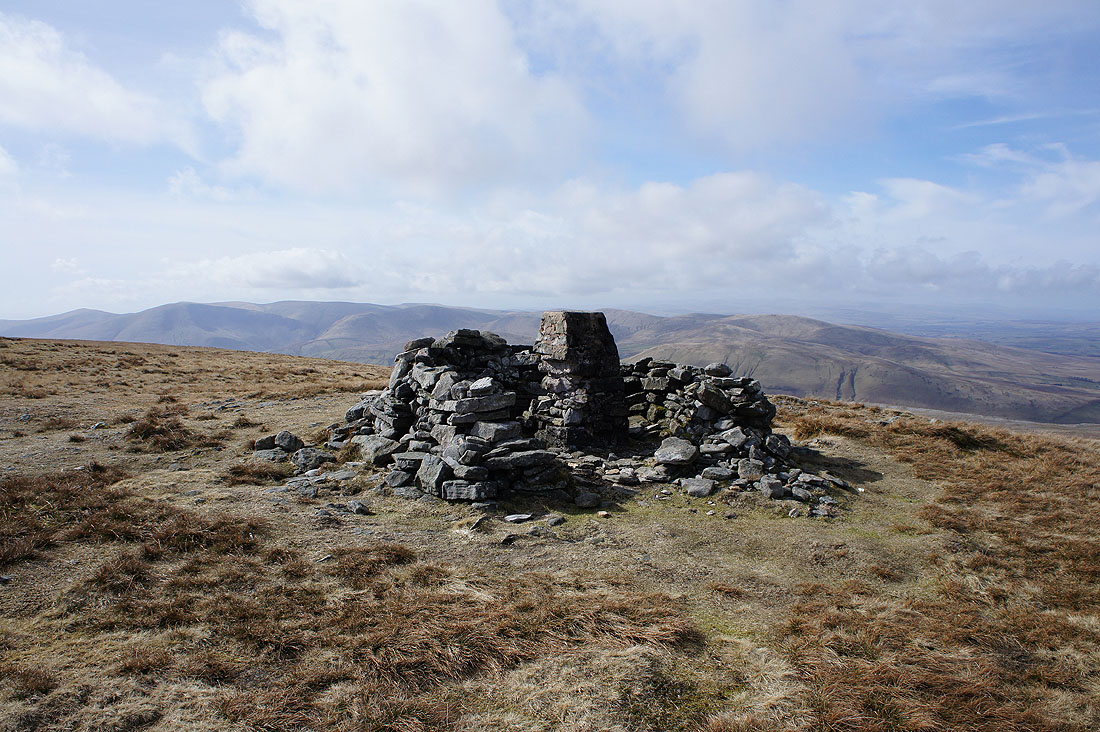
The summit trig on Wild Boar Fell with the Howgills in the background
Heading down to a windswept Sand Tarn
There's a really good view of the Howgills from beside it, all the way from Arant Haw and The Calf on the left to Green Bell and Harter Fell on the right
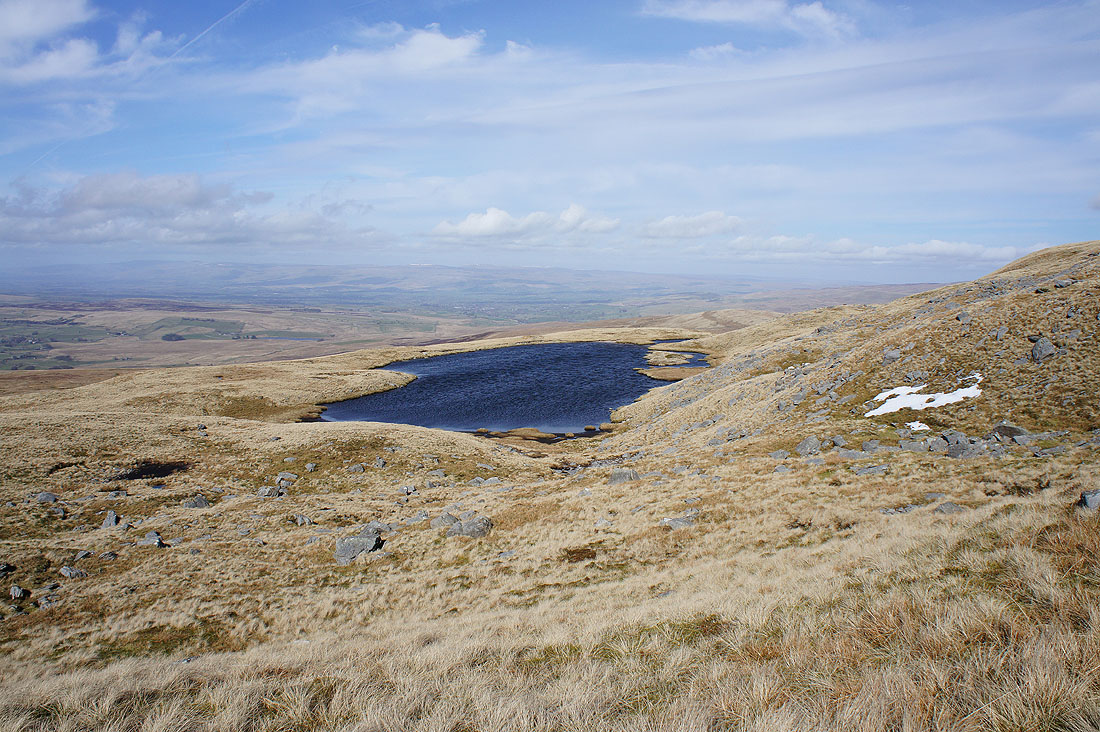
Another shot of Sand Tarn before I head back up to the summit. It's a great spot.
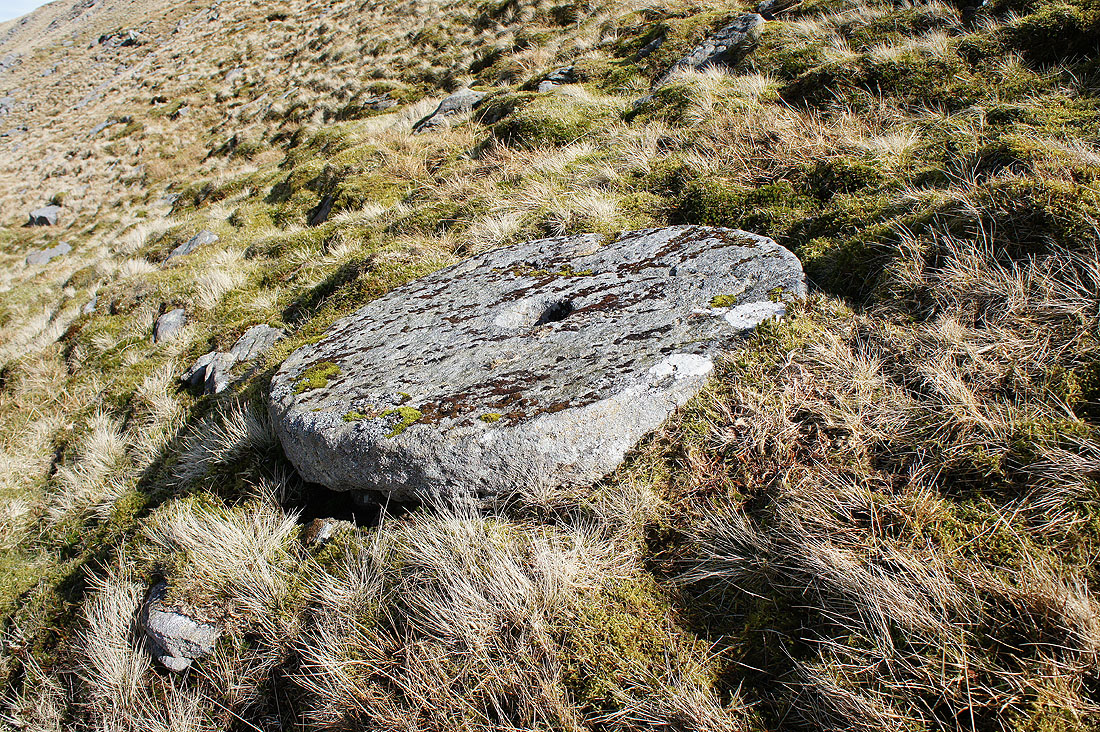
On the way back up I stumbled across this millstone. I wonder long it's been there? Judging by the lichen growing on it, some time.
Back on the summit and there's lots of blue skies and sunshine now.
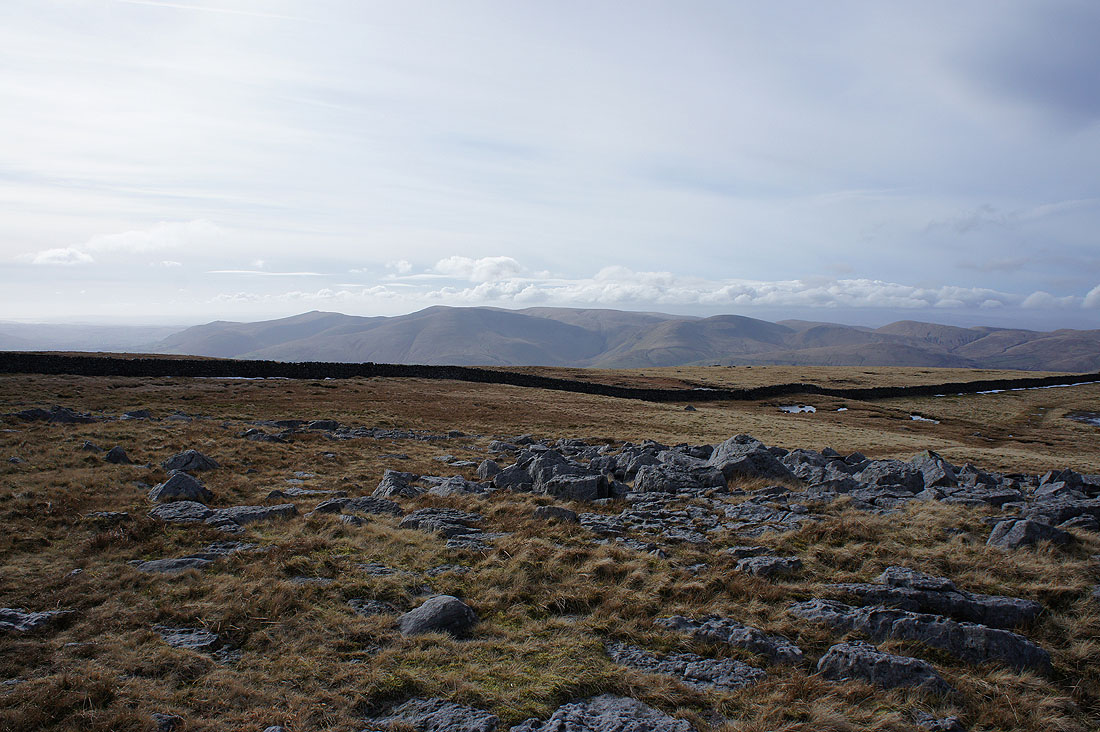
The North Pennines in the distance on the other side of the Eden Valley
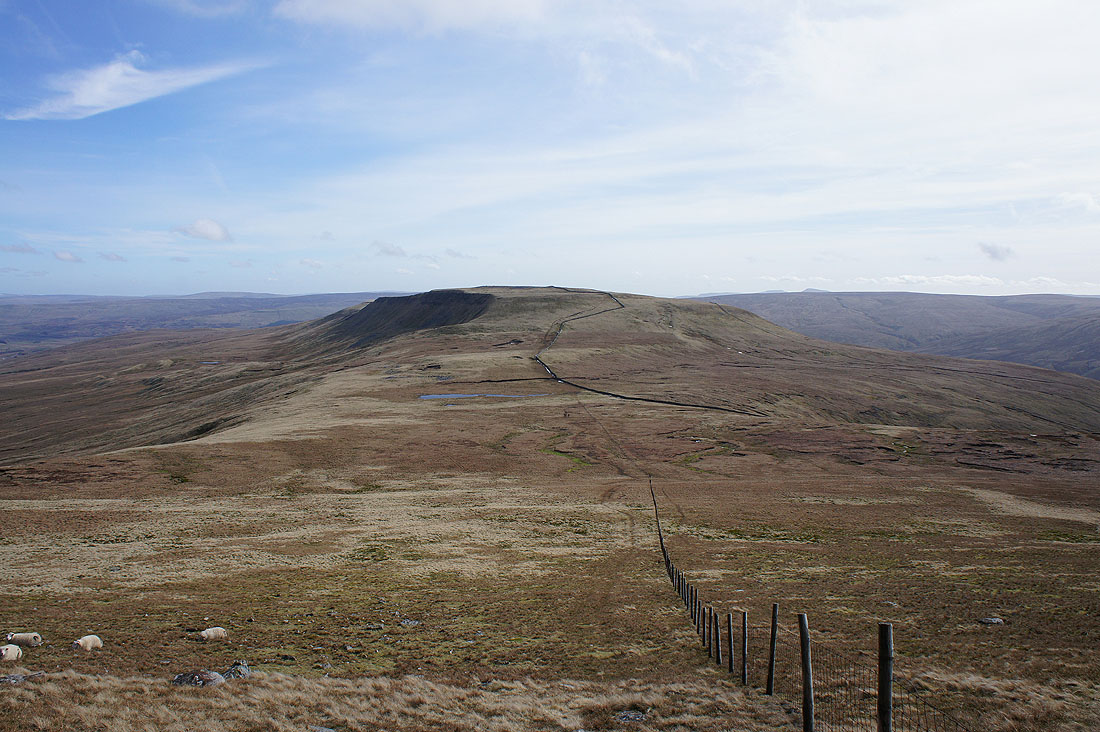
Crossing the summit plateau. I really enjoy this sort of terrain when the weather is like this.
I couldn't help taking a shot as I looked back along the fence I was following down, with the colours of the moorland grass and the sky
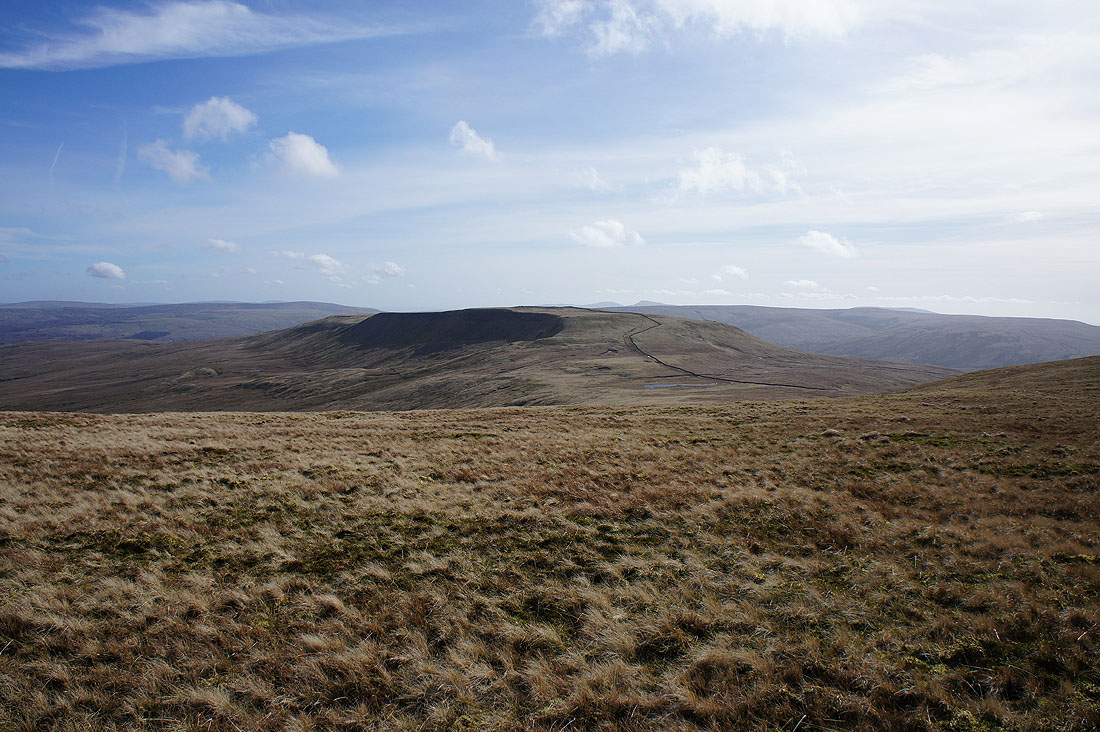
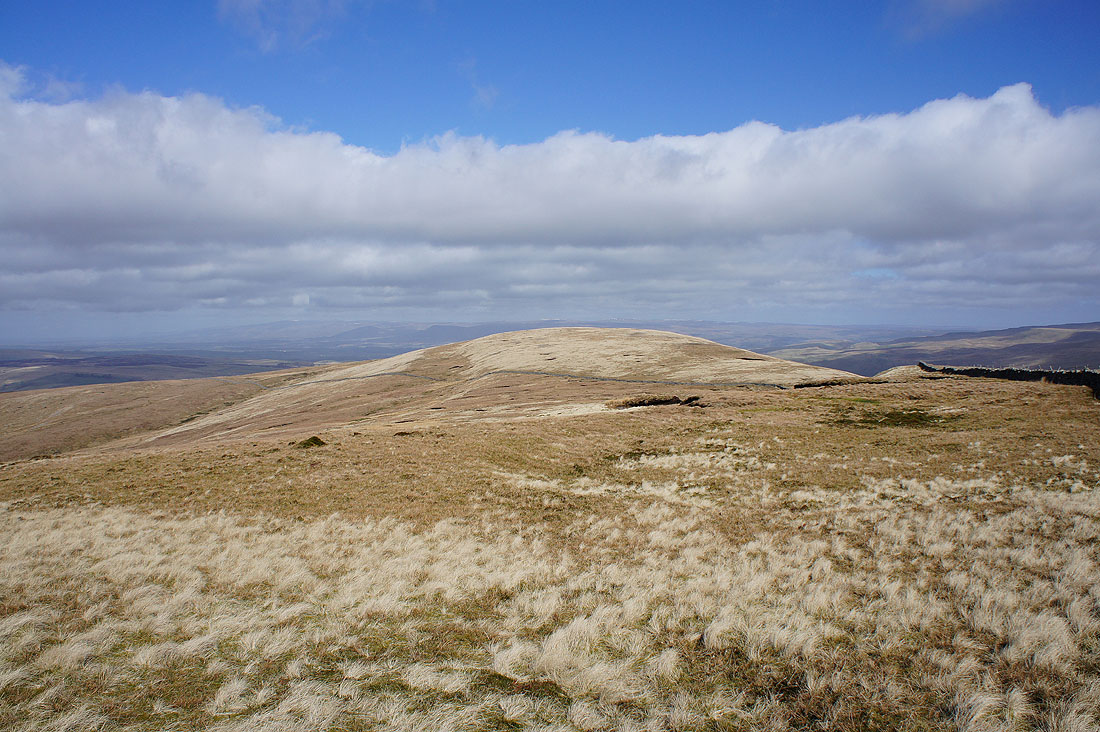
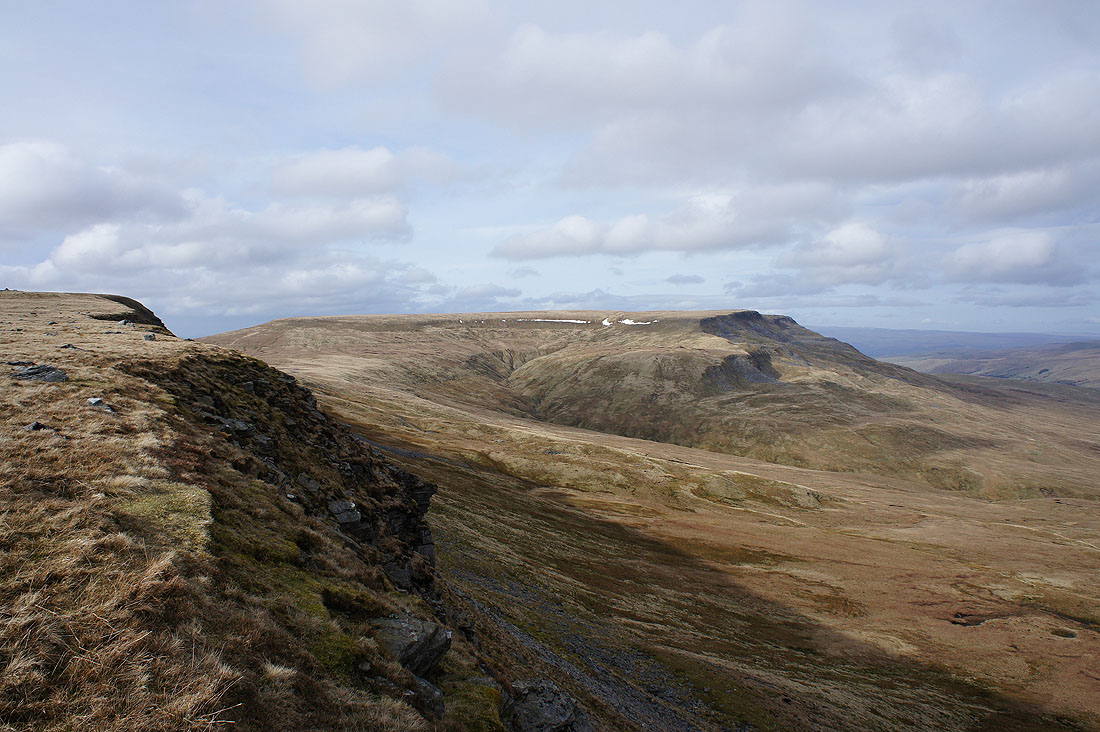
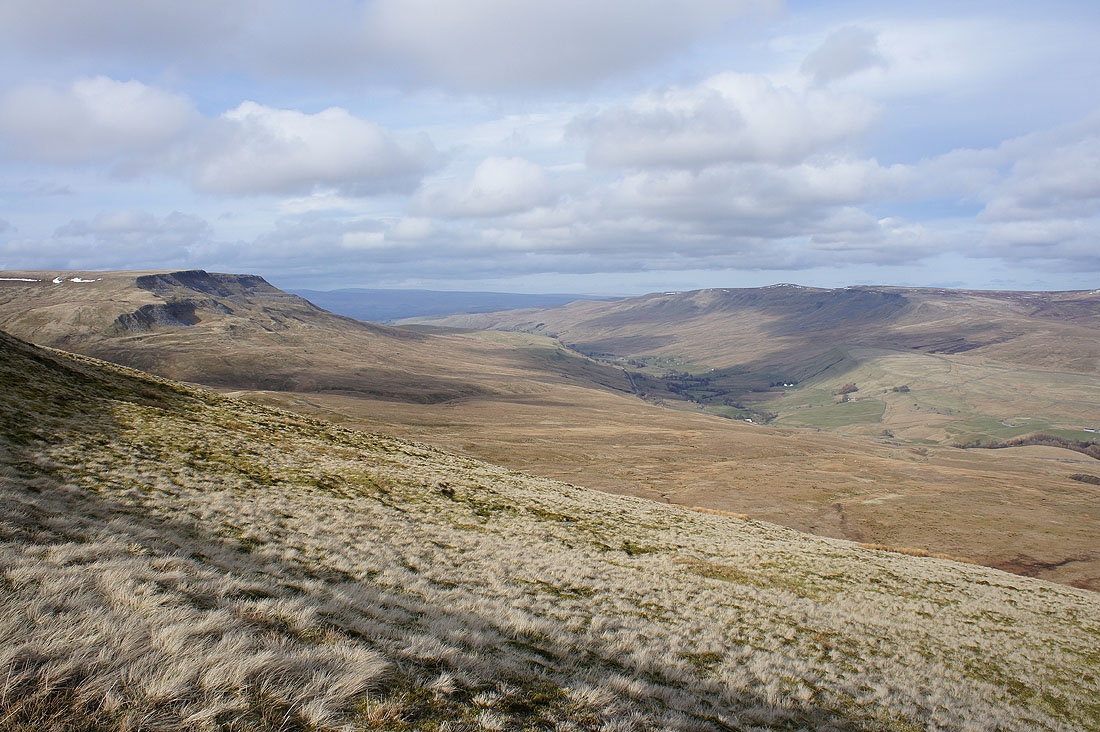
A shapely looking Swarth Fell now in sight
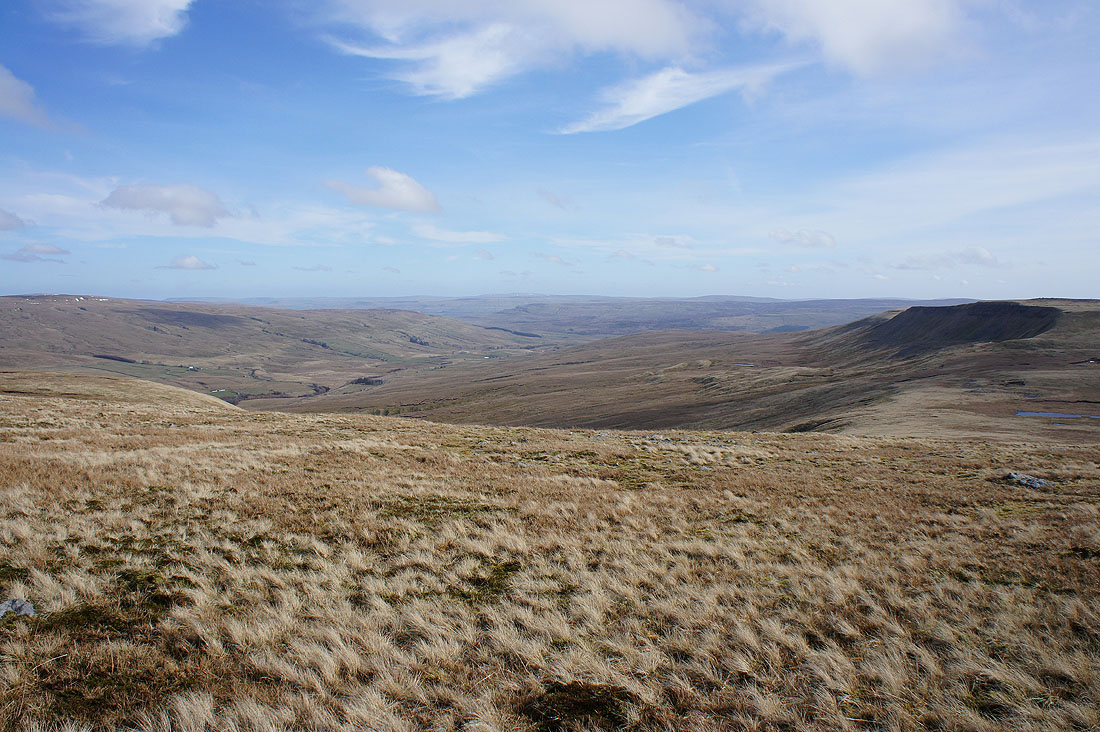
As I round the corner and start to head down, looking to the southern end of Mallerstang with the fells in the distance on the left at the western end of Wensleydale
A fence then wall to follow across the boggy saddle
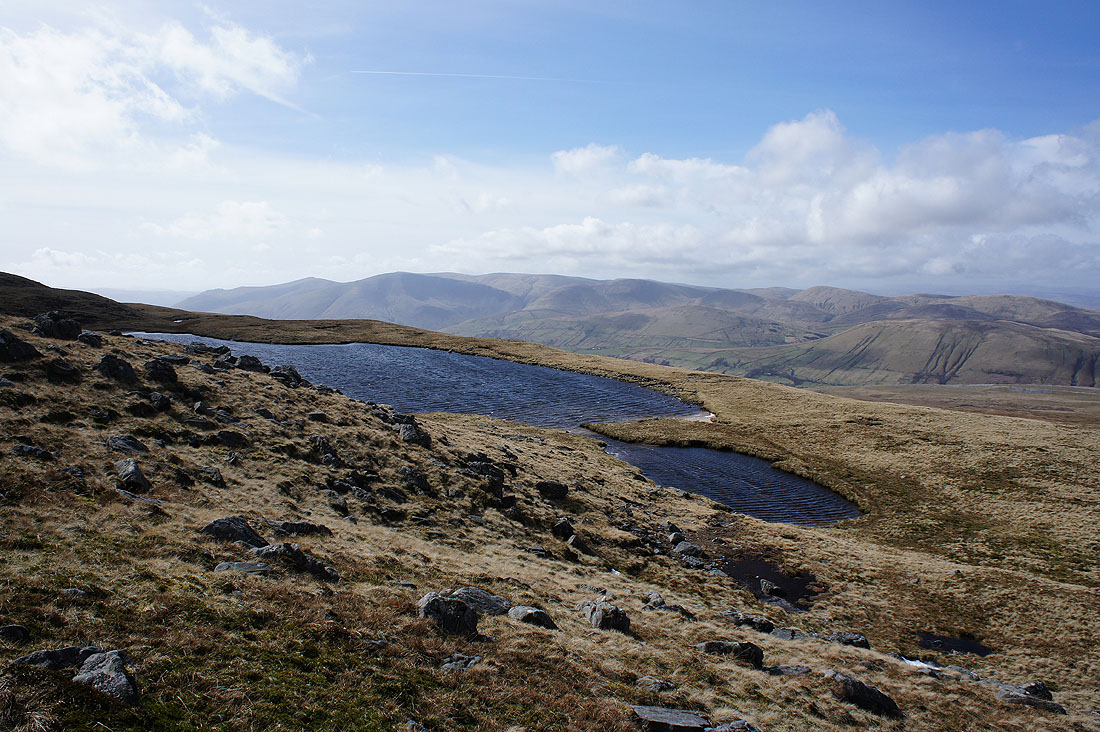
Past the unnamed tarn in the saddle between Wild Boar Fell and Swarth Fell
Looking back to Wild Boar Fell
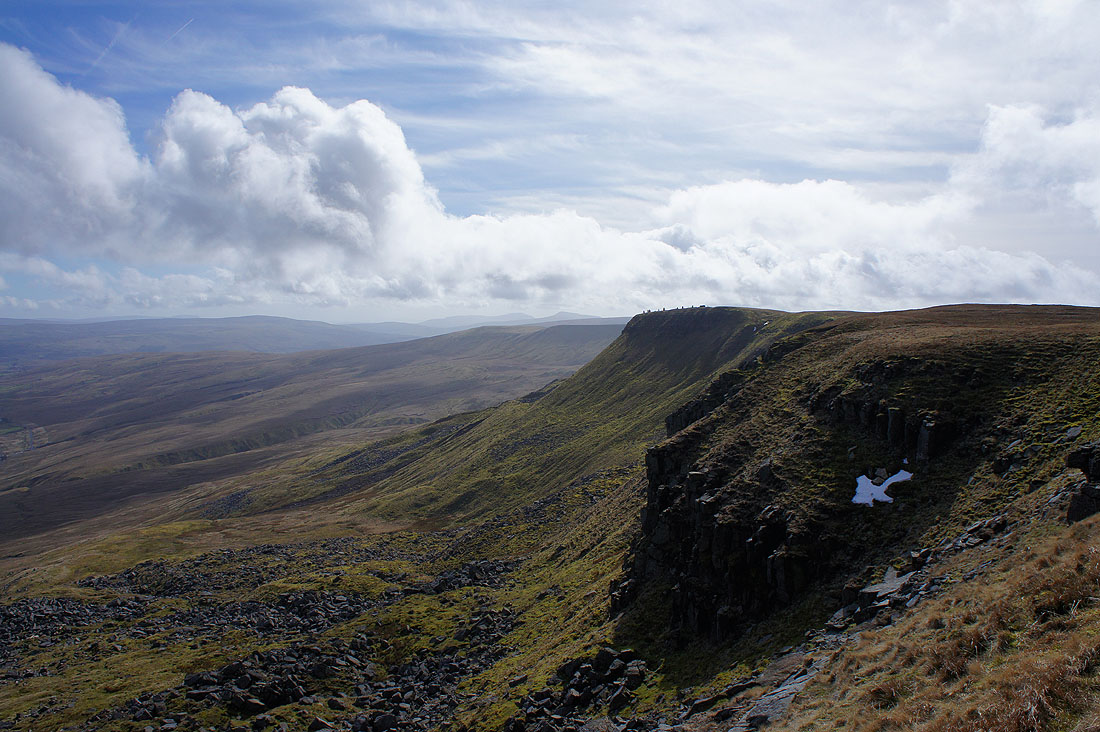
High White Scar on Wild Boar Fell and High Seat and Hangingstone Scar on the other side of Mallerstang..
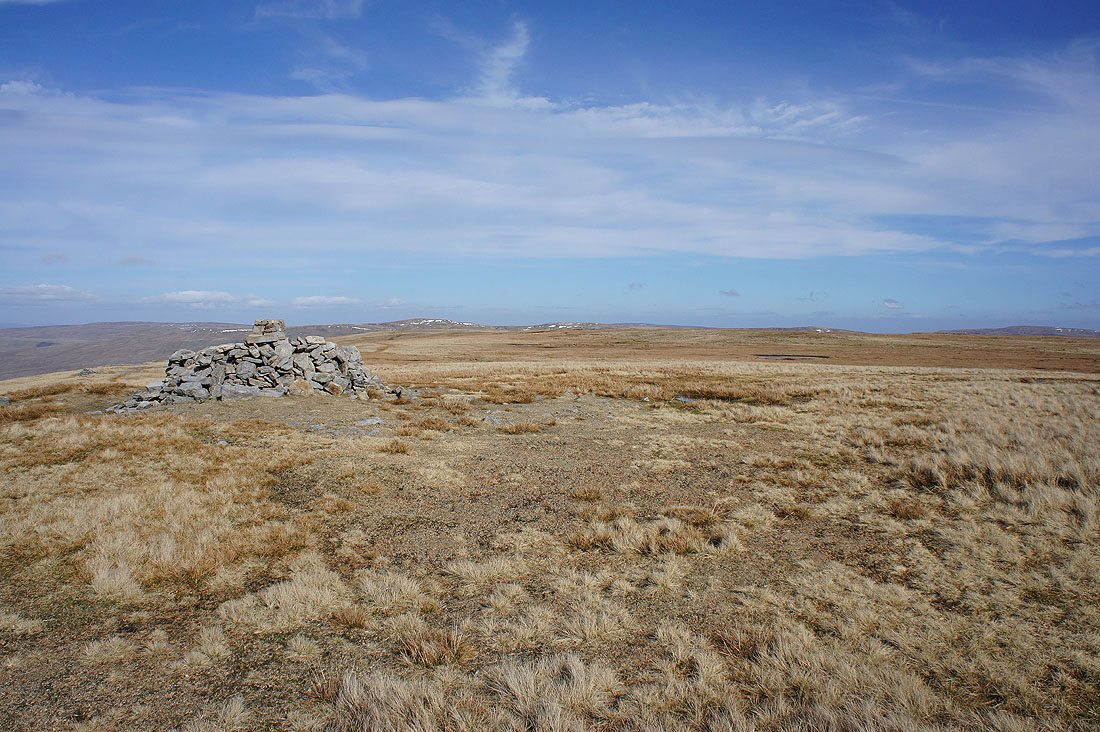
..as I reach the summit of Swarth Fell. It's one I like with its grey rocks and pools.
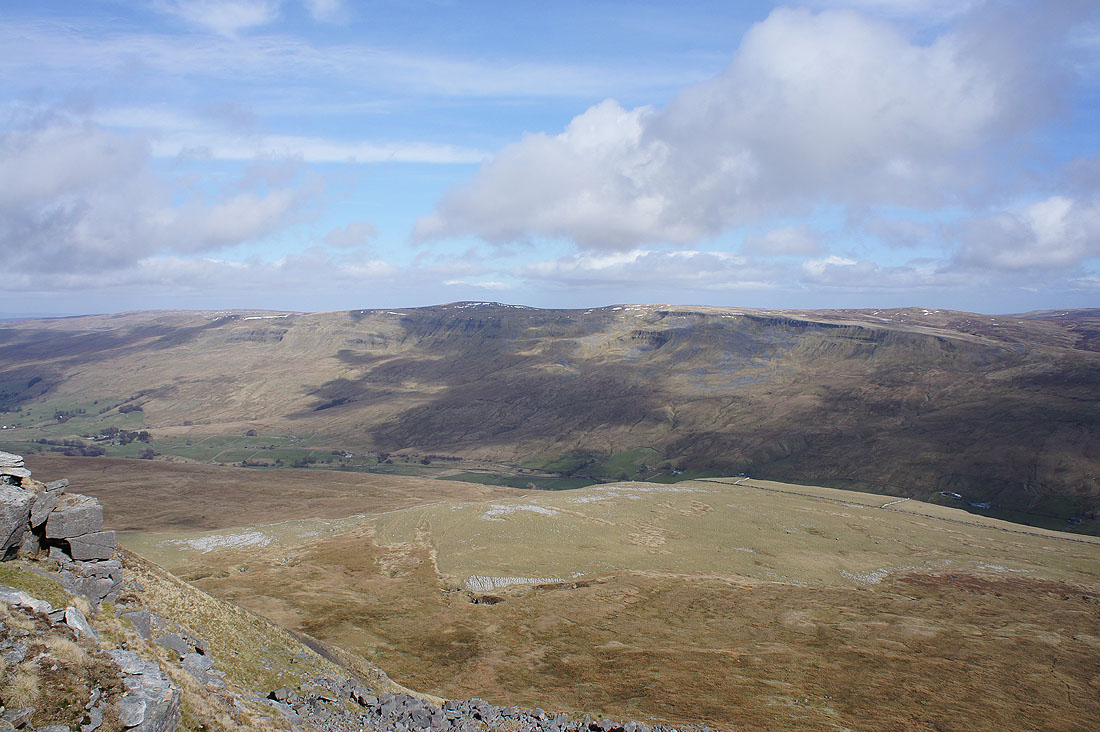
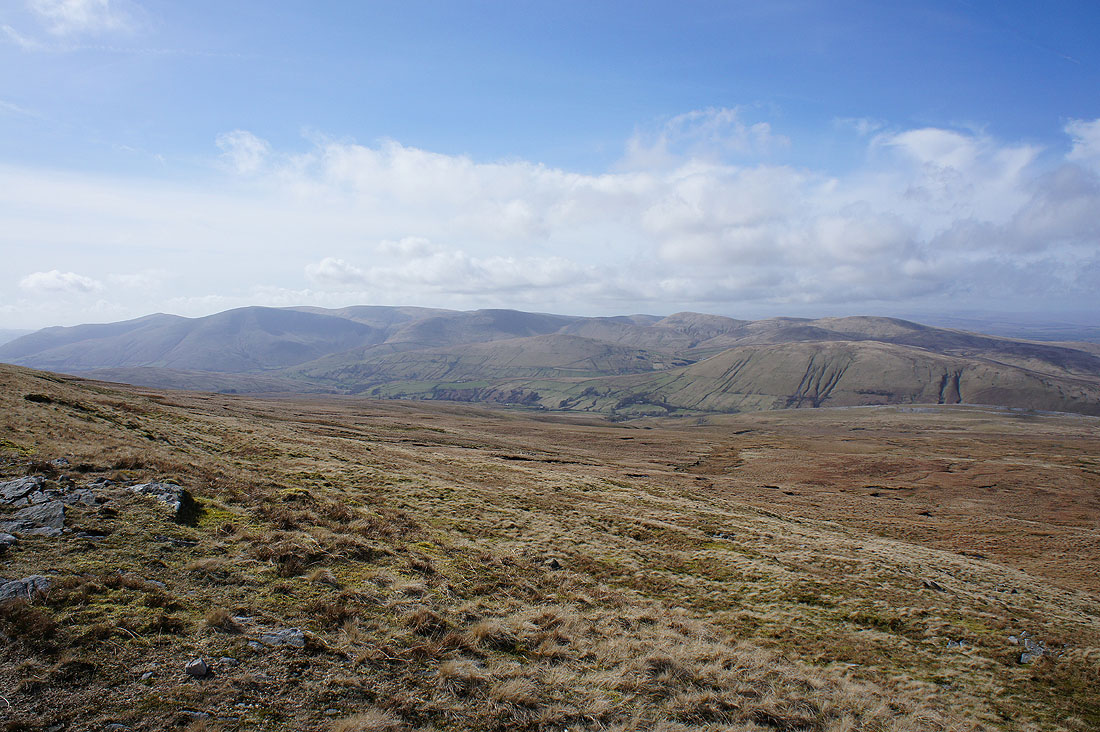
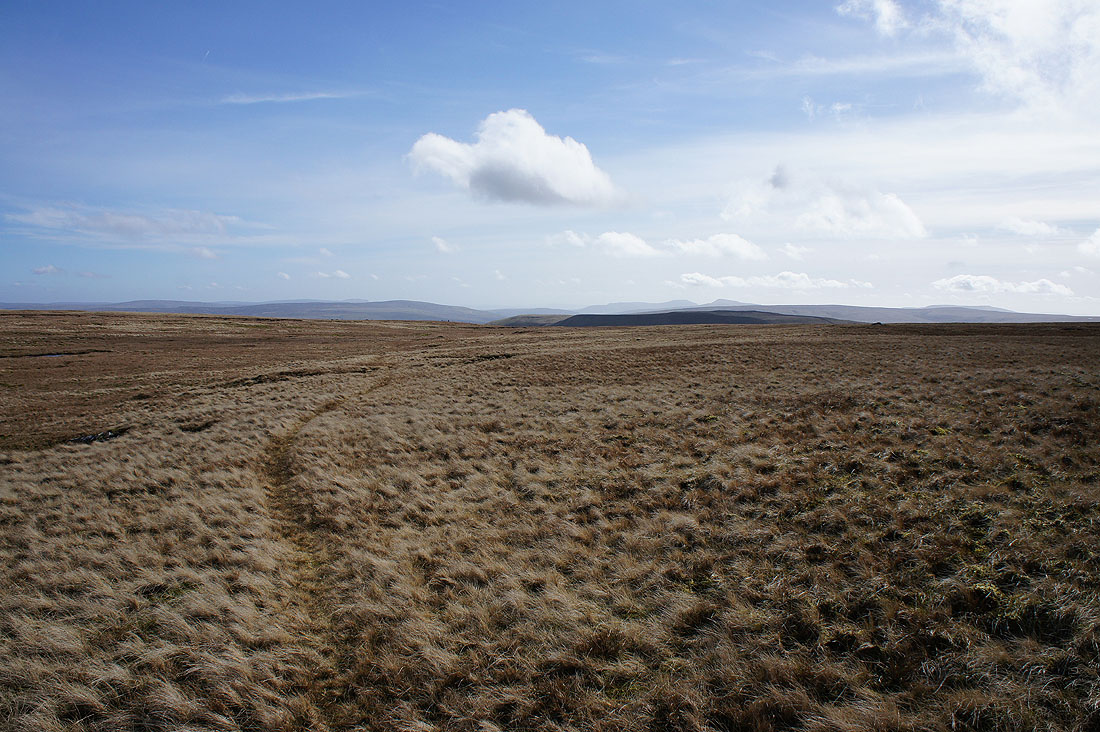
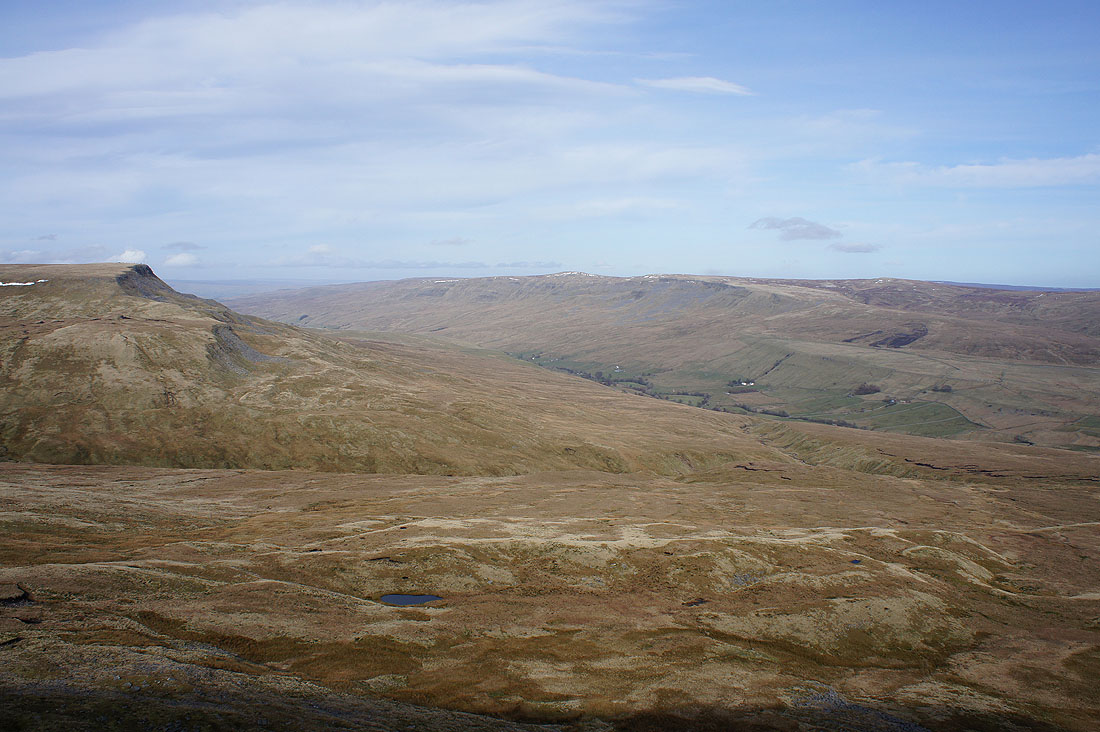
Looking south with Great Knoutberry Hill on the left and the tops of Ingleborough and Whernside visible over the sprawl of nearby Baugh Fell
The Howgills

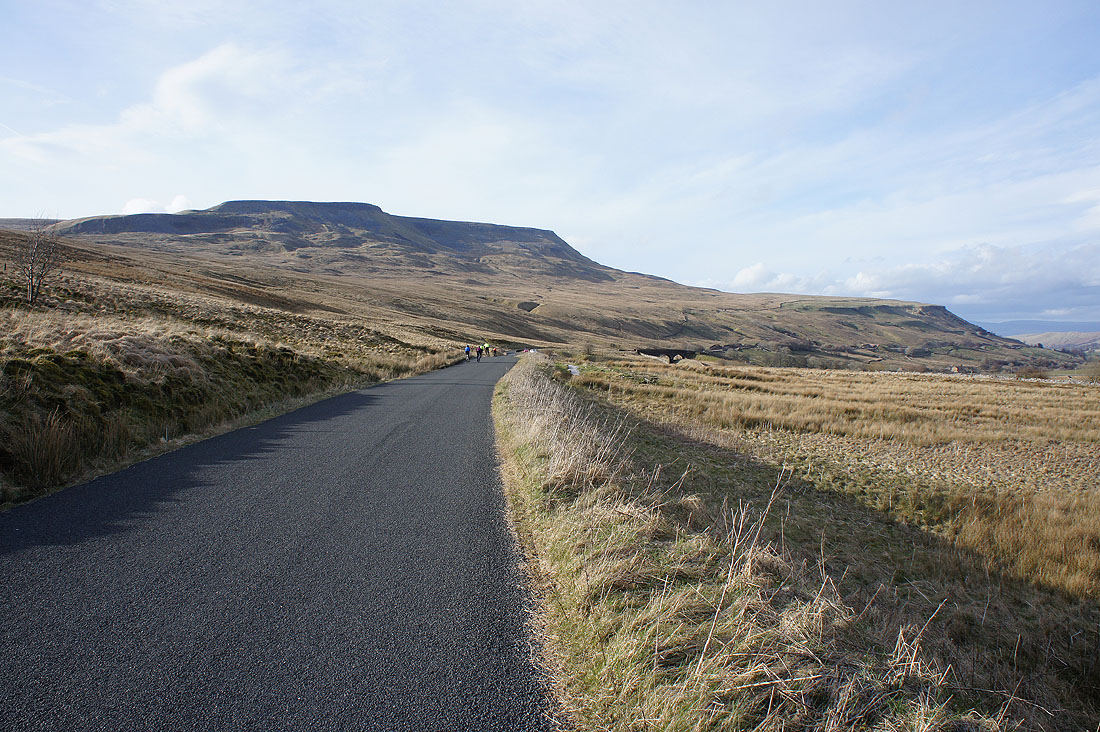
Wild Boar Fell
I couldn't resist taking a couple of shots looking north..
..and south from the edge of the modest escarpment on the eastern side of the fell
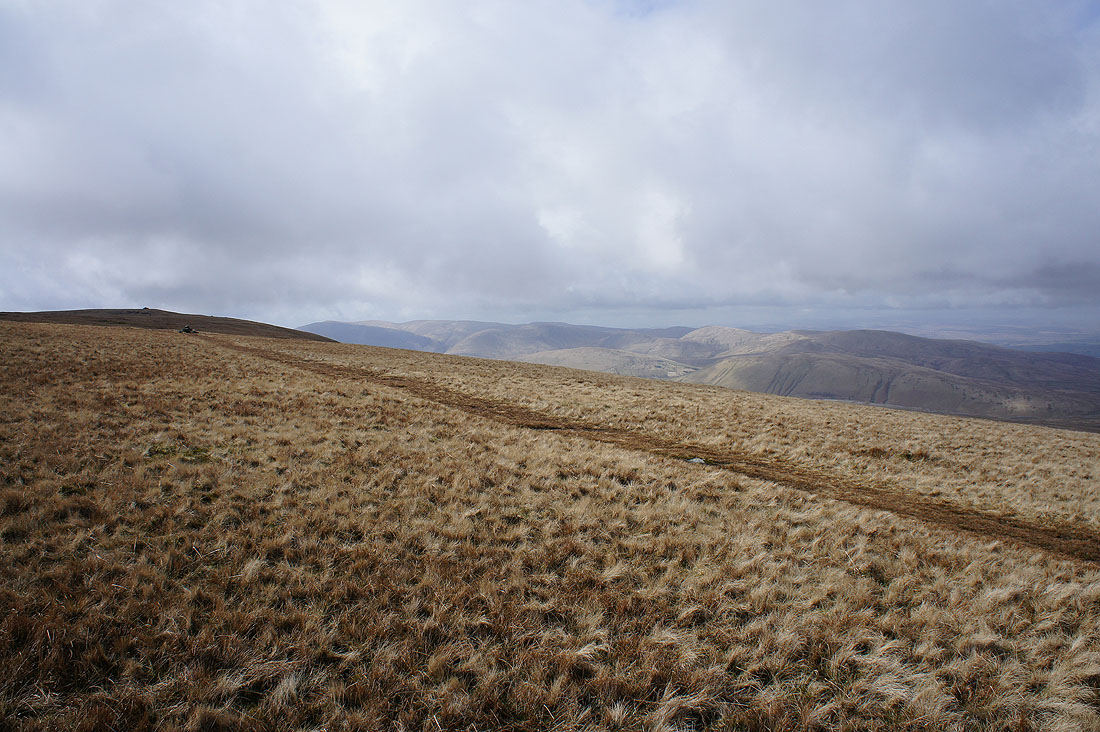
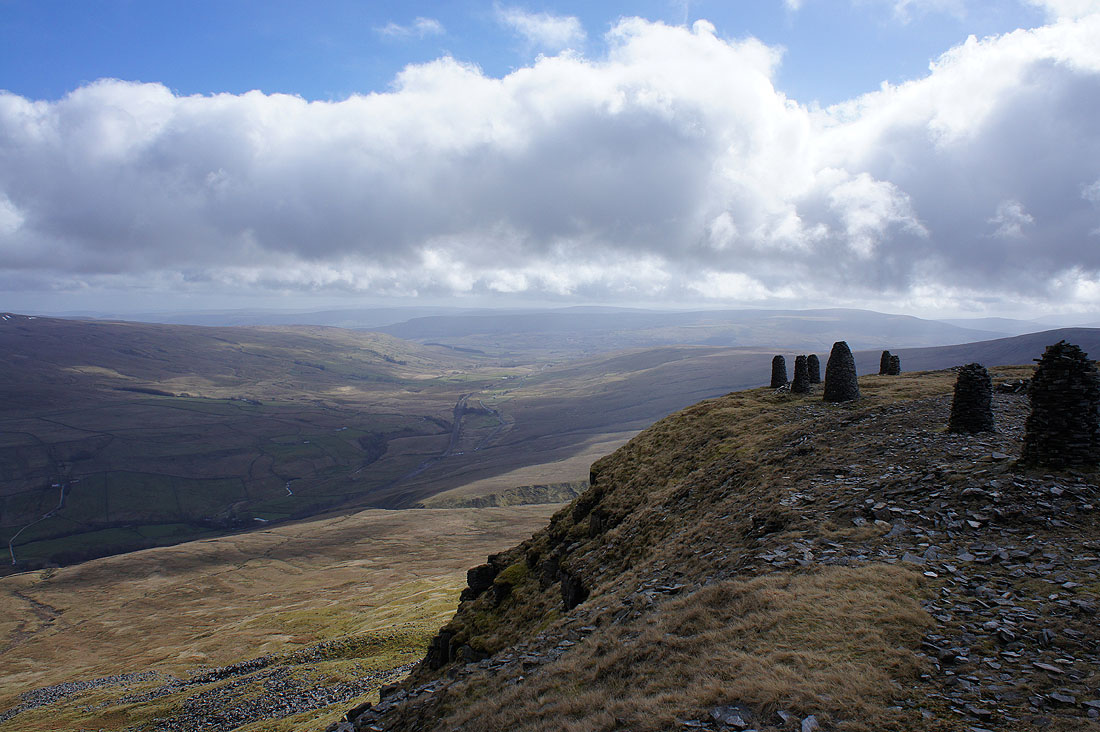
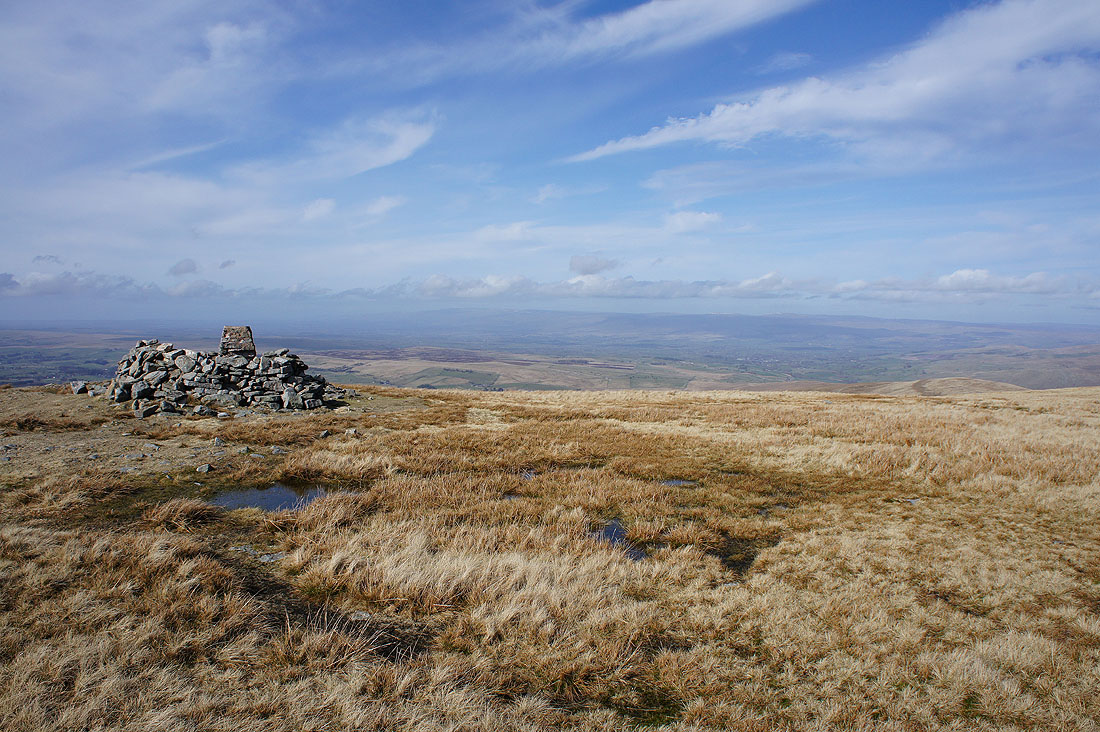
The Howgills from Swarth Fell Pike. It's very windy now and I found it difficult to keep my camera steady.
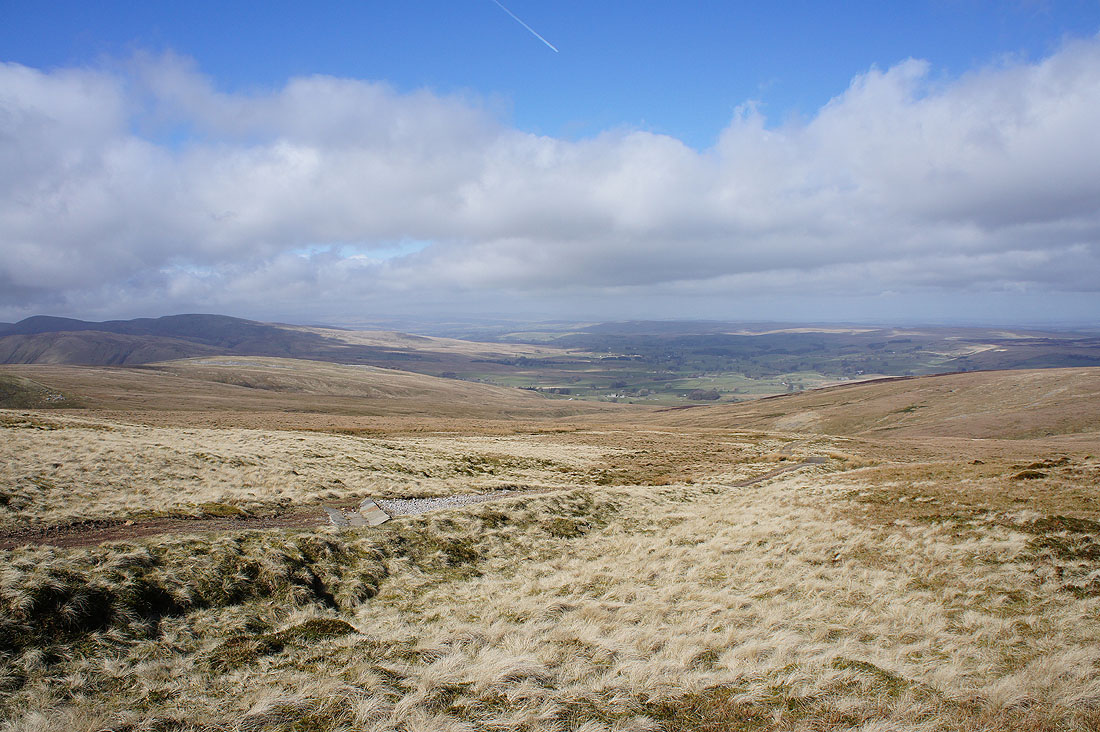
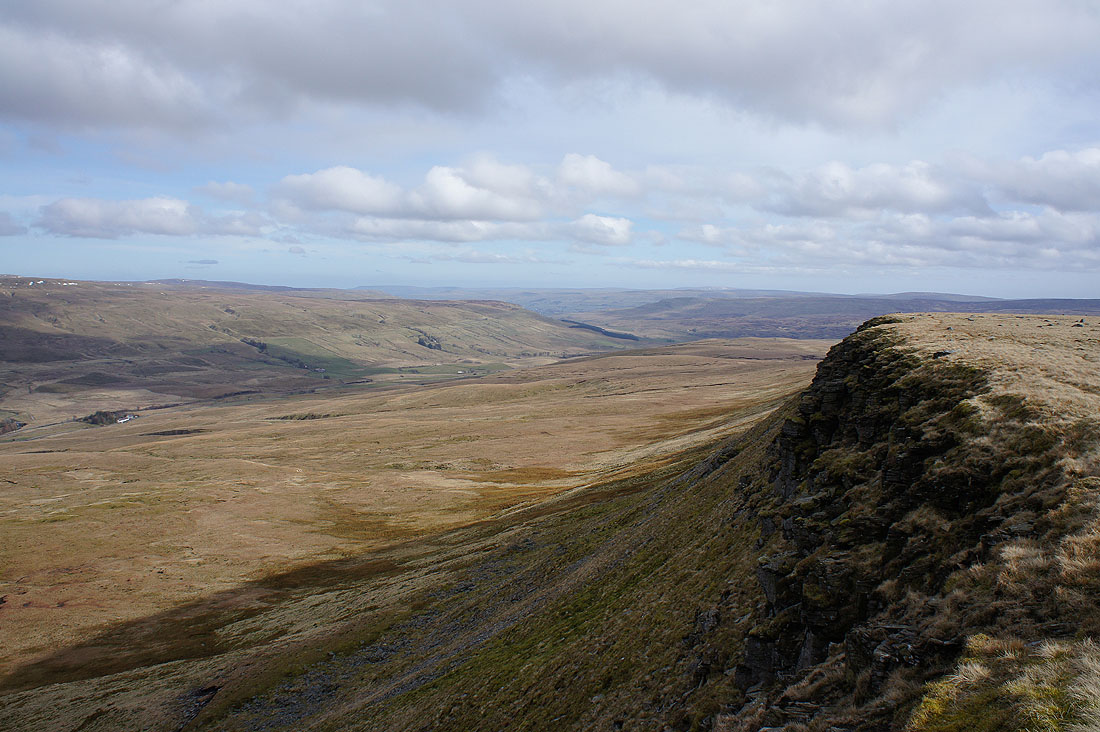
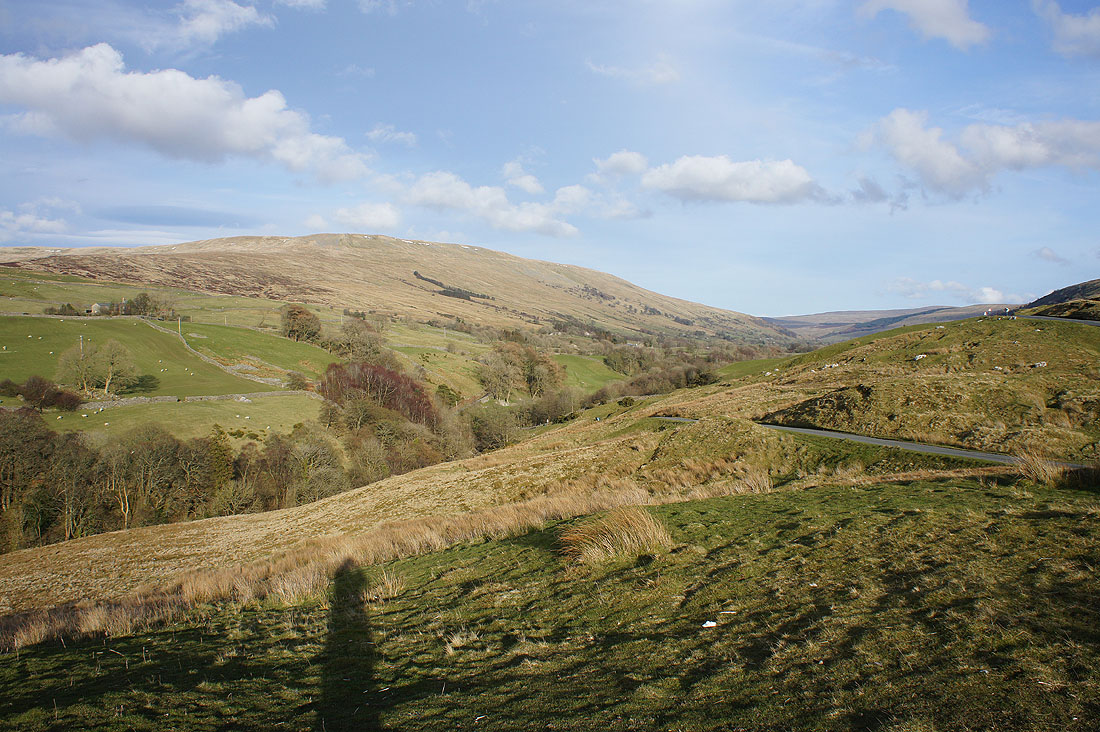
Great views across Mallerstang as I head down..
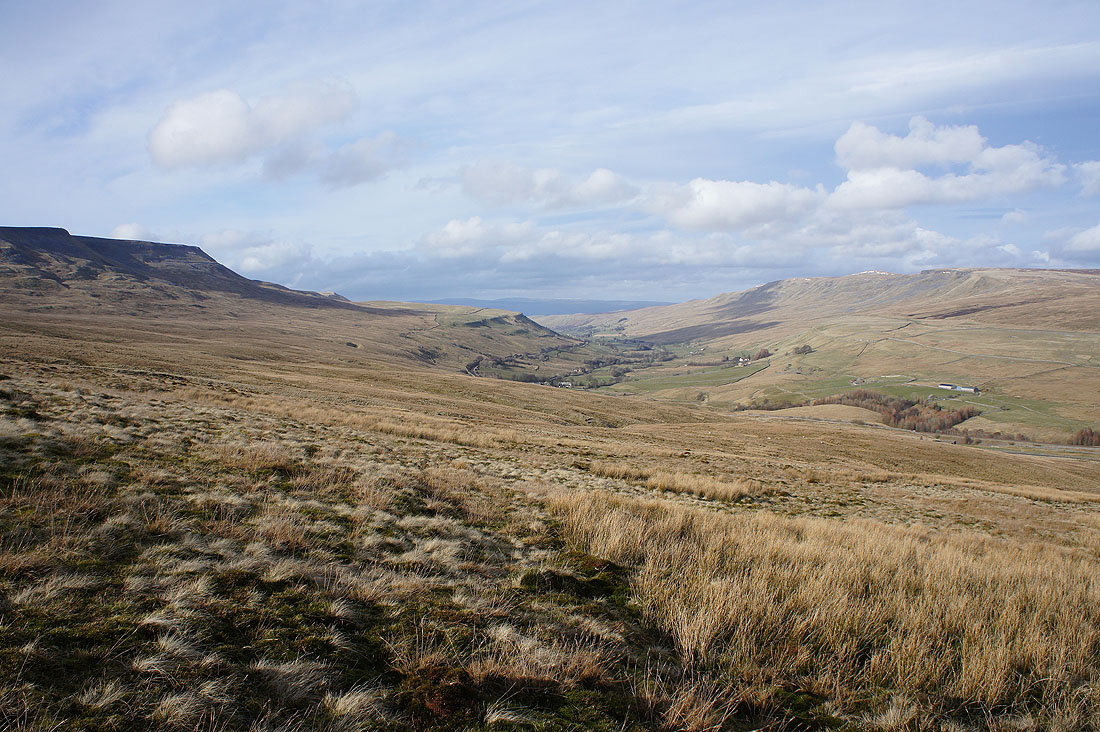
..and reach the edge of access land at Aisgill Moor Cottages
The whole of my walk was actually done outside the national park boundaries (apart from crossing the fence to the cairn on Swarth Fell Pike). This will change in August.
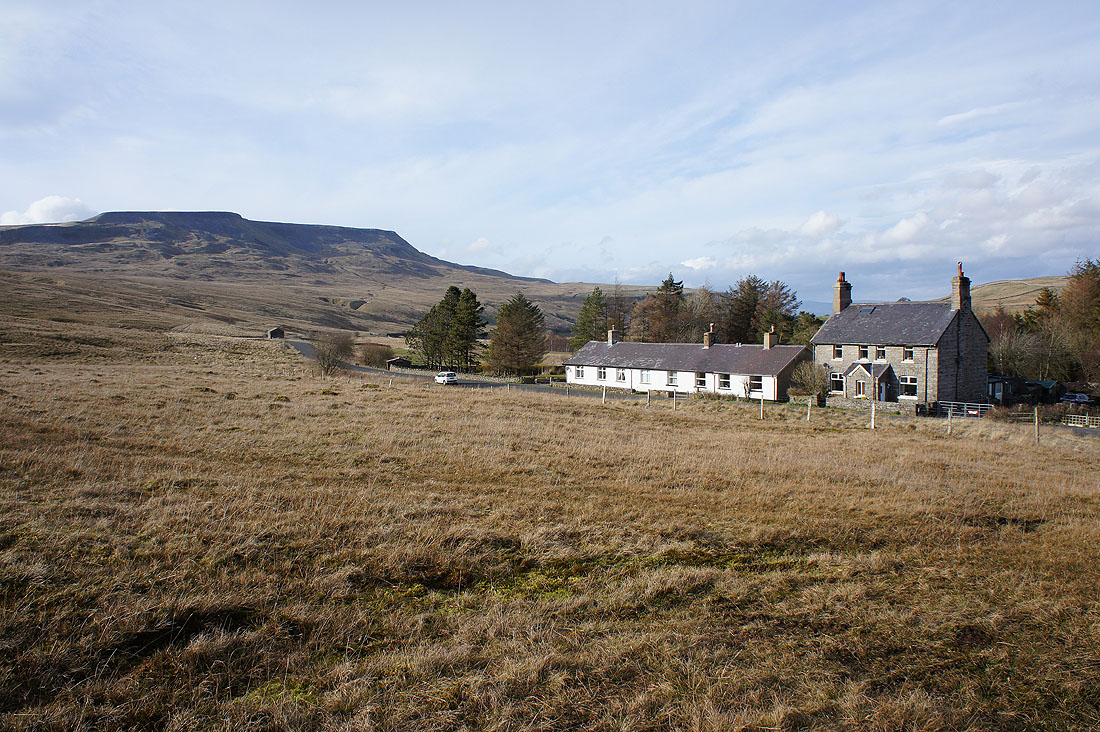
A great view of Wild Boar Fell as I walk the road north back to Cotegill Bridge
A final shot of High Seat and Hangingstone Scar from Cotegill Bridge
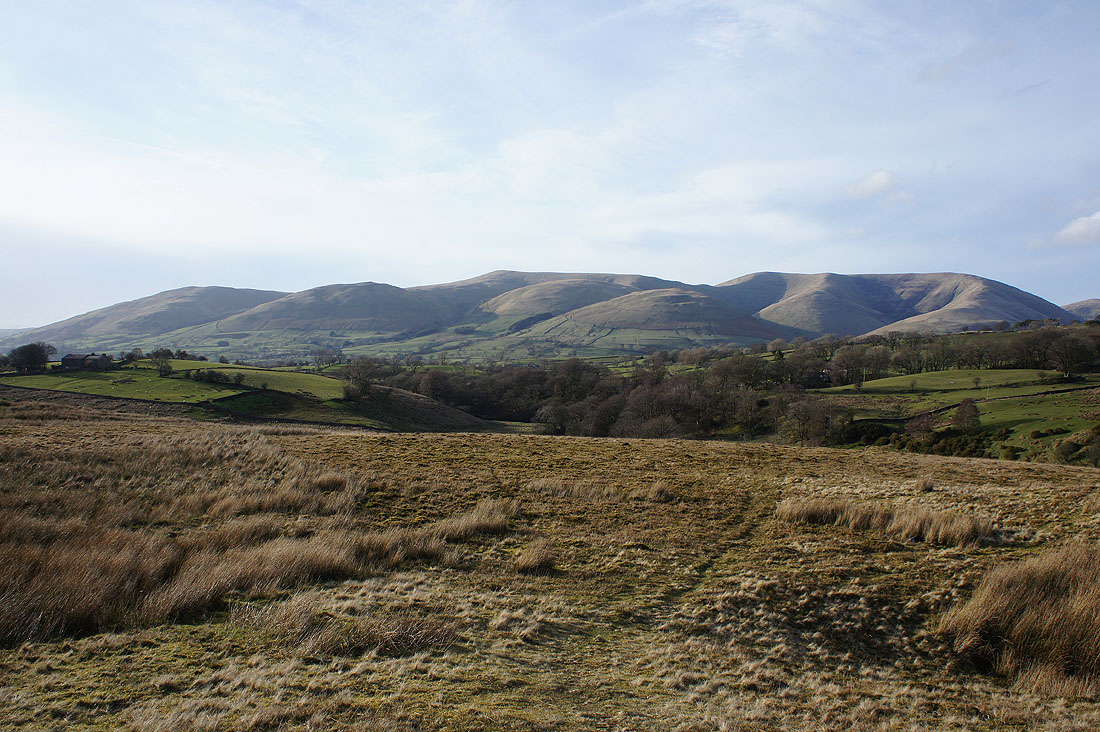
On the way home I stopped in the layby on the A684 above Sedbergh to take a shot of the Howgills..
..and of Baugh Fell above Garsdale