31st August 2013 - Eyam Moor & Offerton Moor
Walk Details
Distance walked: 8.1 miles
Total ascent: 1541 ft
OS map used: OL1 - The Peak District, Dark Peak area & OL24- The Peak District, White Peak area
Time taken: 4.5 hrs
Route description: Hathersage-Leadmill-Leam-Eyam Moor-Abney Clough-Oaks Farm-Offerton Moor-Offerton Hall-Derwent Valley Heritage Way-Leadmill Bridge-Hathersage
My Dad joined me for this very enjoyable tramp across the moors to the west of Hathersage with great views of the heather in bloom.
From Hathersage we followed the B6001 to Leadmill where we left this road to follow a lane uphill to Leam. A footpath on the right then let us cross Eyam Moor. When we reached the track of Sir William Hill Road another path took us back across Eyam Moor and down into Abney Clough. We crossed the brook at the bottom and made our way up to Oaks Farm. Our route back took us across Offerton Moor, past Offerton Hall and down to the River Derwent. We then followed the path by the river to Leadmill Bridge and a short walk saw us back in Hathersage.
Route map
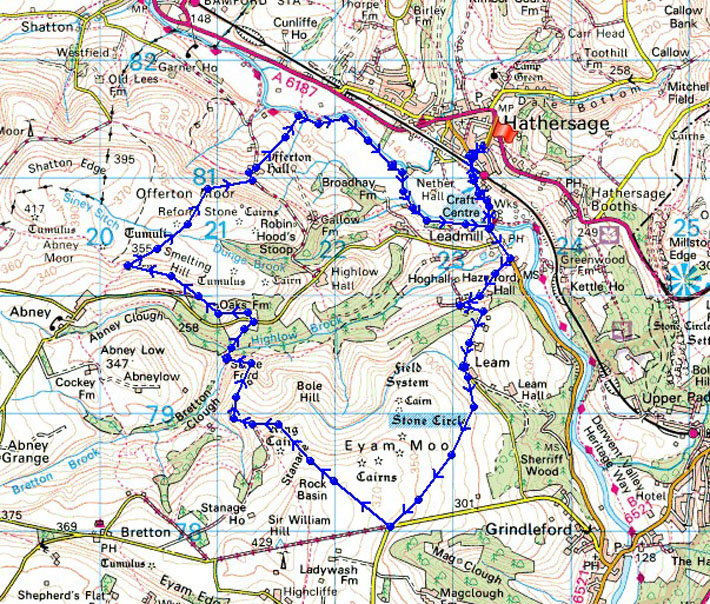
© Crown copyright. All rights reserved. License number PU 100034184.
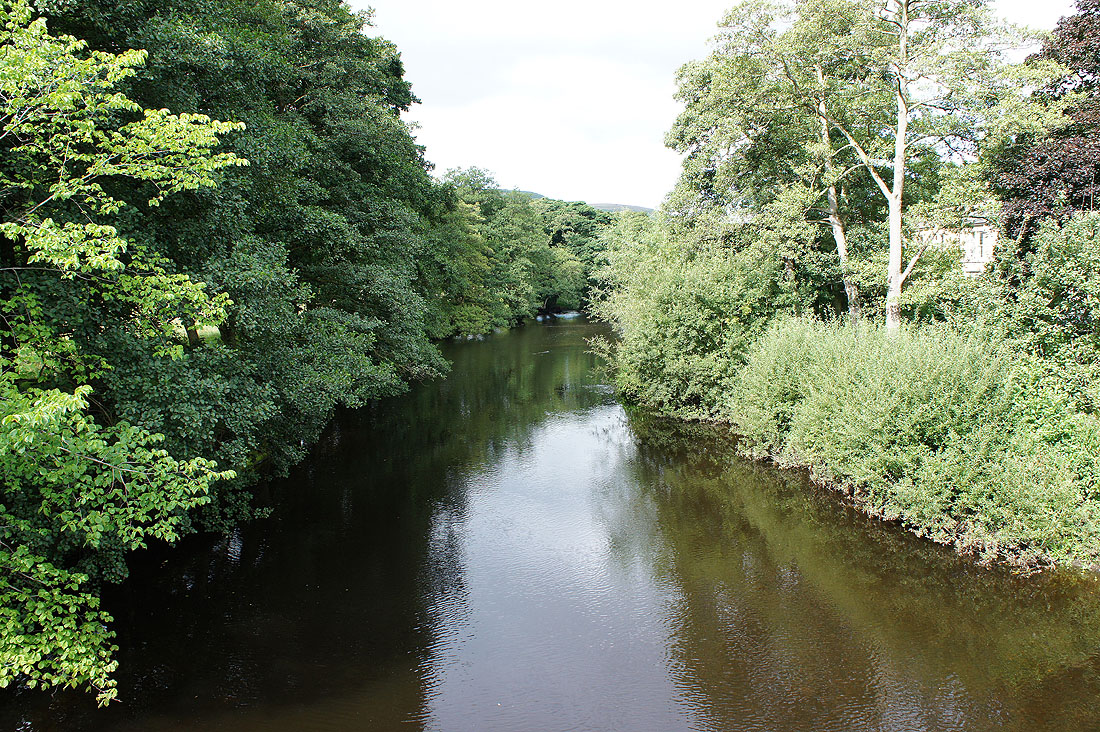
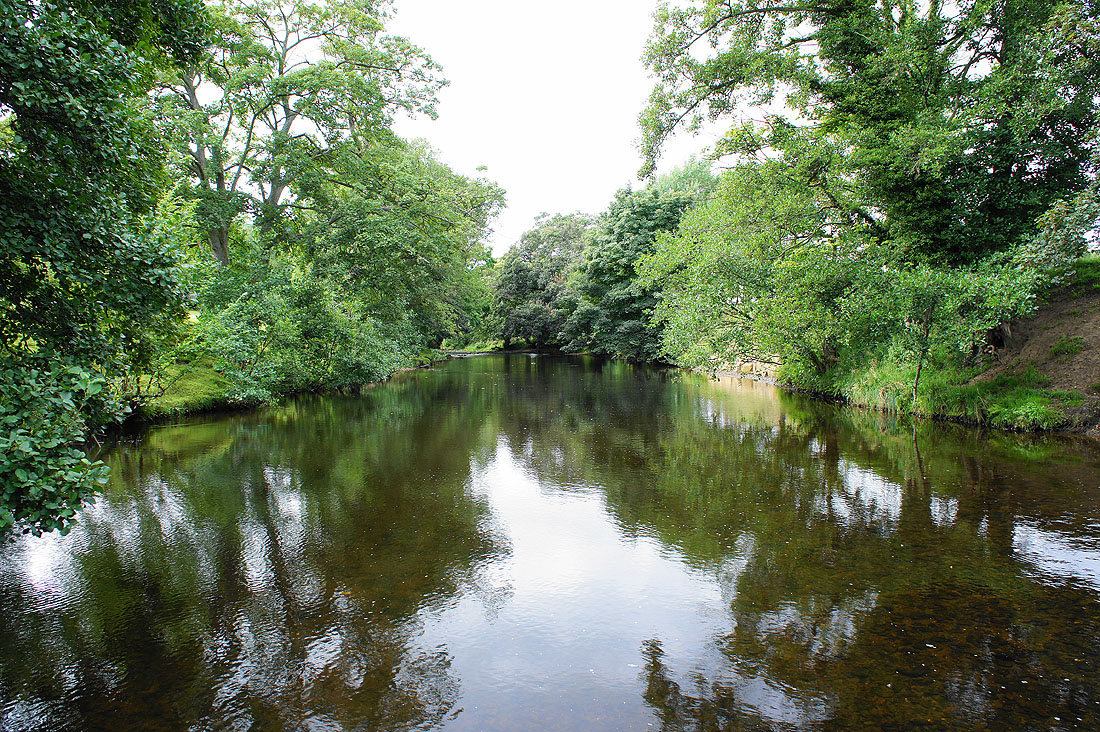
The River Derwent from Leadmill Bridge
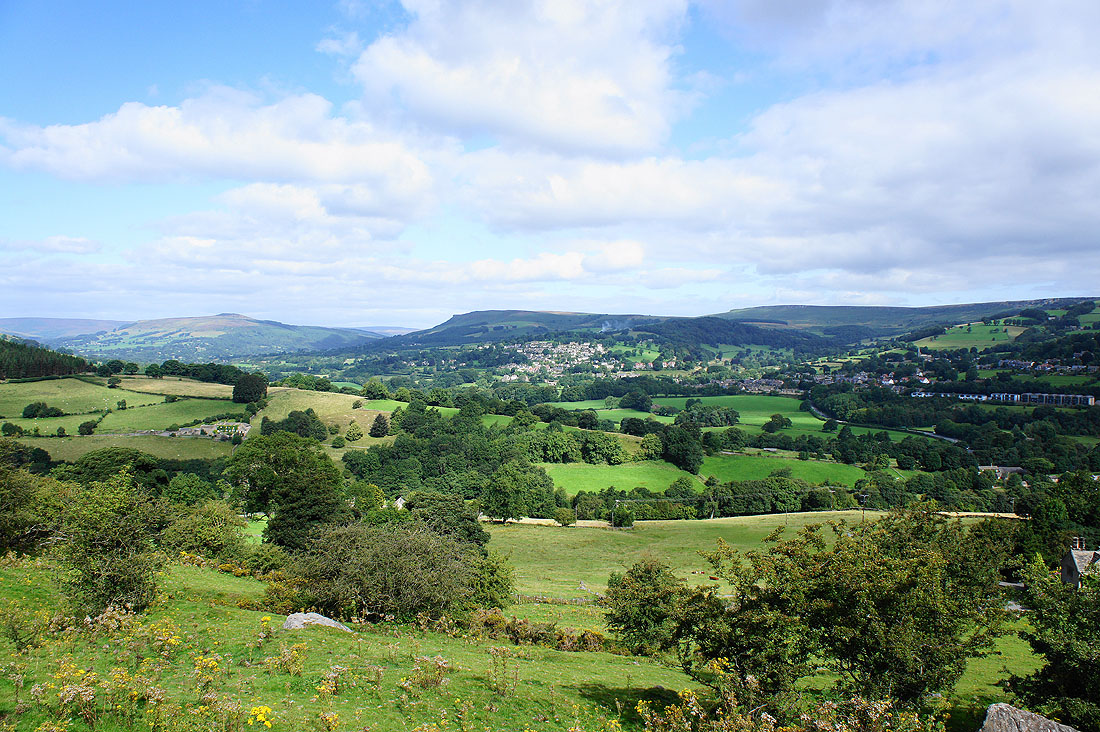
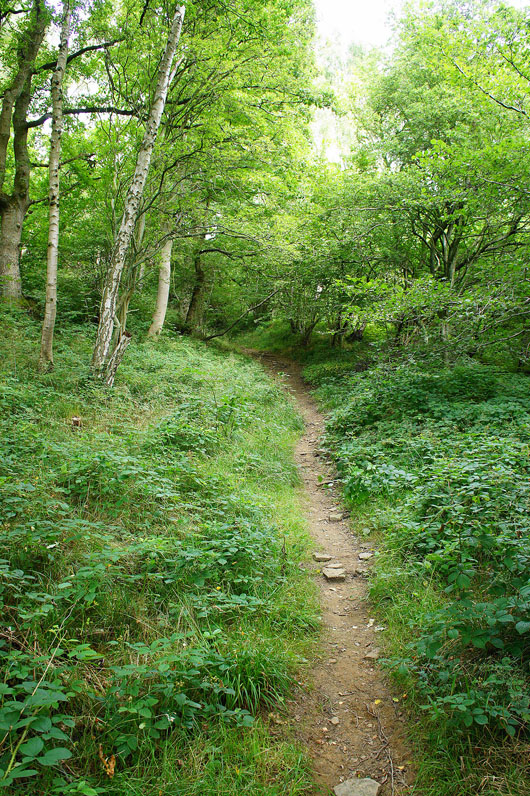
Looking back to Hathersage as we follow the lane to Leam
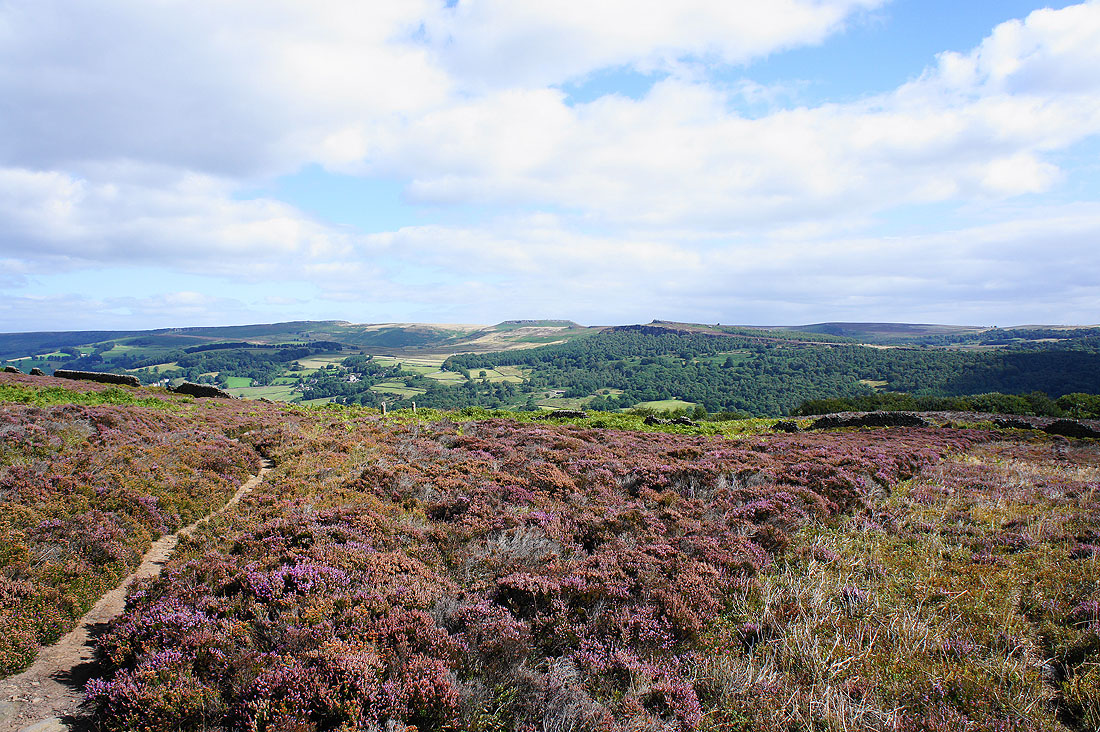
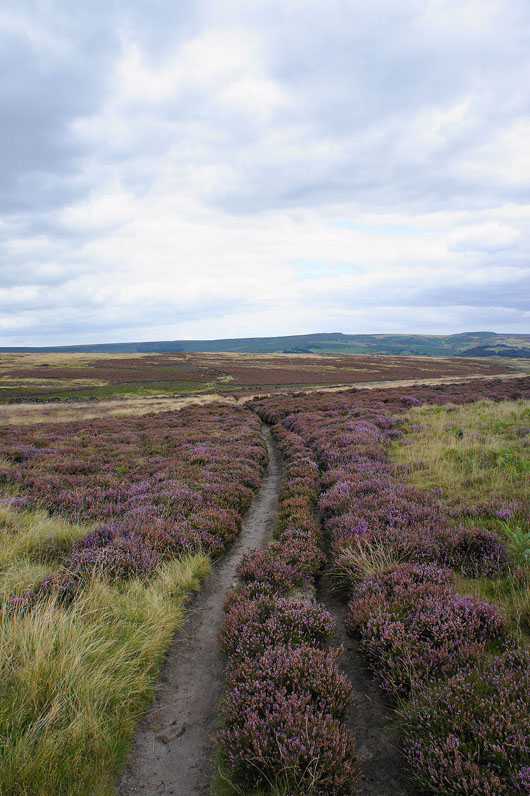
Up on Eyam Moor looking across to Higger Tor and Burbage Moor
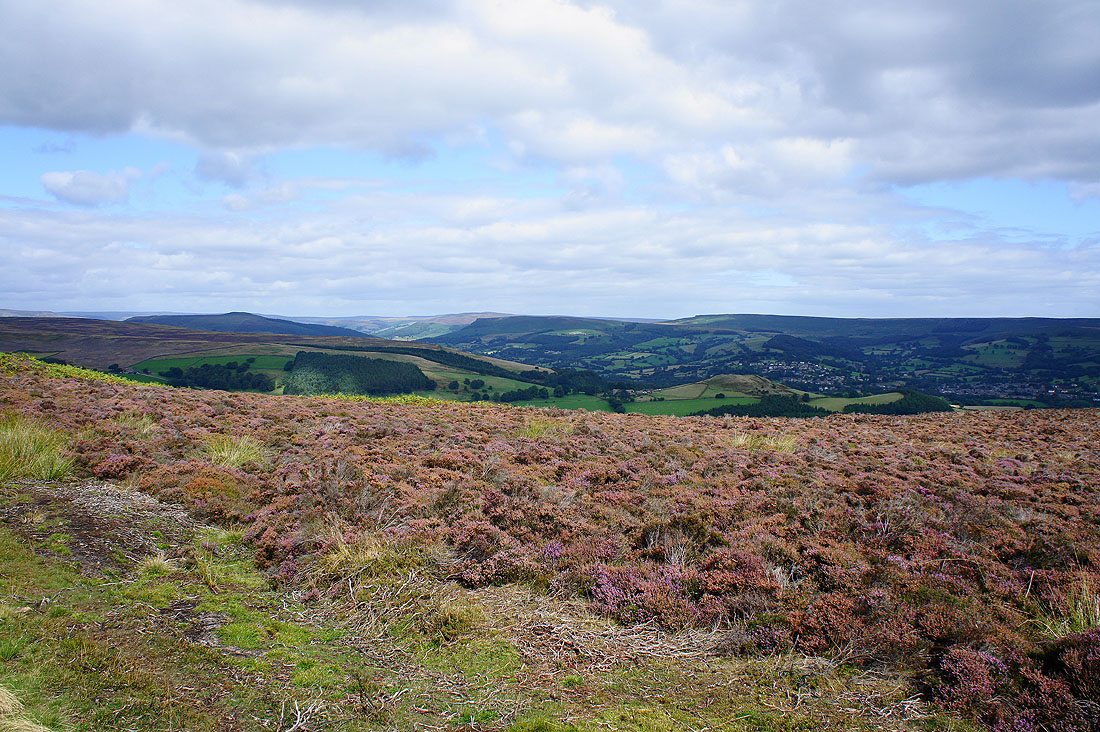
and a bit further on Win Hill, Bamford Edge and Stanage Edge
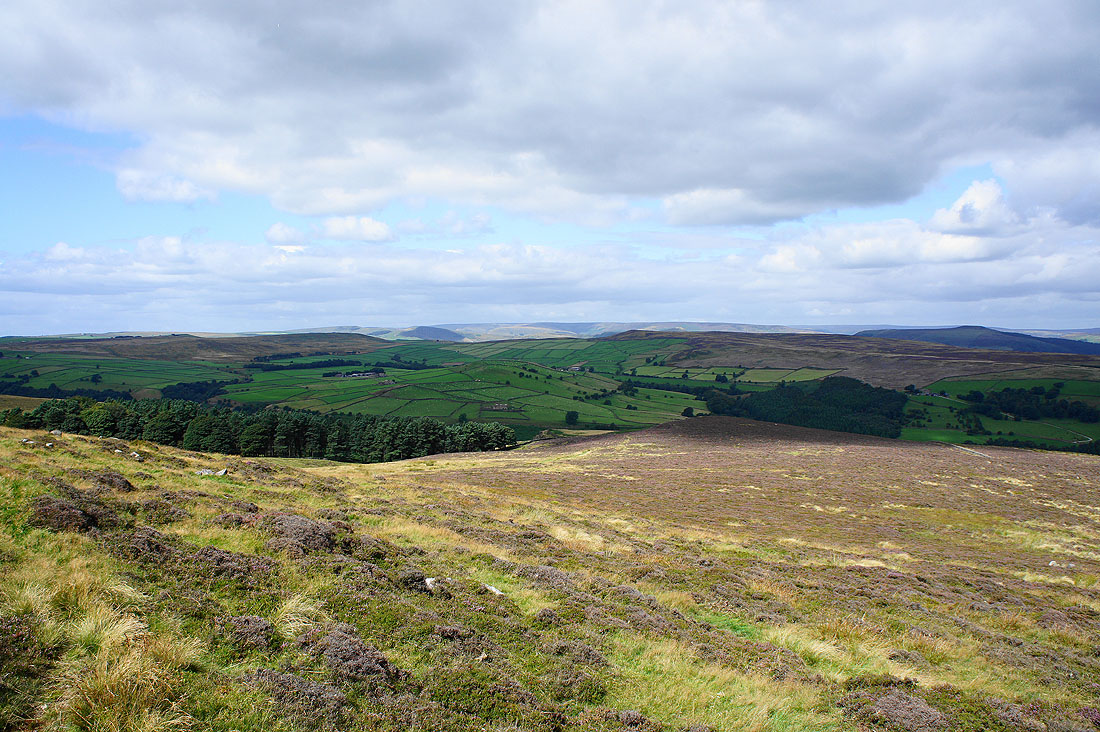
At the high point of the crossing of Eyam Moor. Kinder Scout in the distance with Offerton Moor on the right.
Win Hill, Bamford Edge and Stanage Edge
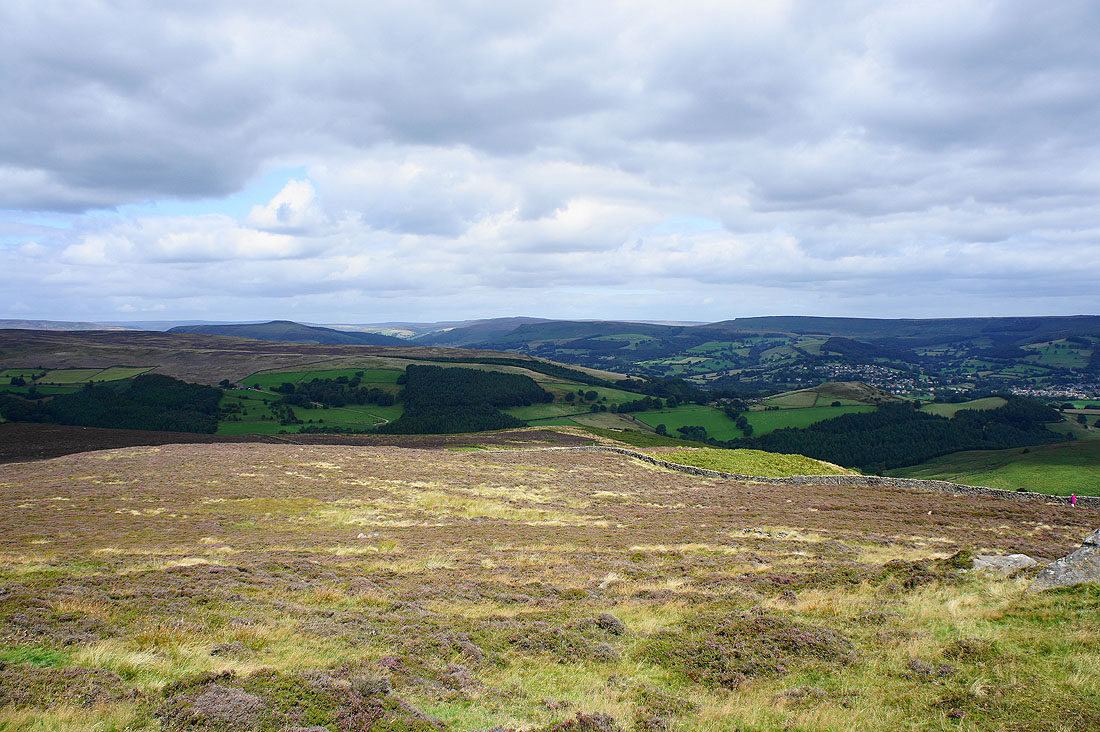
Hathersage below Stanage Edge, Higger Tor, Millstone Edge and Burbage Moor
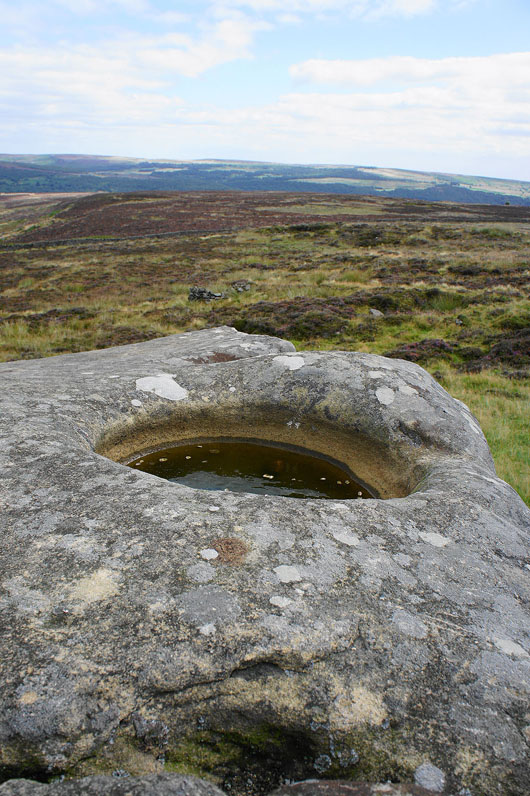
The Rock Basin (it's on the map) that we sat behind for our lunch
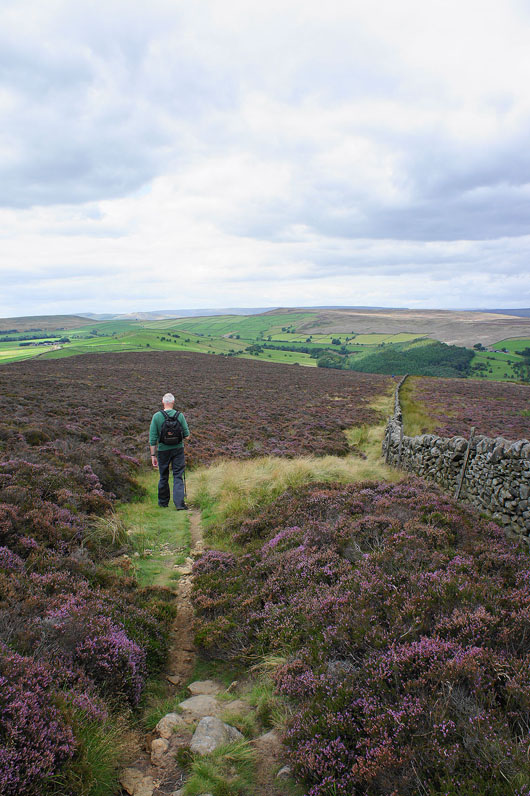
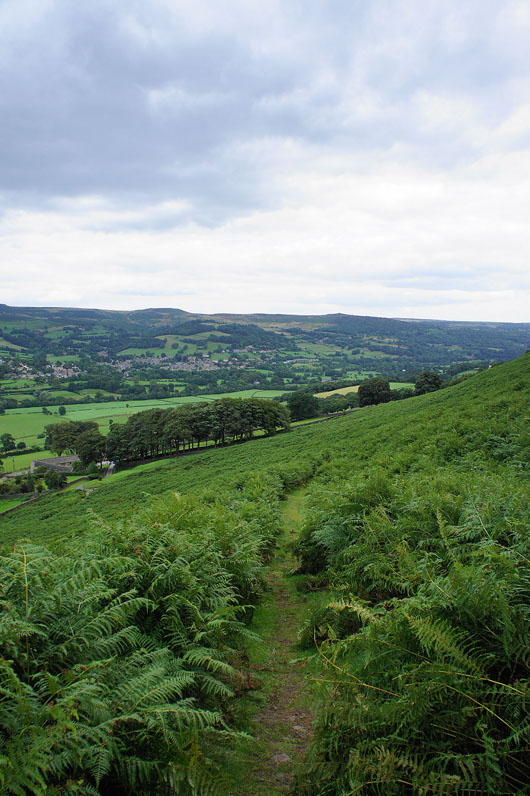
Heading down off Eyam Moor..
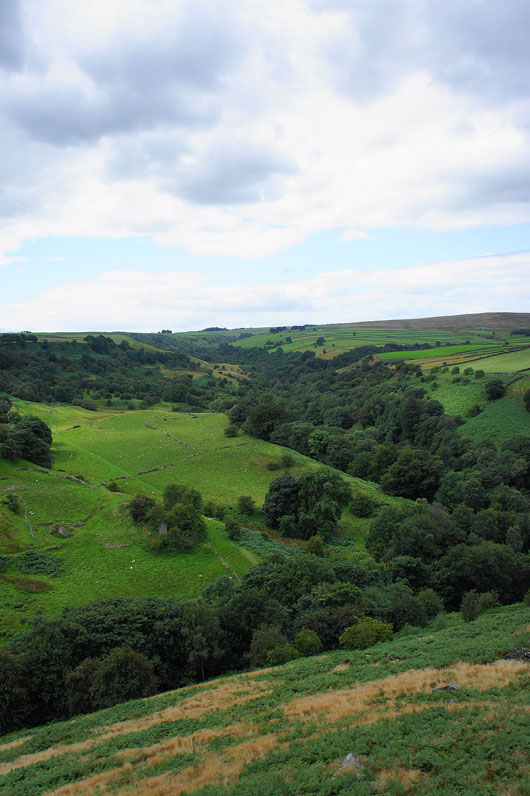
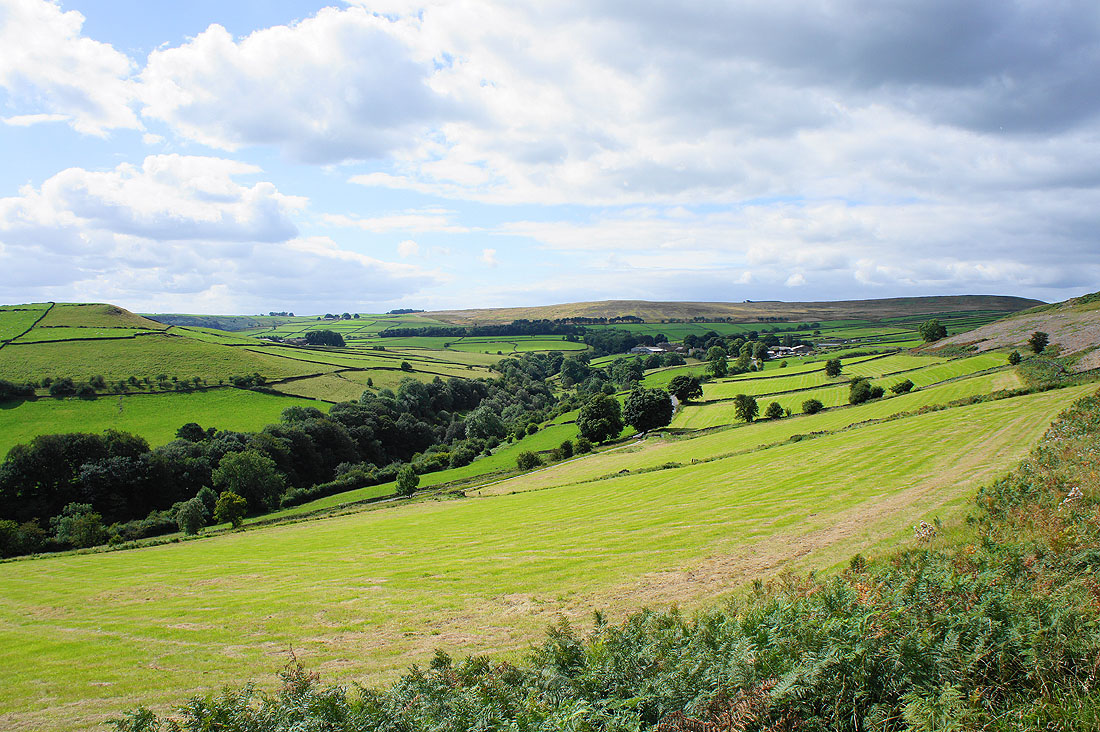
Bretton Clough
Heading up through Mill Wood having crossed Highlow Brook
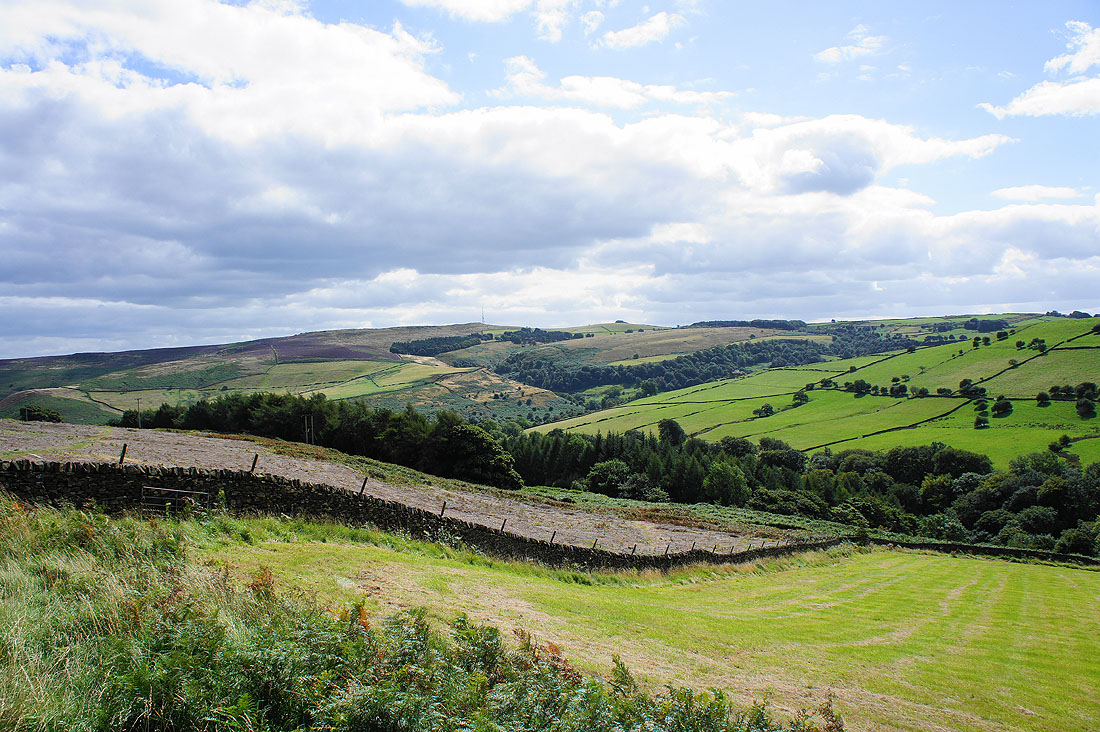
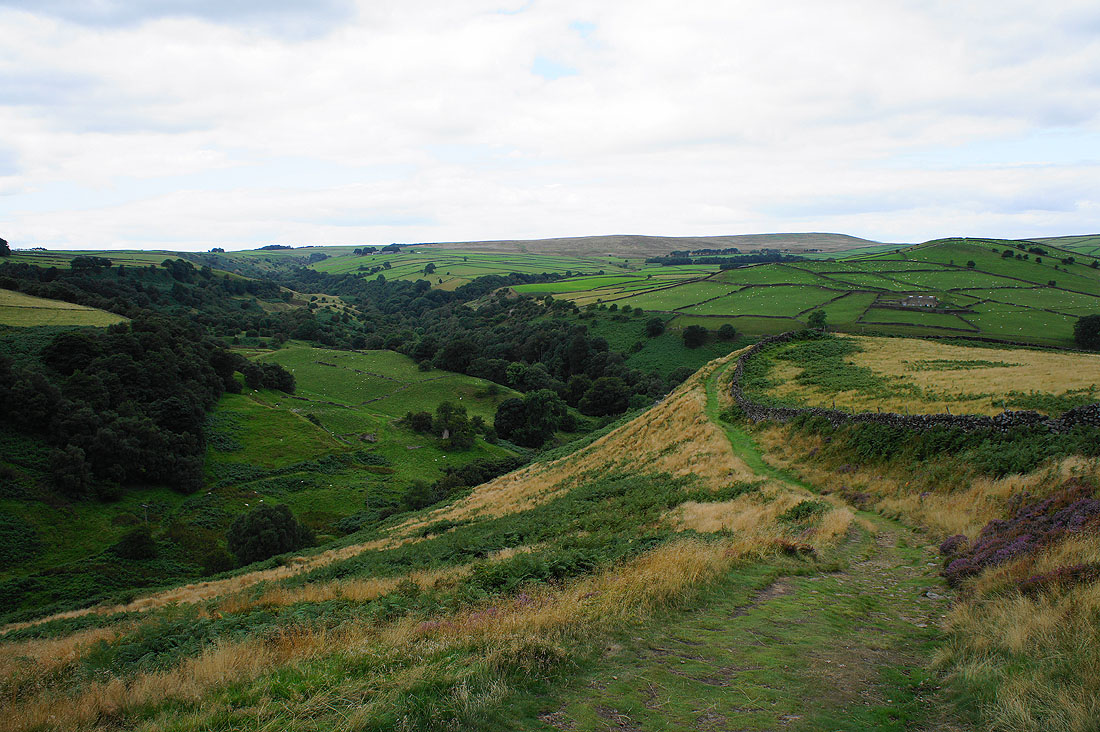
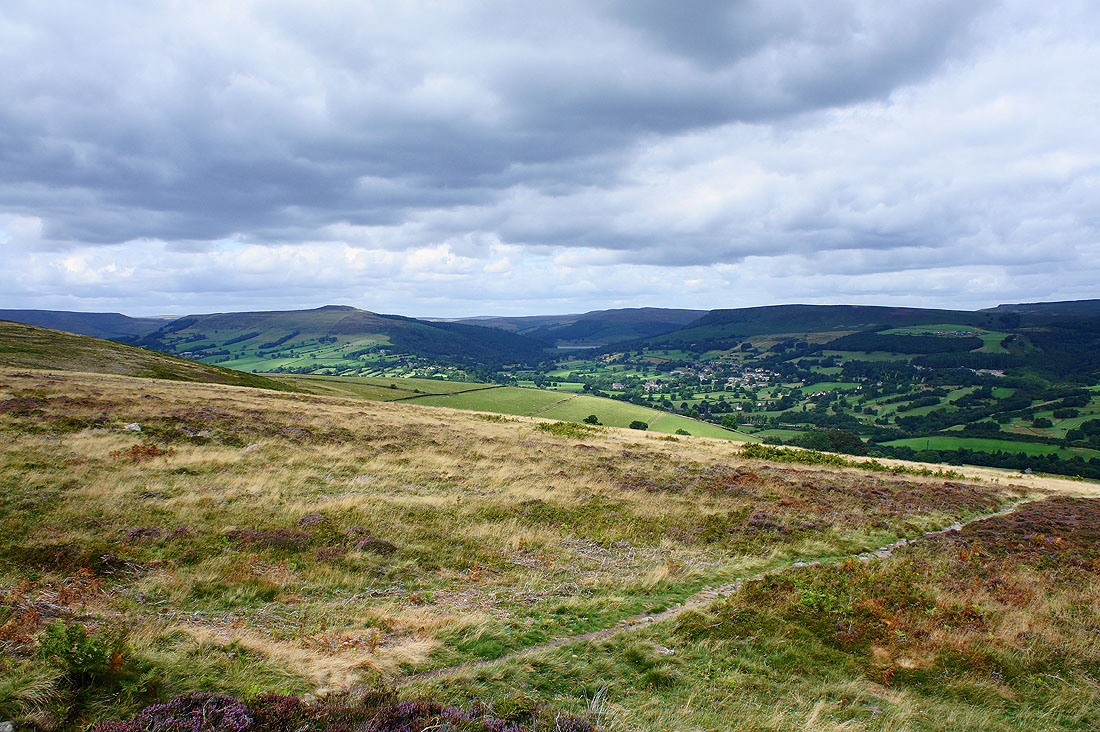
We've just passed Oaks Farm as we head for Offerton Moor. Looking across Abney Clough to Eyam Moor.
Abney Clough heading up to Abney
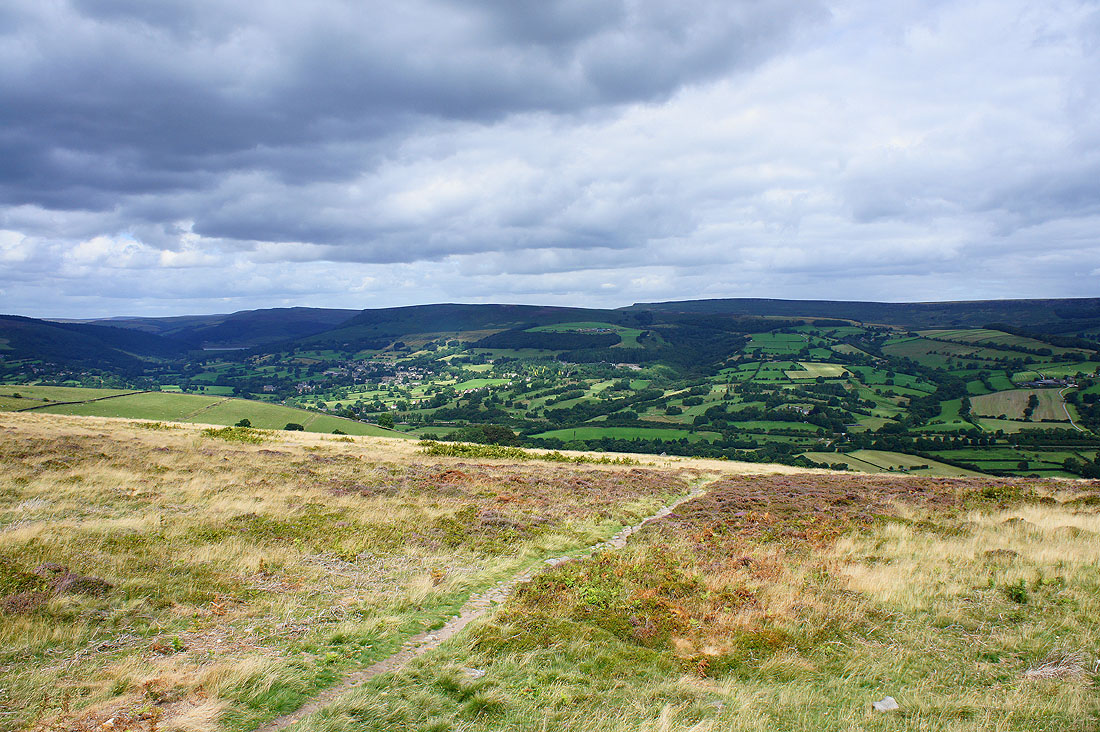
Crossing Offerton Moor
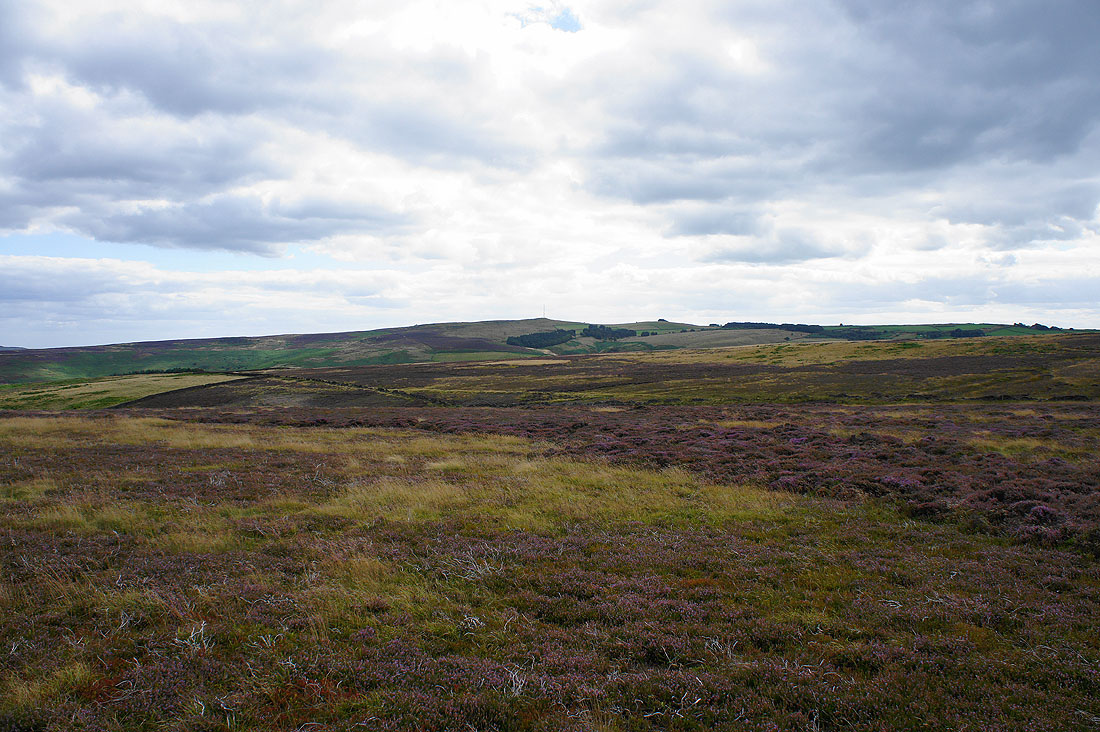
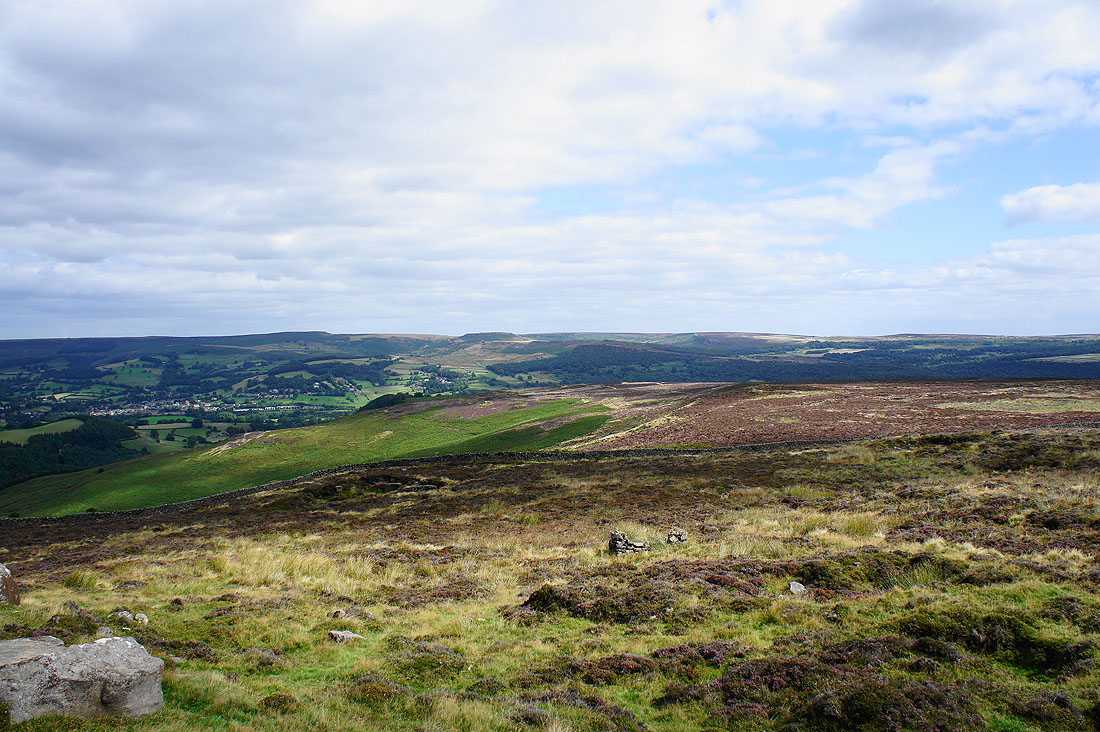
Eyam Moor in the distance
Great views as we're about to descend off Offerton Moor. Win Hill, Bamford and Bamford Edge.
Bamford, Bamford Edge, Stanage Edge and the Derwent Valley

Stanage Edge, Hathersage and Higger Tor
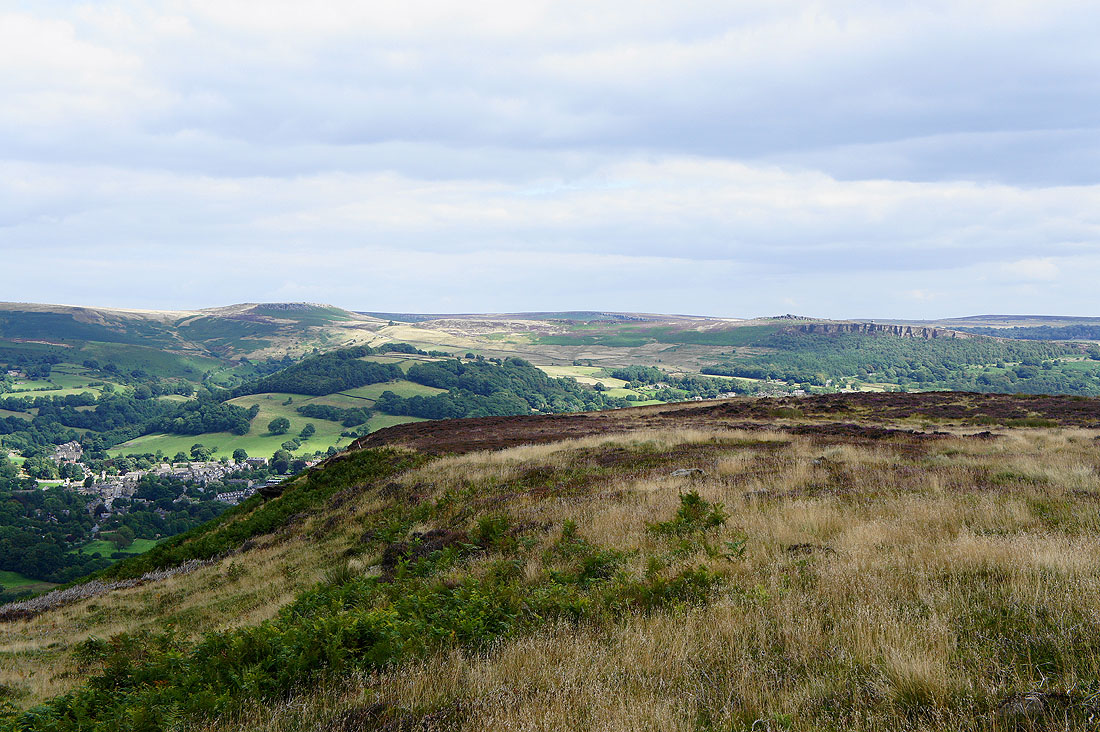
Zooming in on Higger Tor, Burbage Rocks, Mother Cap and Millstone Edge
Through the bracken and that's Offerton Hall down on the left
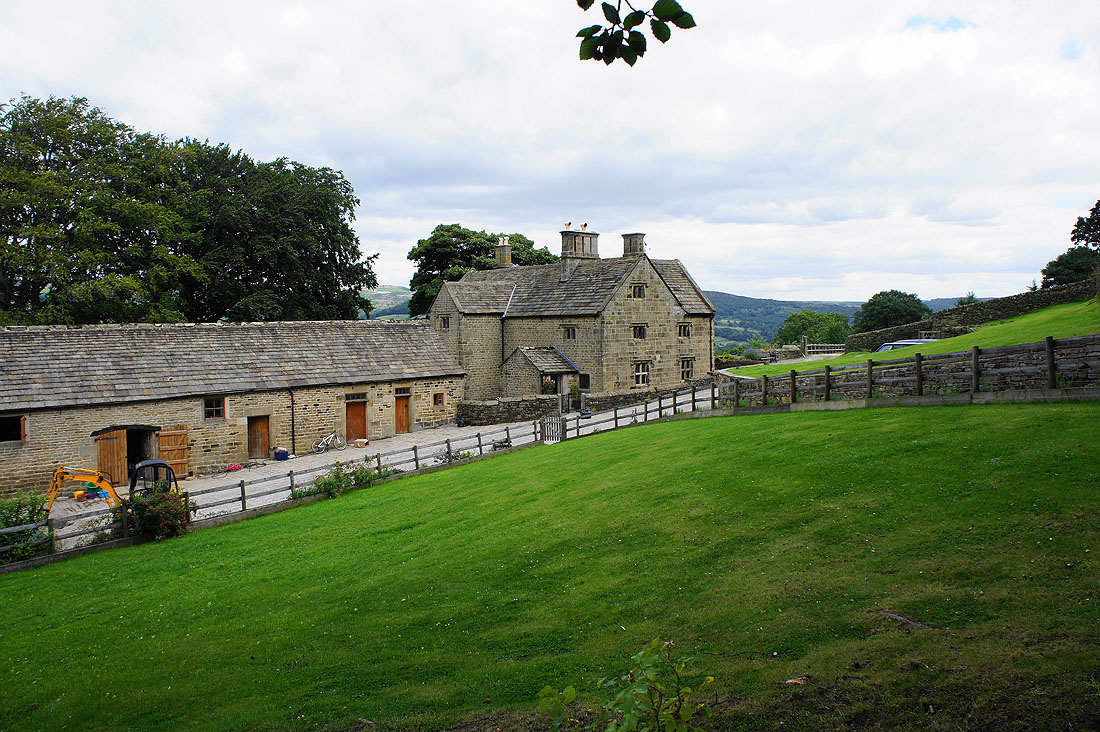
Offerton Hall
Hathersage in view as we head down to the River Derwent

Our route doesn't take us across these stepping stones but they are handy for letting me take pictures of the Derwent looking..
..upstream and..
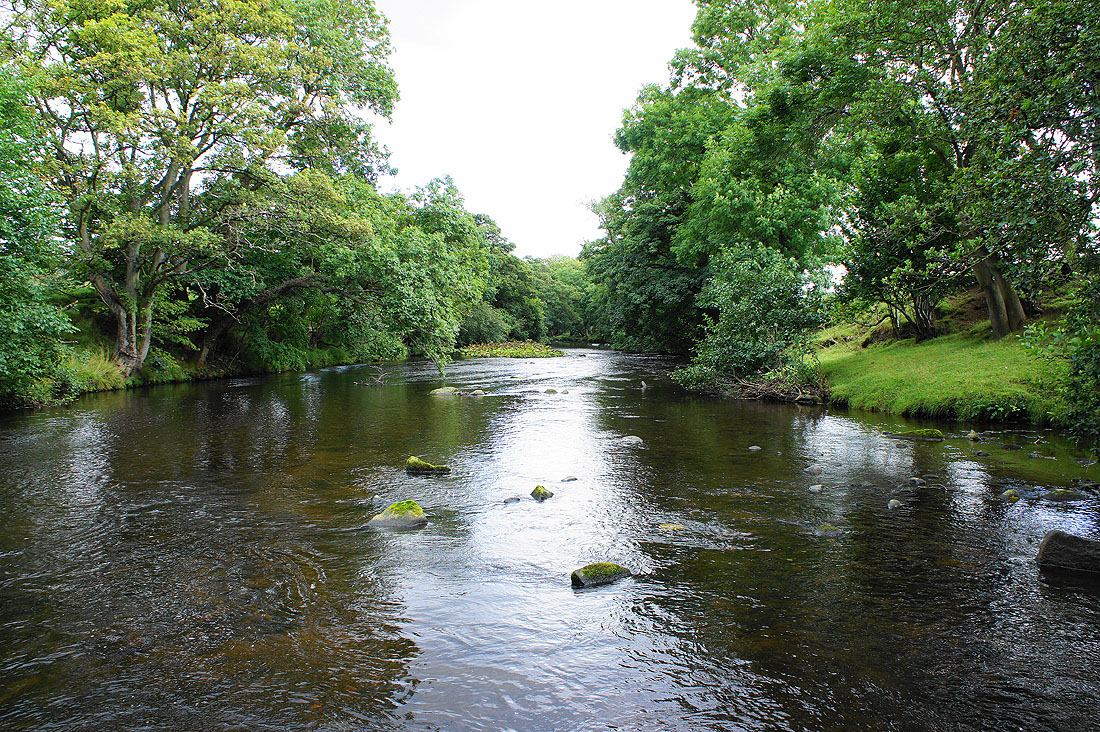
..downstream
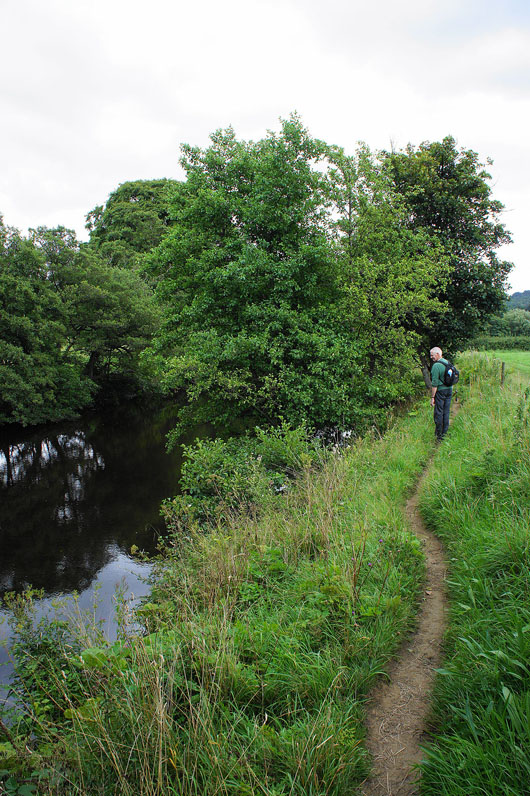
By the Derwent heading for Leadmill Bridge

Lose Hill above Edale in the distance and Win Hill
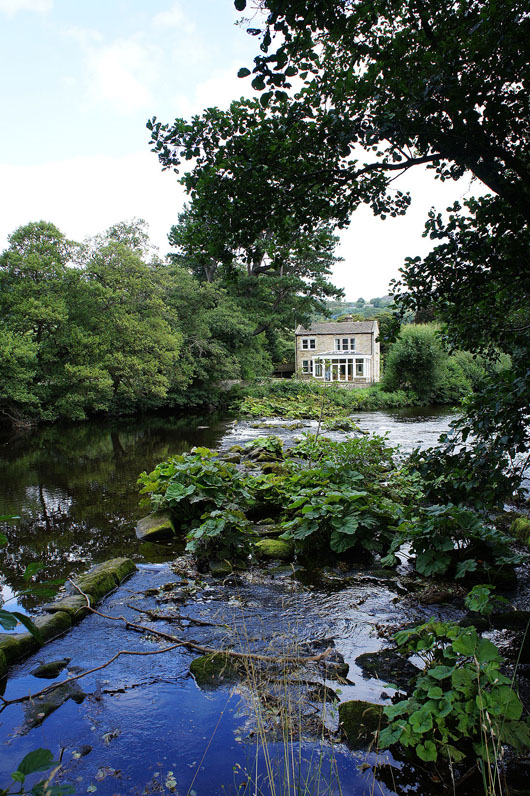
That house on the other side of the river has an attractive view
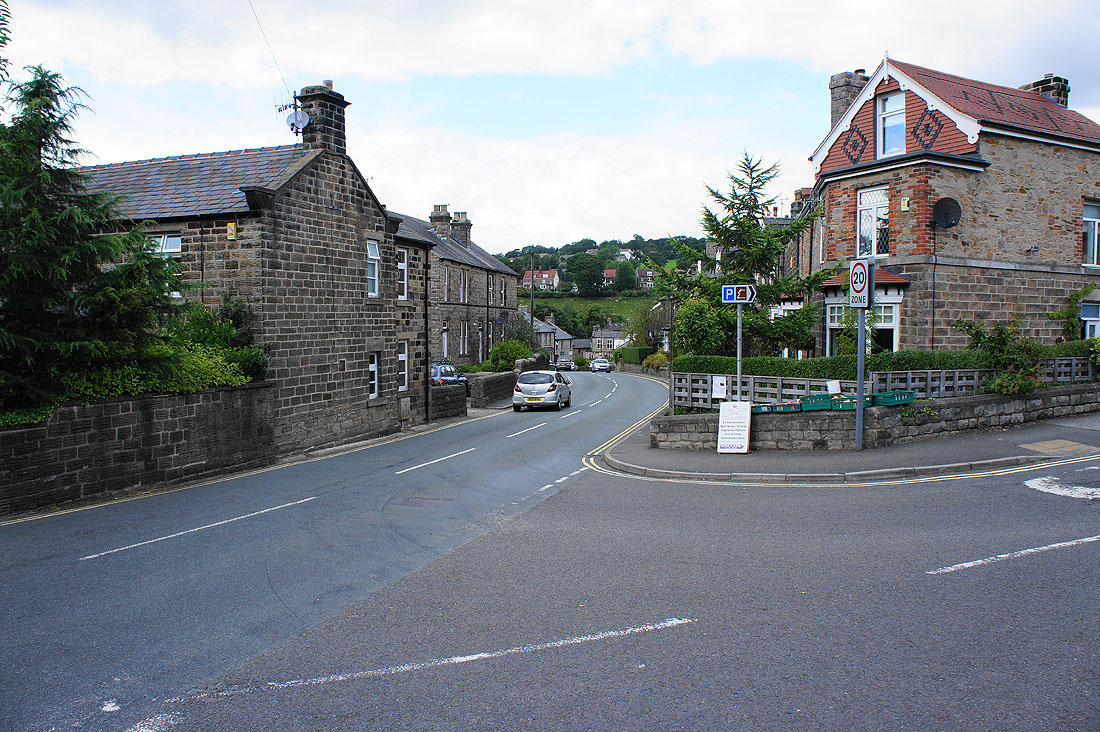
Back in Hathersage