5th February 2023 - Wild Boar Fell
Walk Details
Distance walked: 12.0 miles
Total ascent: 2372 ft
OS map used: OL19 - Howgill Fells & Upper Eden Valley
Time taken: 6.5 hrs
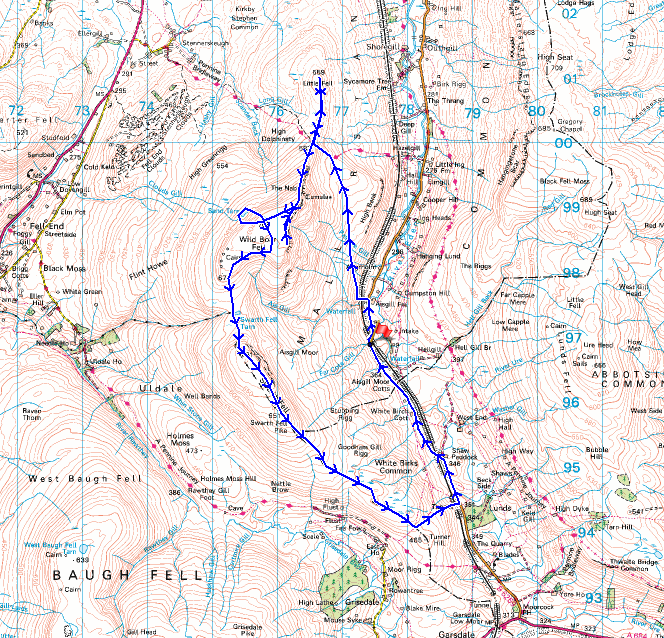
Route description: Cotegill Bridge on the B6259-Aisgill Farm-Mallerstang Common-Angerholme Pots-High Dolphinsty-Little Fell-High Dolphinsty-The Nab-Yoadcomb Scar-Wild Boar Fell-Sand Tarn-Wild Boar Fell-Swarth Fell-Swarth Fell Pike-Grisedale Common-B6259-Shaw Paddock Farm-Aisgill Moor Cottages-Cotegill Bridge on the B6259
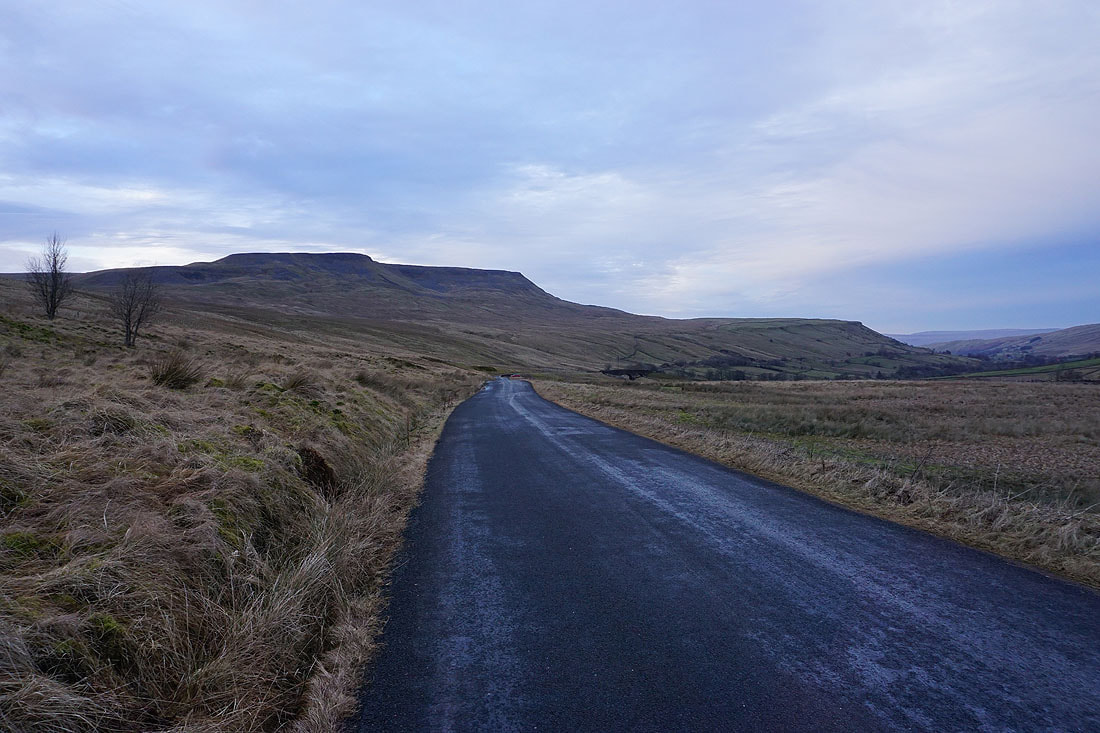
There's a fine winter's day forecast so I've decided to head to the north of the Yorkshire Dales for a walk up Wild Boar Fell from Mallerstang. It's a fell that I've always had an enjoyable day's hiking on, and today was no exception. The route that I ended up doing was a bit different from the one that I've always done when starting from Mallerstang. Instead of descending from Swarth Fell Pike across the moorland of Stubbing Rigg to Aisgill Moor Cottages I kept to the moorland ridge until I reached the Grisedale to Mallerstang bridleway, which I would use to get to Aisgill Moor Cottages. My thinking behind this decision was to avoid the boggy ground of the descent across access land, and that the bridleway would have better conditions underfoot. It was worth trying once but I won't go that way again. There may be a bridleway marked on the map but it looks like the line on the ground has disappeared through lack of use, which meant that I ended up following a quadbike track down access land to the road below and a long walk along the road back to Cotegill Bridge. The weather turned out as forecast, but there was a lot of high cloud around at times which made any sunshine very hazy.
Starting from a layby on the south side of Cotegill Bridge I set off by walking north along the road to Aisgill Farm. Here a gate on the left gave me access to a track that heads up to and under a viaduct to a gate in the intake wall. Once through I followed a reasonably clear path north in the grass above the intake wall to reach the limestone pavement of Angerholme Pots and then the bridleway up to High Dolphinsty. Here I turned right and made my way north to the summit of Little Fell before retracing my steps to High Dolphinsty to take the path up to The Nab on Wild Boar Fell and along the escarpment to Yoadcomb Scar. A shelter here proved useful for having lunch out of the wind. Lunch had, I made my way to the trig point on the summit. While I was here I had to see Sand Tarn, though it did mean climbing back up to the summit again afterwards. I then crossed the summit plateau to reach a fence and the path south down to Swarth Fell. After having a final break on Swarth Fell's summit I continued south to Swarth Fell Pike, then followed the fence southeast along the moorland ridge and across Grisedale Common until I reached where the Grisedale to Mallerstang bridleway crosses the moor. I had intended to follow the bridleway down to Aisgill Moor Cottages in Mallerstang, but I just couldn't find its line, so a quadbike track was used to descend the moor to reach the road where access land crosses Shotlock Tunnel. Once down to the road I walked north along it past Shaw Paddock Farm and Aisgill Moor Cottages back to Cotegill Bridge.
Total ascent: 2372 ft
OS map used: OL19 - Howgill Fells & Upper Eden Valley
Time taken: 6.5 hrs
Route description: Cotegill Bridge on the B6259-Aisgill Farm-Mallerstang Common-Angerholme Pots-High Dolphinsty-Little Fell-High Dolphinsty-The Nab-Yoadcomb Scar-Wild Boar Fell-Sand Tarn-Wild Boar Fell-Swarth Fell-Swarth Fell Pike-Grisedale Common-B6259-Shaw Paddock Farm-Aisgill Moor Cottages-Cotegill Bridge on the B6259
There's a fine winter's day forecast so I've decided to head to the north of the Yorkshire Dales for a walk up Wild Boar Fell from Mallerstang. It's a fell that I've always had an enjoyable day's hiking on, and today was no exception. The route that I ended up doing was a bit different from the one that I've always done when starting from Mallerstang. Instead of descending from Swarth Fell Pike across the moorland of Stubbing Rigg to Aisgill Moor Cottages I kept to the moorland ridge until I reached the Grisedale to Mallerstang bridleway, which I would use to get to Aisgill Moor Cottages. My thinking behind this decision was to avoid the boggy ground of the descent across access land, and that the bridleway would have better conditions underfoot. It was worth trying once but I won't go that way again. There may be a bridleway marked on the map but it looks like the line on the ground has disappeared through lack of use, which meant that I ended up following a quadbike track down access land to the road below and a long walk along the road back to Cotegill Bridge. The weather turned out as forecast, but there was a lot of high cloud around at times which made any sunshine very hazy.
Starting from a layby on the south side of Cotegill Bridge I set off by walking north along the road to Aisgill Farm. Here a gate on the left gave me access to a track that heads up to and under a viaduct to a gate in the intake wall. Once through I followed a reasonably clear path north in the grass above the intake wall to reach the limestone pavement of Angerholme Pots and then the bridleway up to High Dolphinsty. Here I turned right and made my way north to the summit of Little Fell before retracing my steps to High Dolphinsty to take the path up to The Nab on Wild Boar Fell and along the escarpment to Yoadcomb Scar. A shelter here proved useful for having lunch out of the wind. Lunch had, I made my way to the trig point on the summit. While I was here I had to see Sand Tarn, though it did mean climbing back up to the summit again afterwards. I then crossed the summit plateau to reach a fence and the path south down to Swarth Fell. After having a final break on Swarth Fell's summit I continued south to Swarth Fell Pike, then followed the fence southeast along the moorland ridge and across Grisedale Common until I reached where the Grisedale to Mallerstang bridleway crosses the moor. I had intended to follow the bridleway down to Aisgill Moor Cottages in Mallerstang, but I just couldn't find its line, so a quadbike track was used to descend the moor to reach the road where access land crosses Shotlock Tunnel. Once down to the road I walked north along it past Shaw Paddock Farm and Aisgill Moor Cottages back to Cotegill Bridge.
Route map
© Crown copyright. All rights reserved. License number PU 100034184.
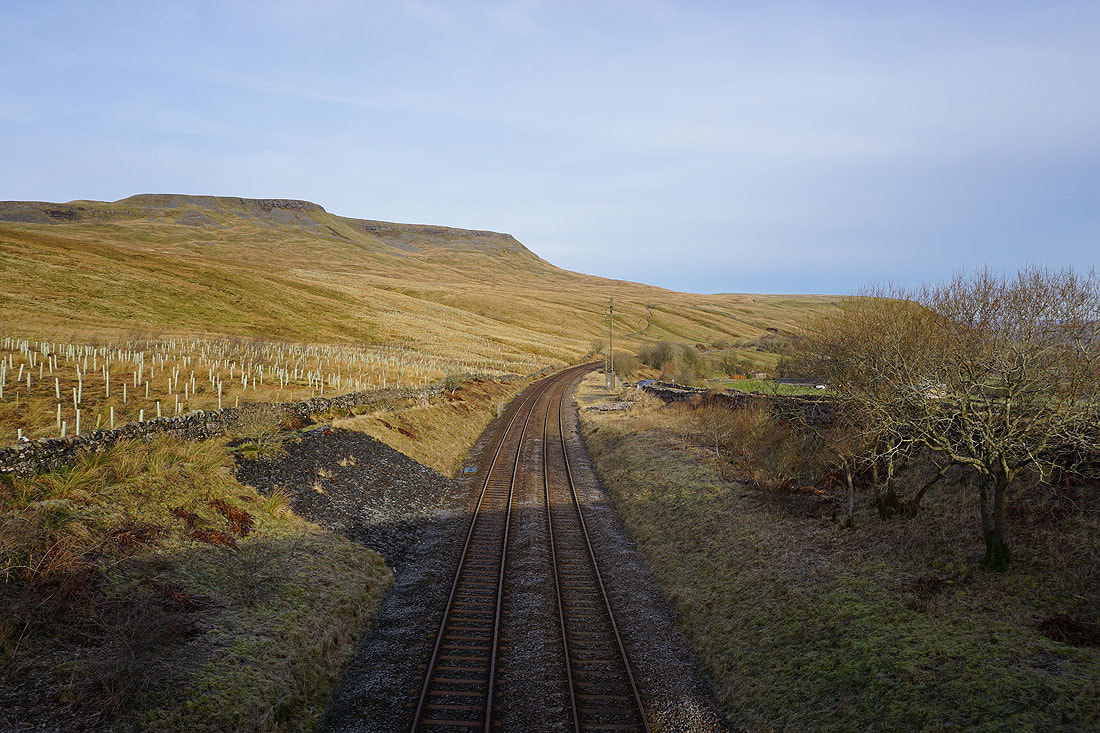
Wild Boar Fell as I cross the Settle to Carlisle line by Cotegill Bridge
Mallerstang Edge, High Seat, and Hangingstone Scar from Cotegill Bridge
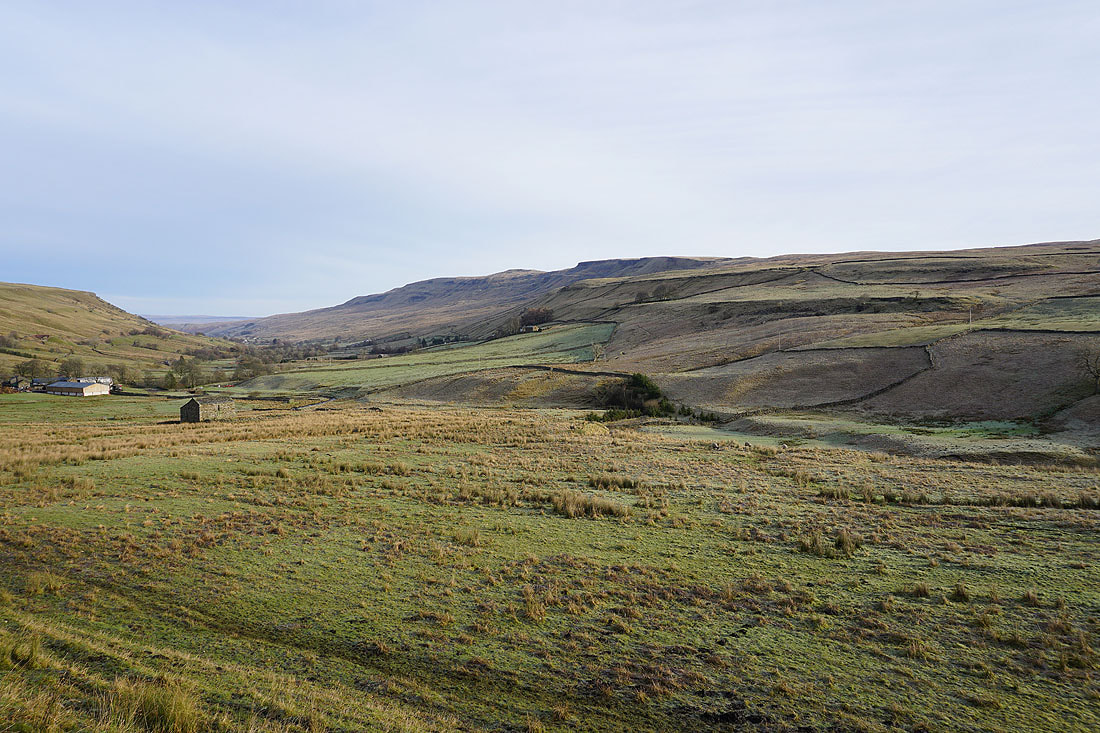
Heading north across Mallerstang Common
Looking south up Mallerstang towards Garsdale Head
Beneath The Nab on Wild Boar Fell
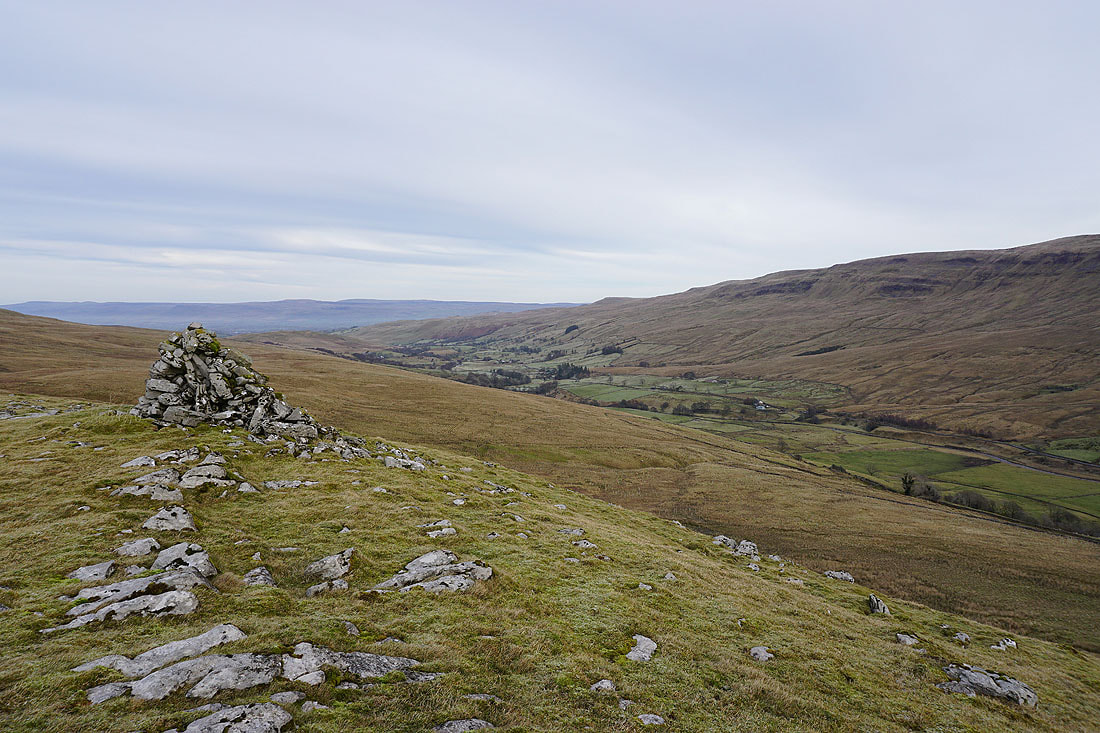
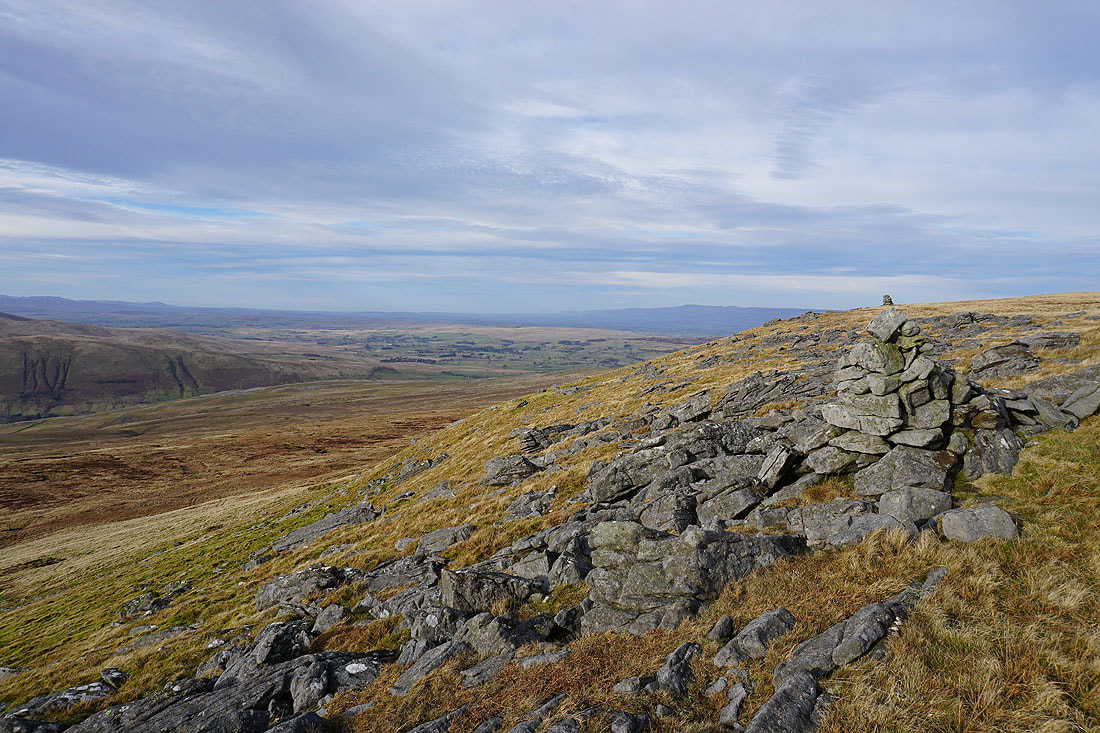
A cairn on the edge of the limestone pavement of Angerholme Pots gives me a view down Mallerstang
and across to High Dolphinsty, the nick in the skyline in the middle of the photo that I'm heading for

The Nab from Angerholme Pots
Looking back as I reach High Dolphinsty
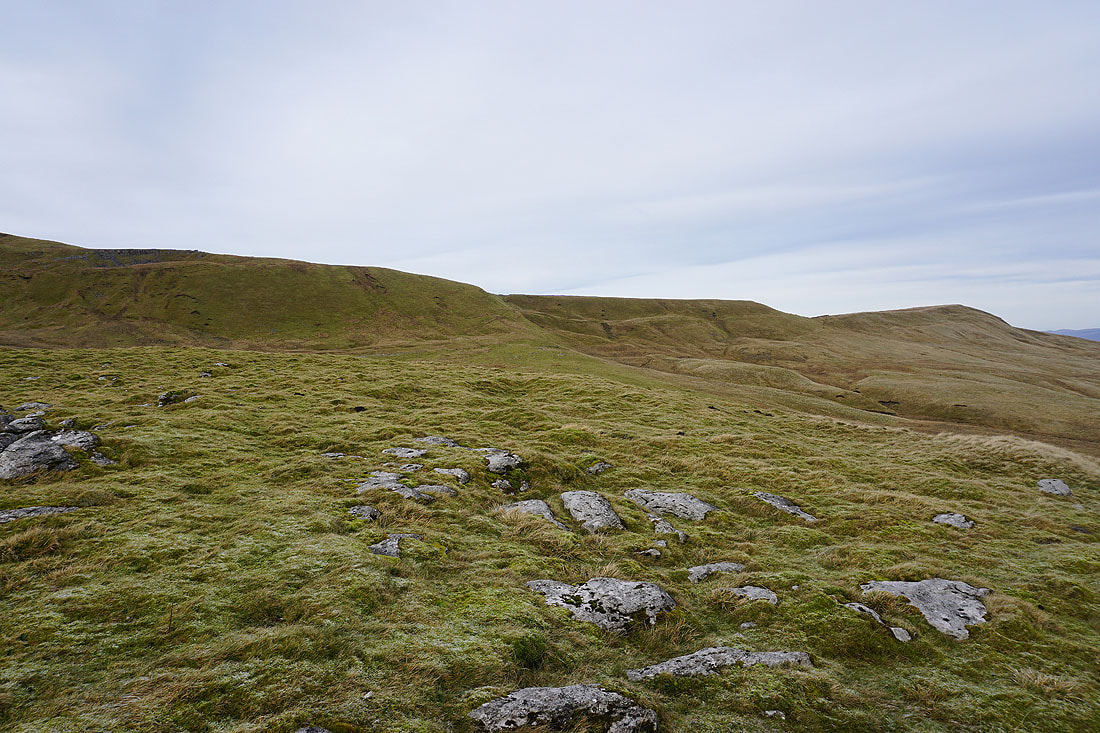
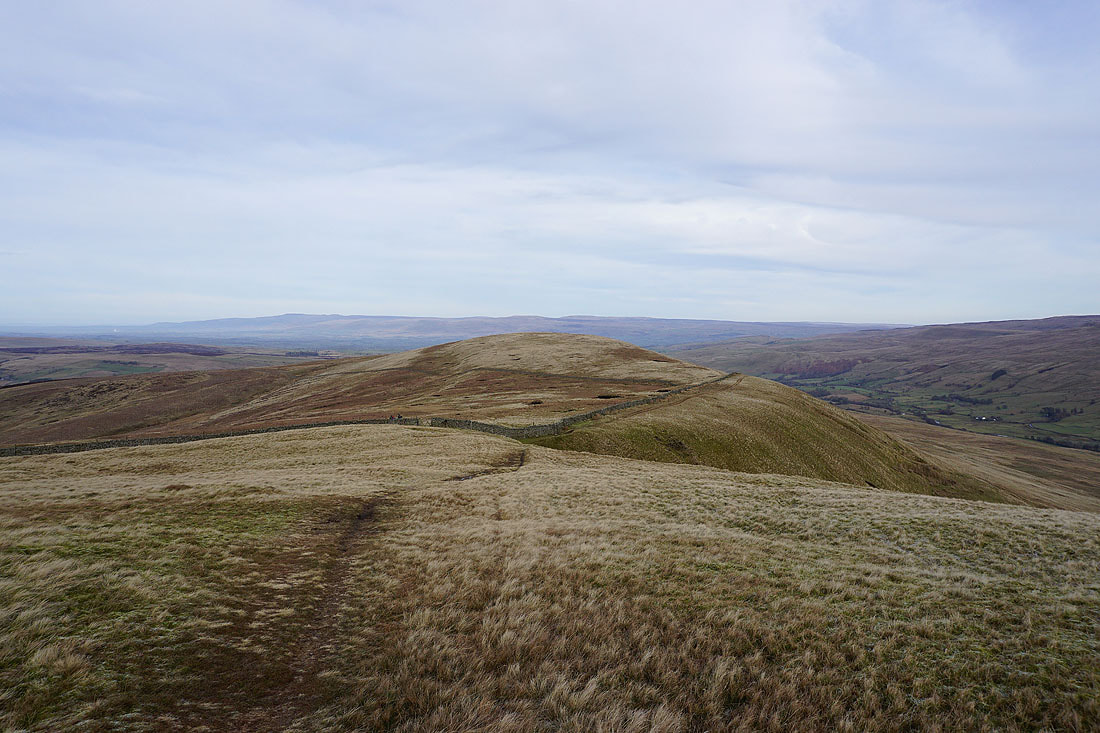
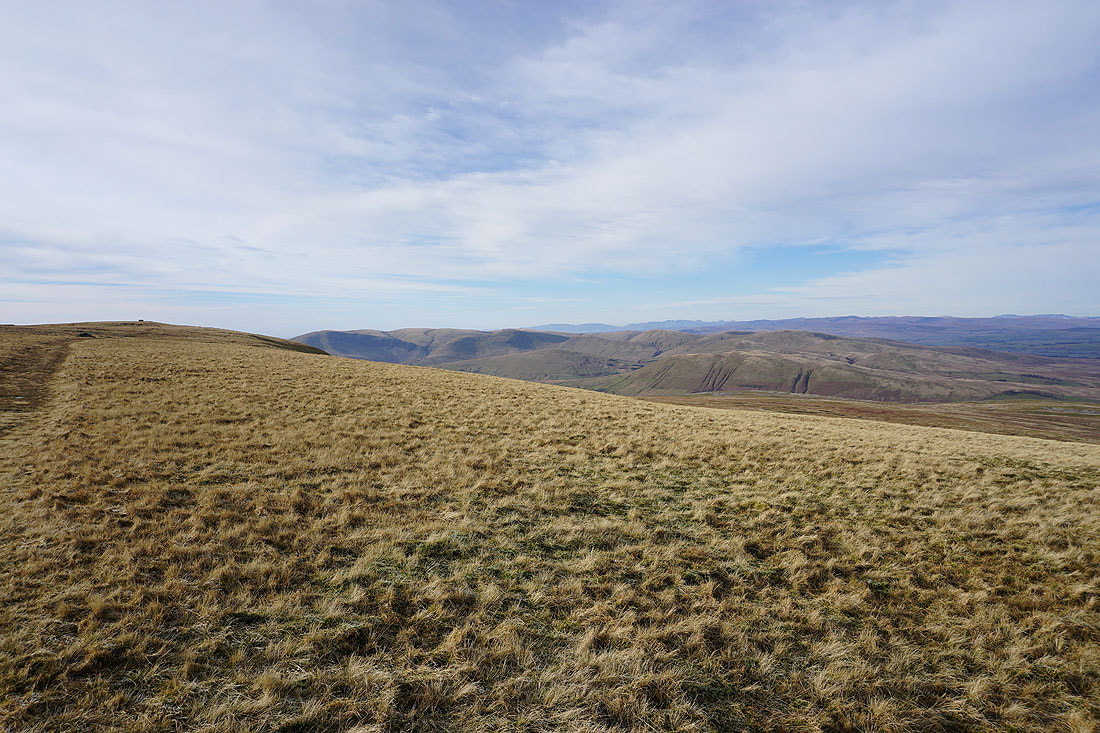
Heading north to Little Fell
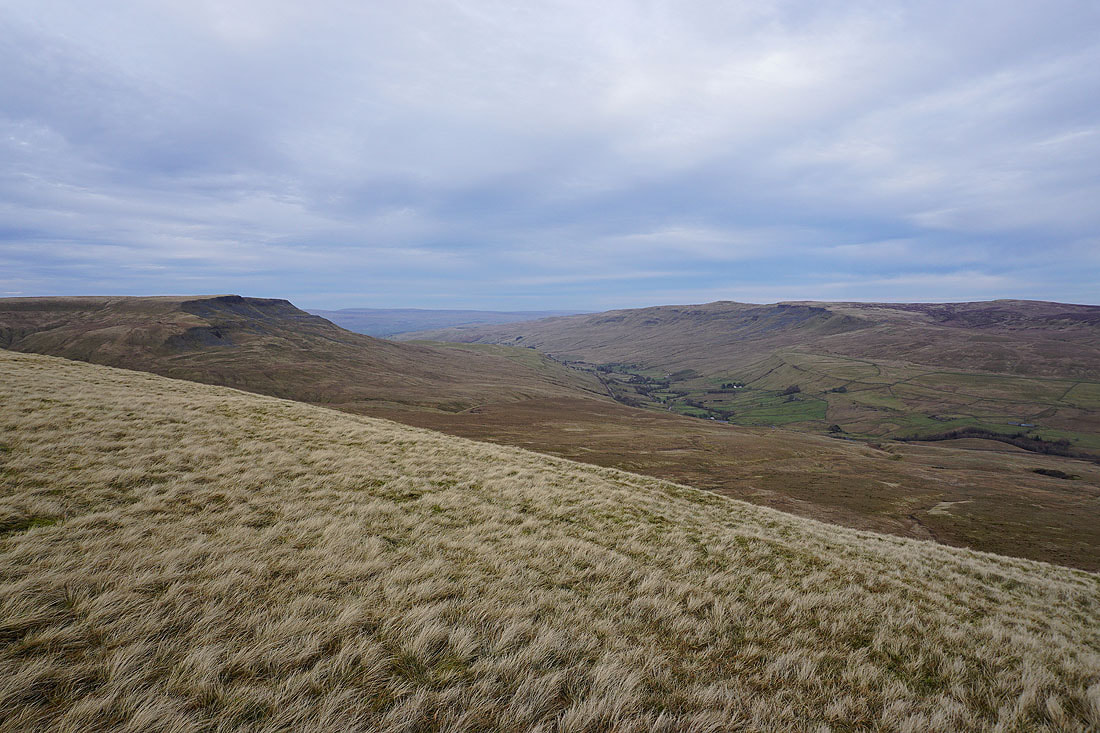
The Eden Valley and the North Pennines from the summit of Little Fell
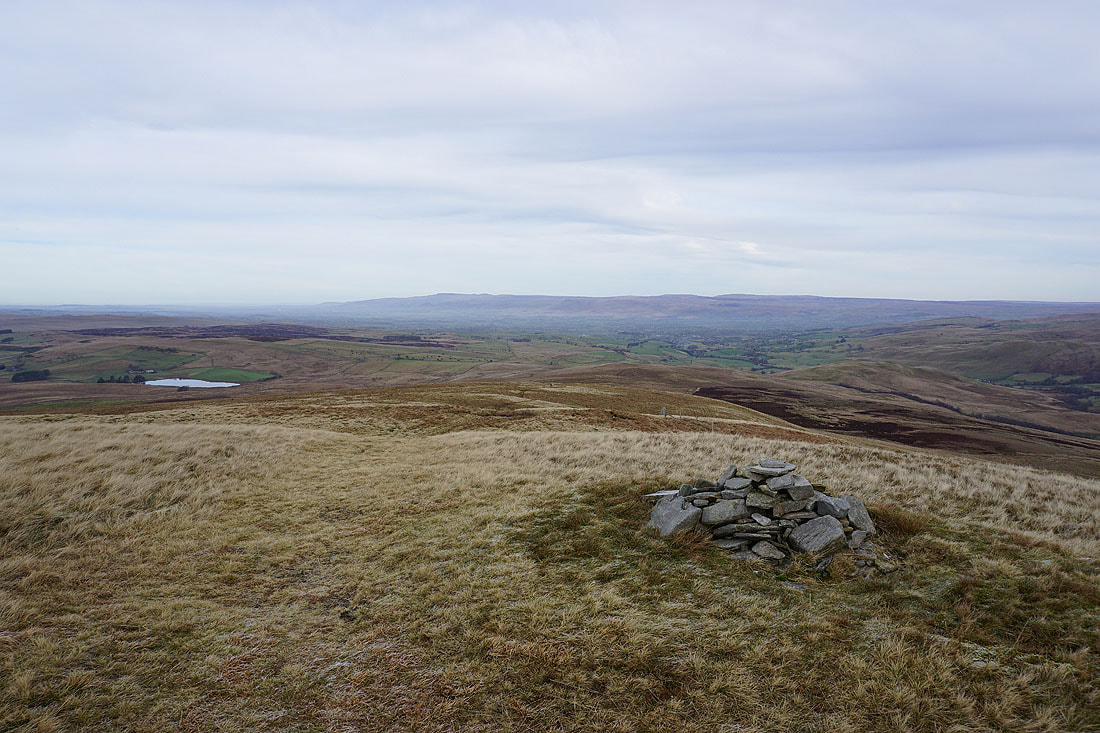
Views across Mallerstang from some cairns on the eastern edge of Little Fell..
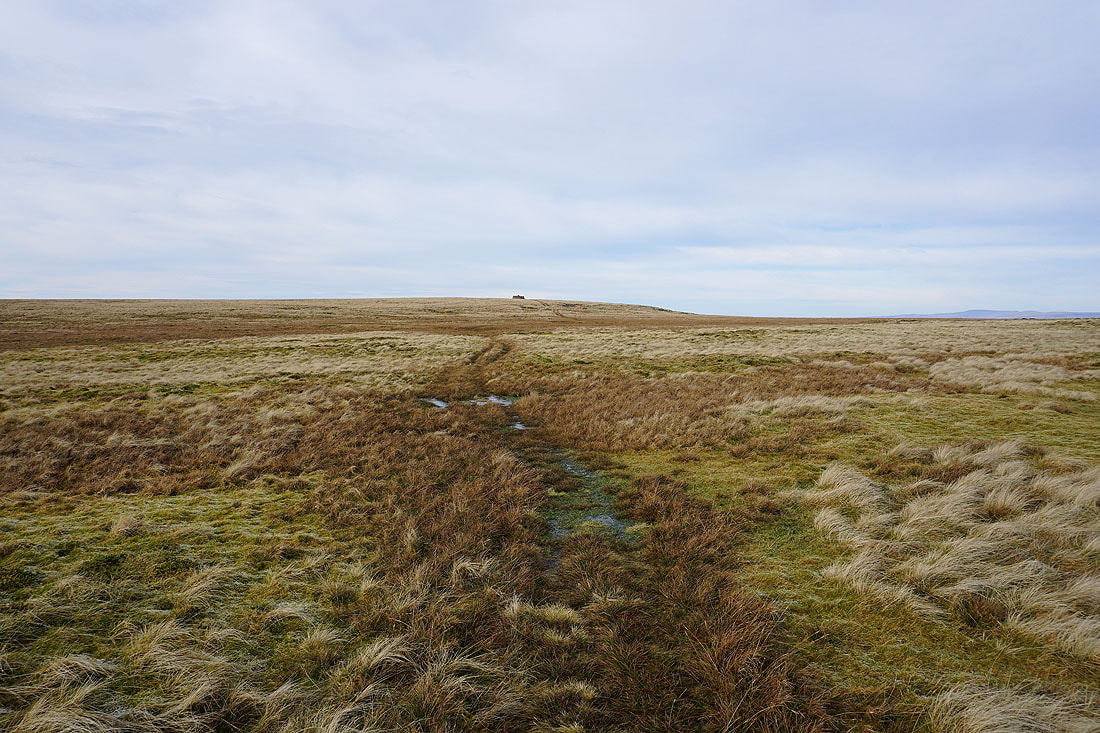
Heading back to High Dolphinsty, with Wild Boar ahead
Looking back to High Dolphinsty and Little Fell
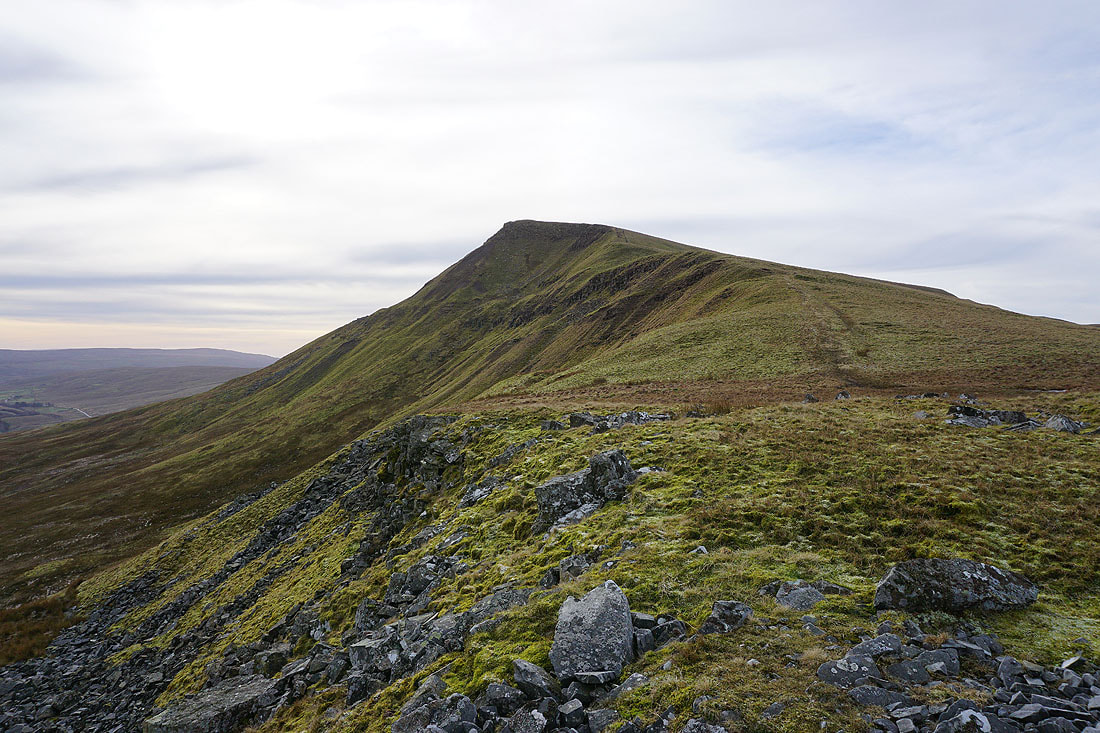
Heading up to The Nab on Wild Boar Fell
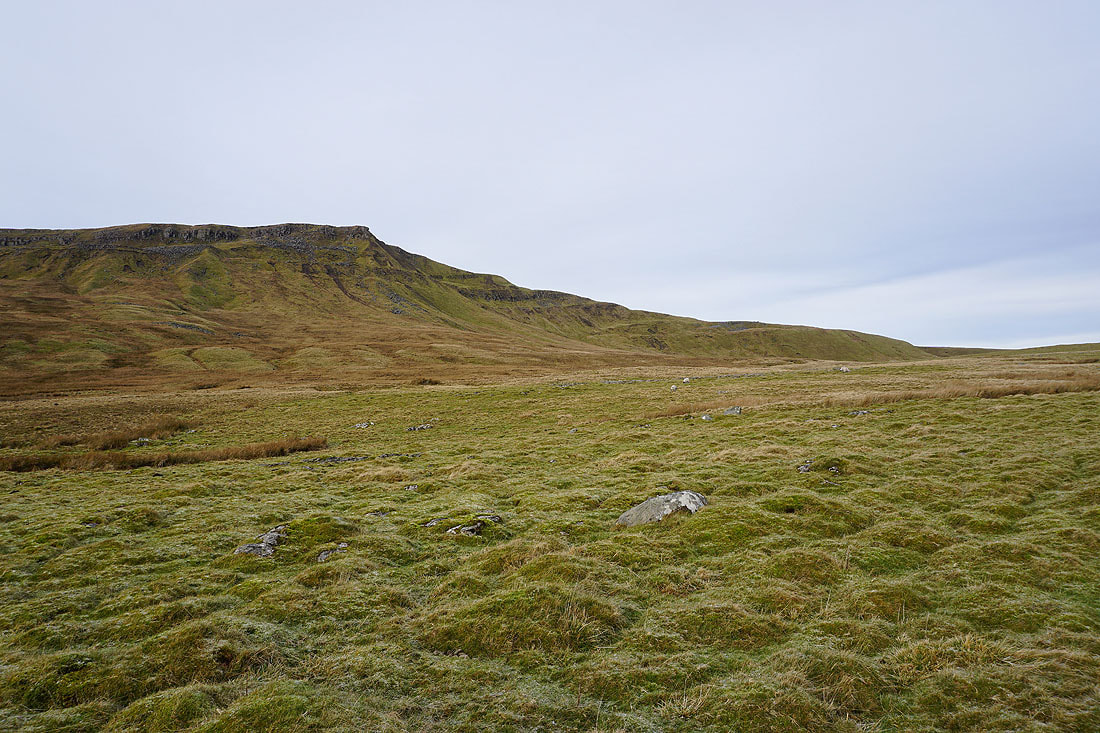
On The Nab looking south along Yoadcomb Scar with Ingleborough and Whernside in the distance
Little Fell to the north, with the North Pennines in the distance
The Howgills, along with the path up to the trig point on the left
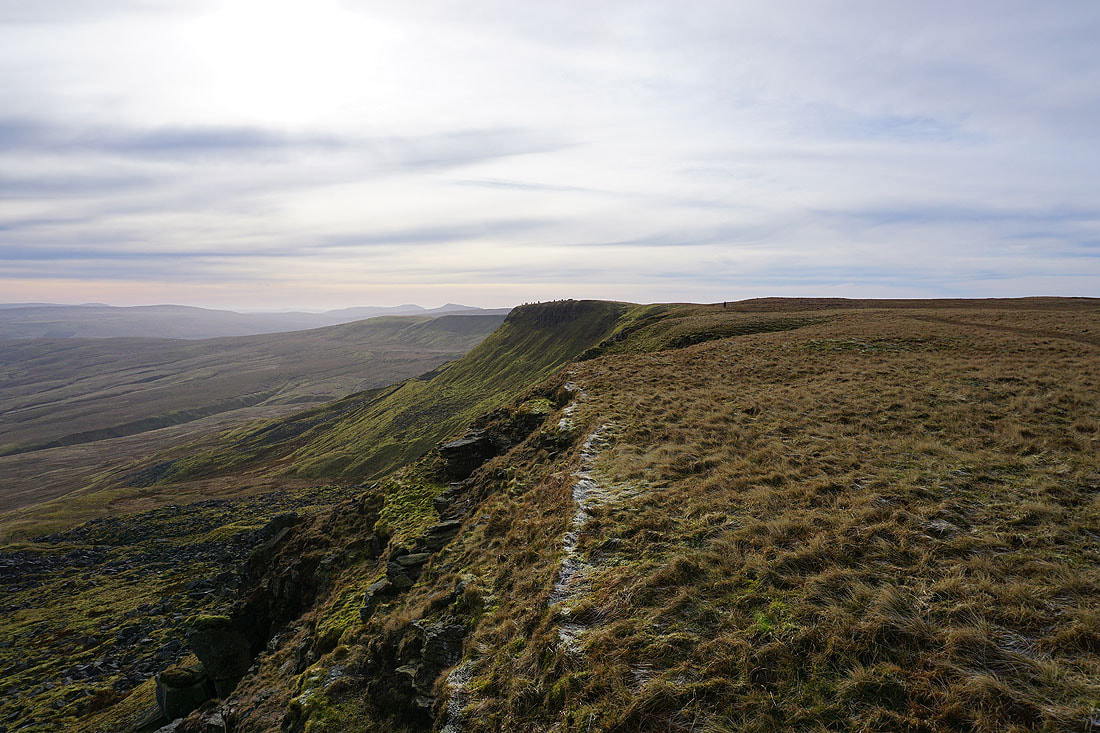
Heading south along the edge to Yoadcomb Scar..
..and to my left, the view south up Mallerstang to Garsdale Head, with the fells in the distance including Great Whernside and Penyghent
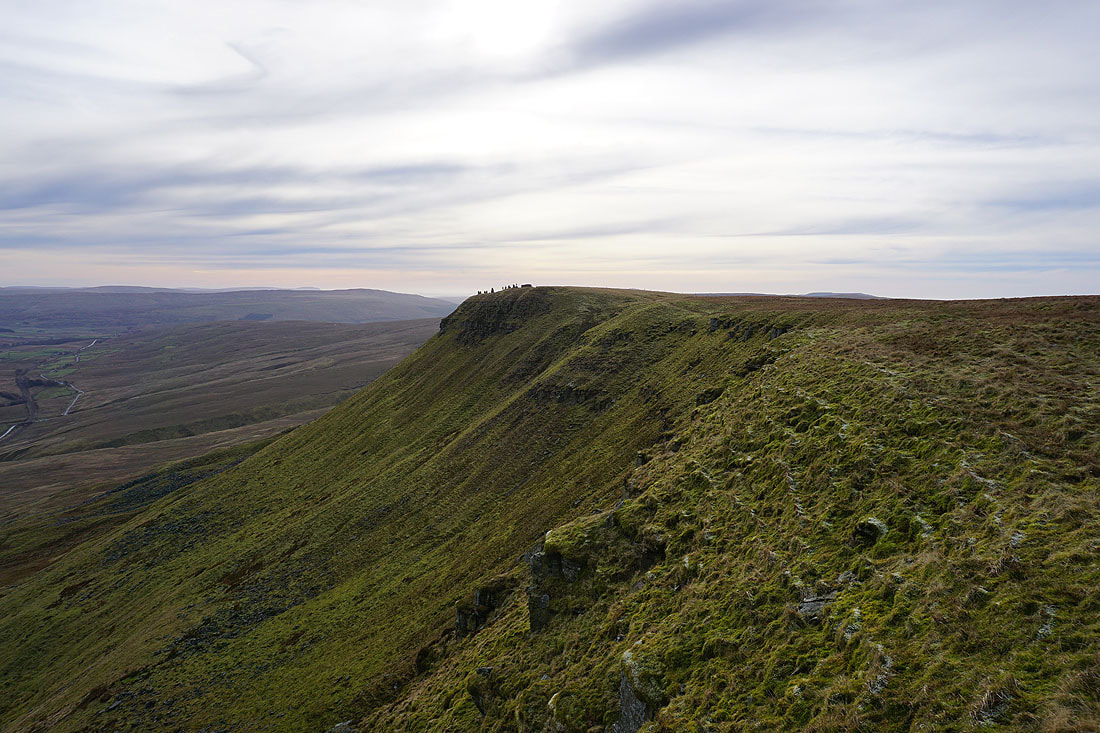
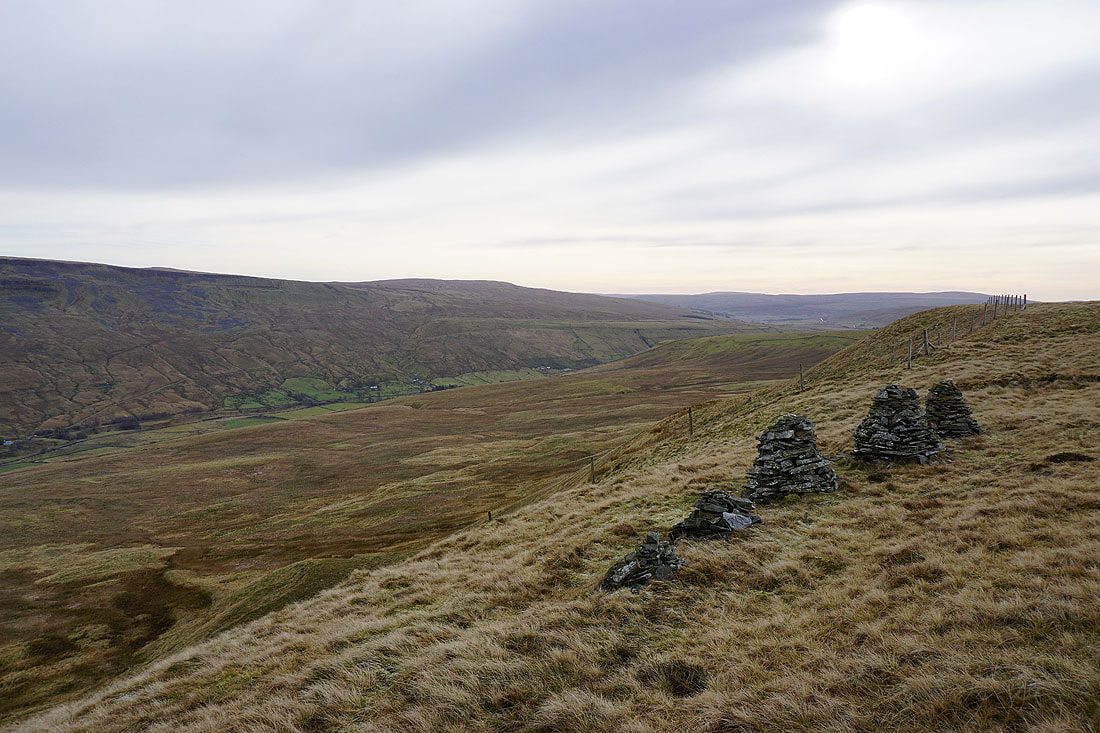
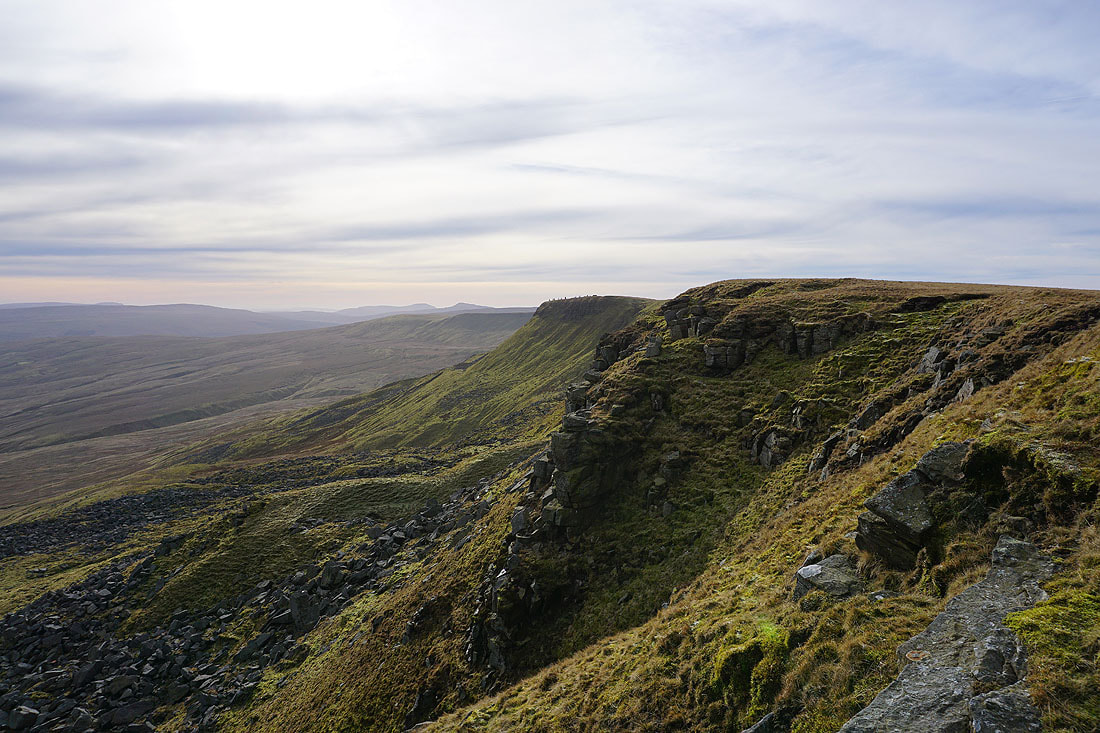
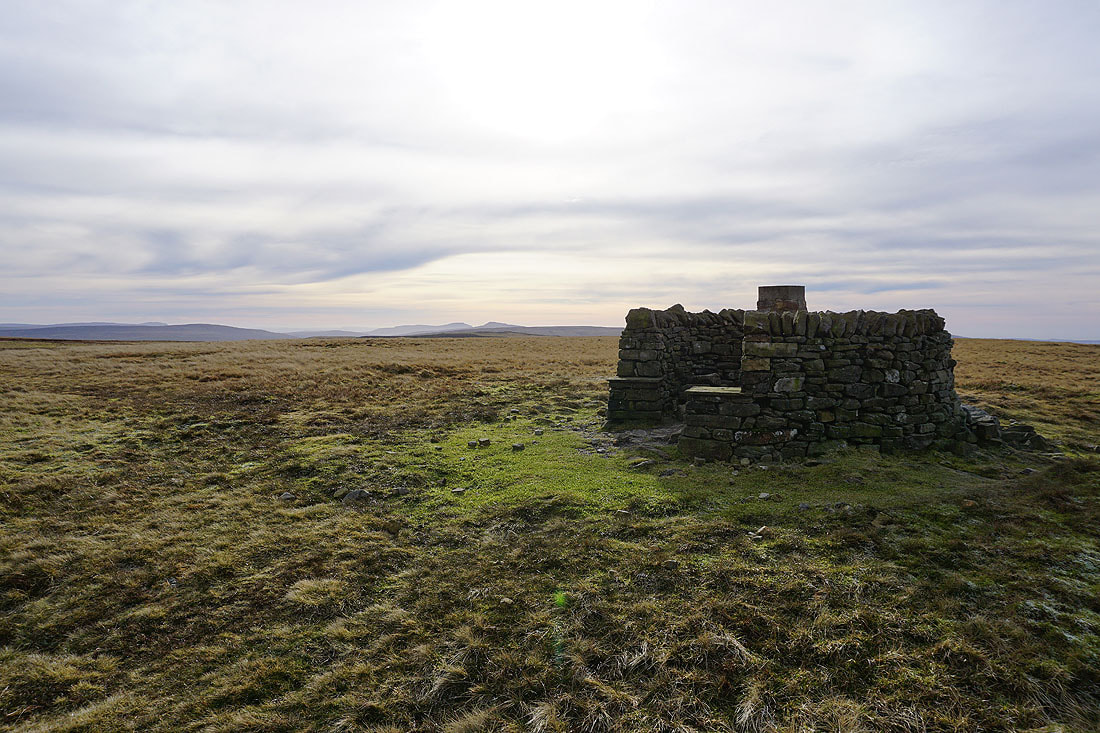
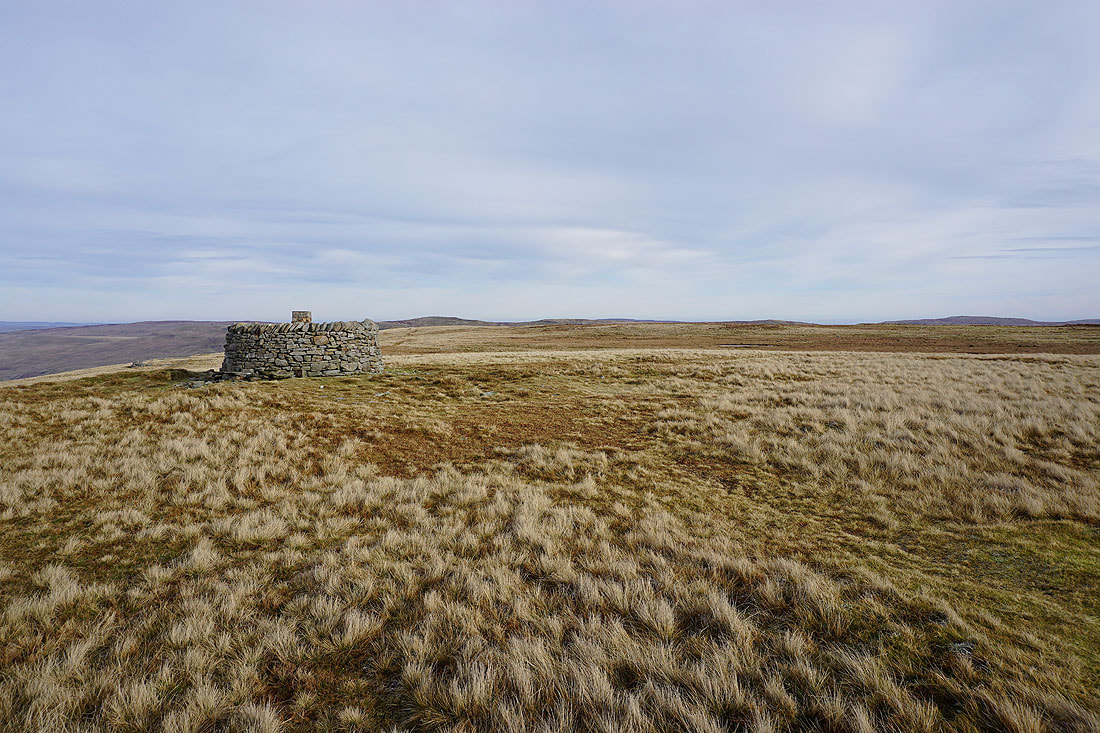
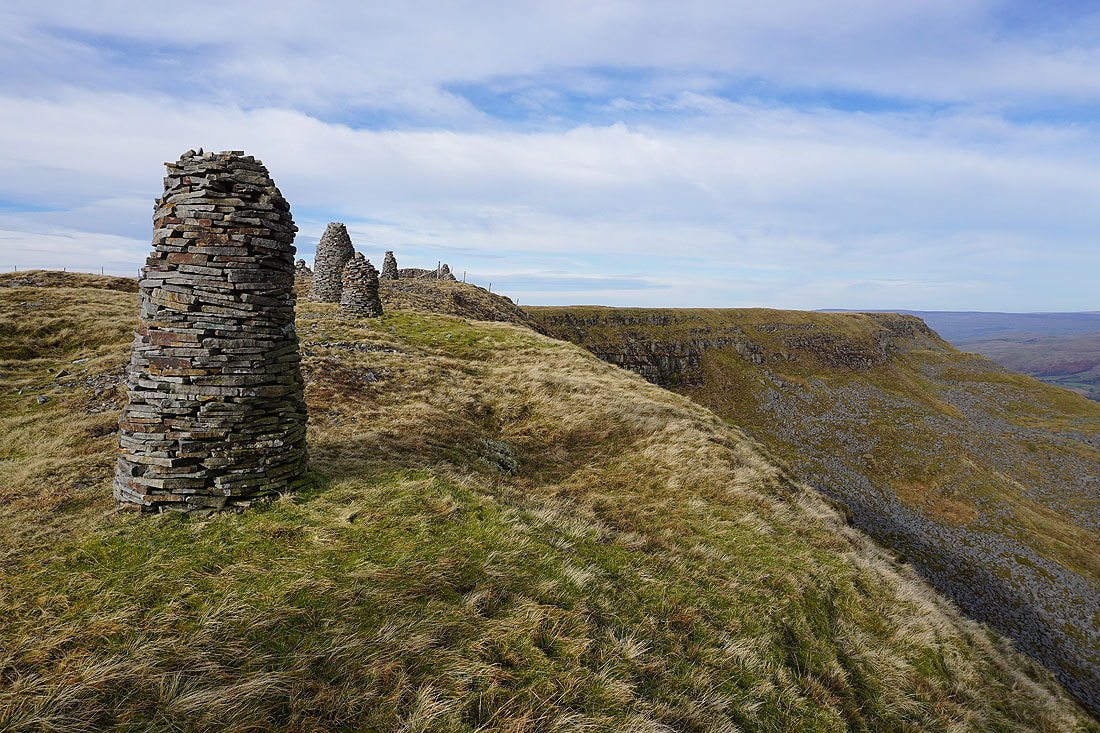
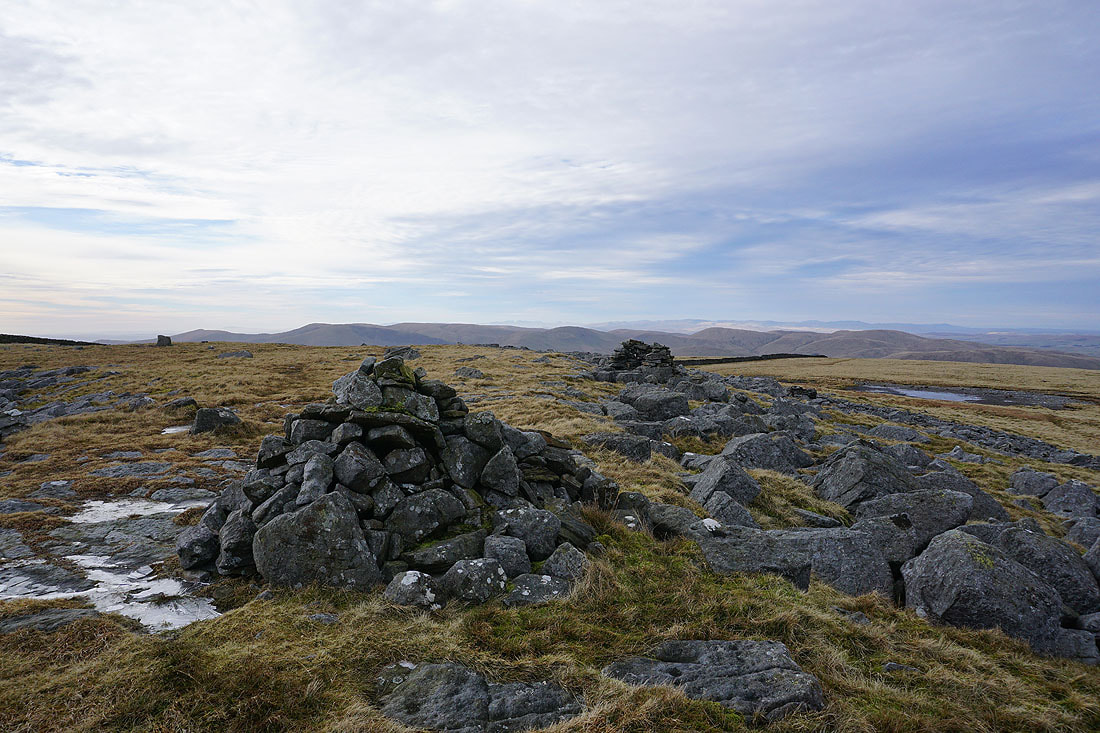
Arriving on Yoadcomb Scar and its collection of cairns..
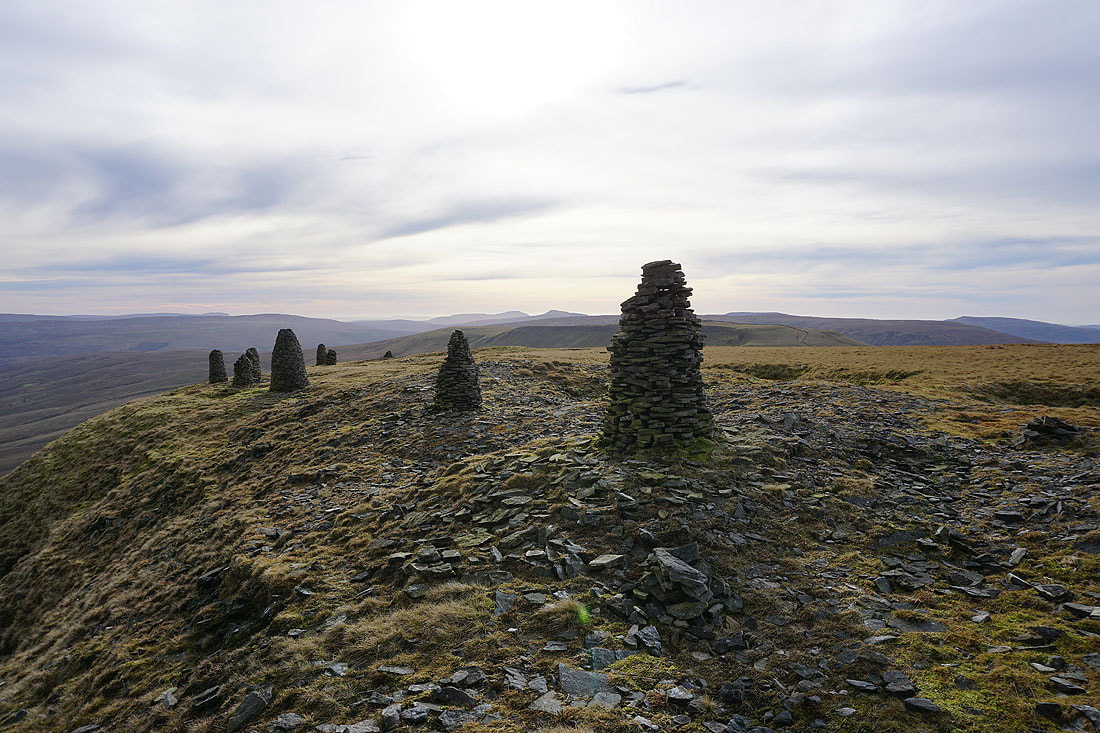
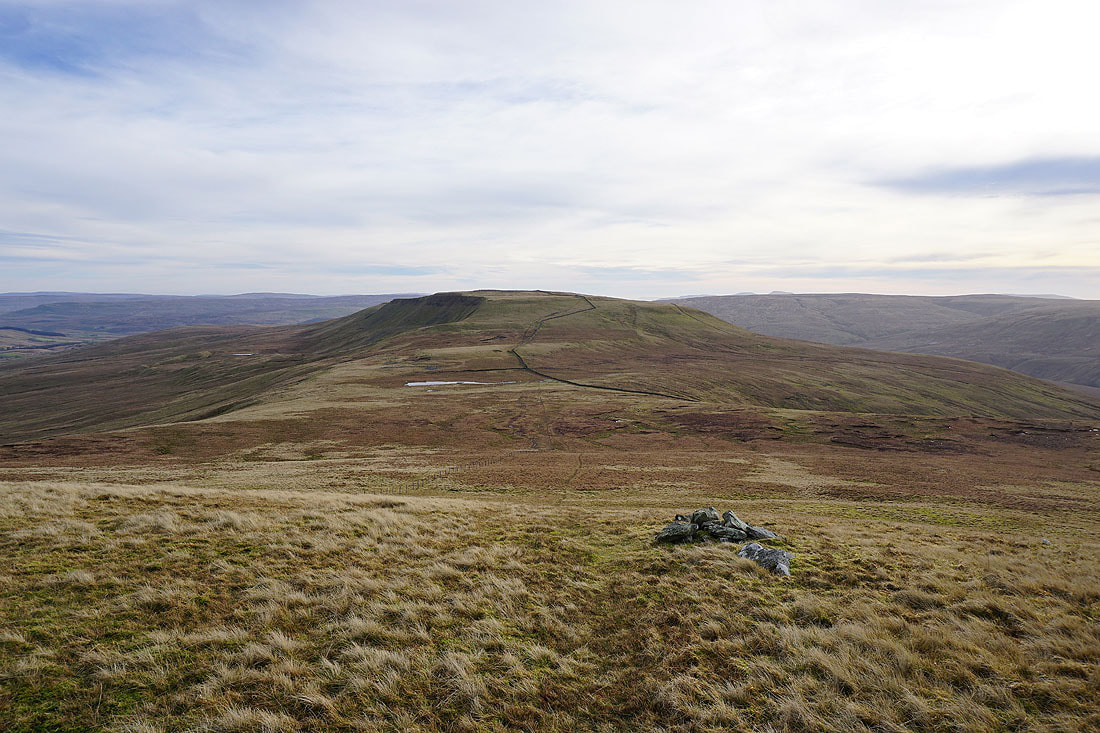
Blackbed Scar and The Nab
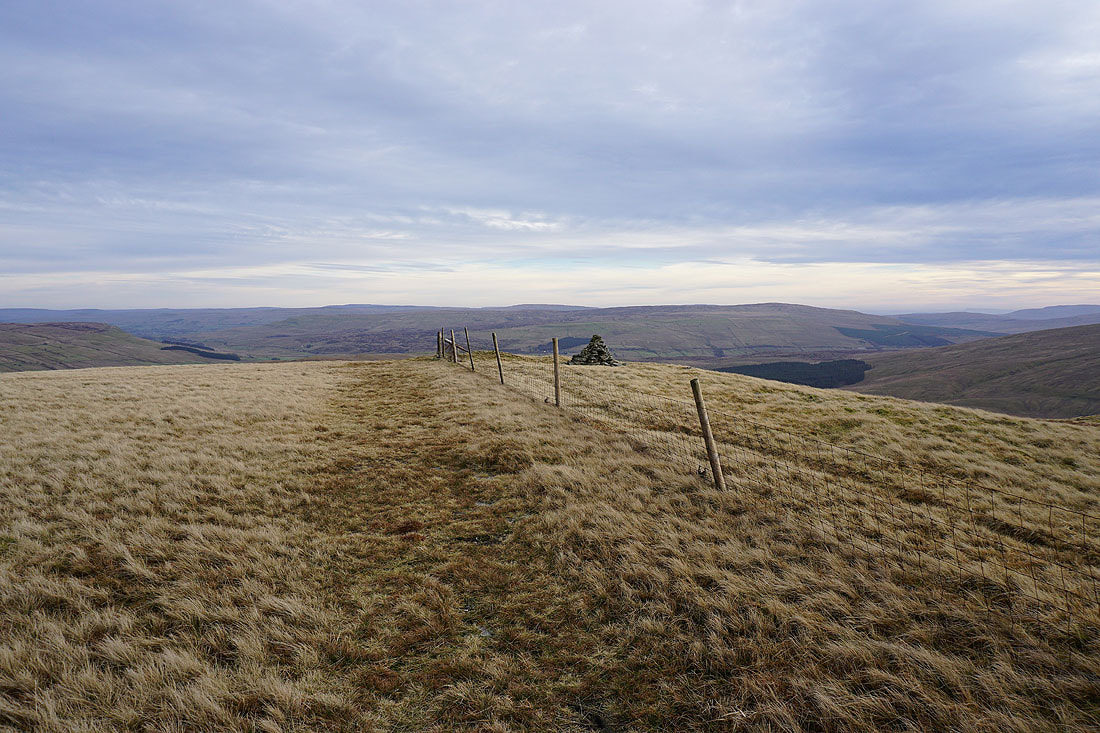
The Howgills beyond the broad summit plateau
Looking south to Ingleborough, Whernside, Swarth Fell, Baugh Fell, Great Coum, and Middleton Fell
Heading for the trig point
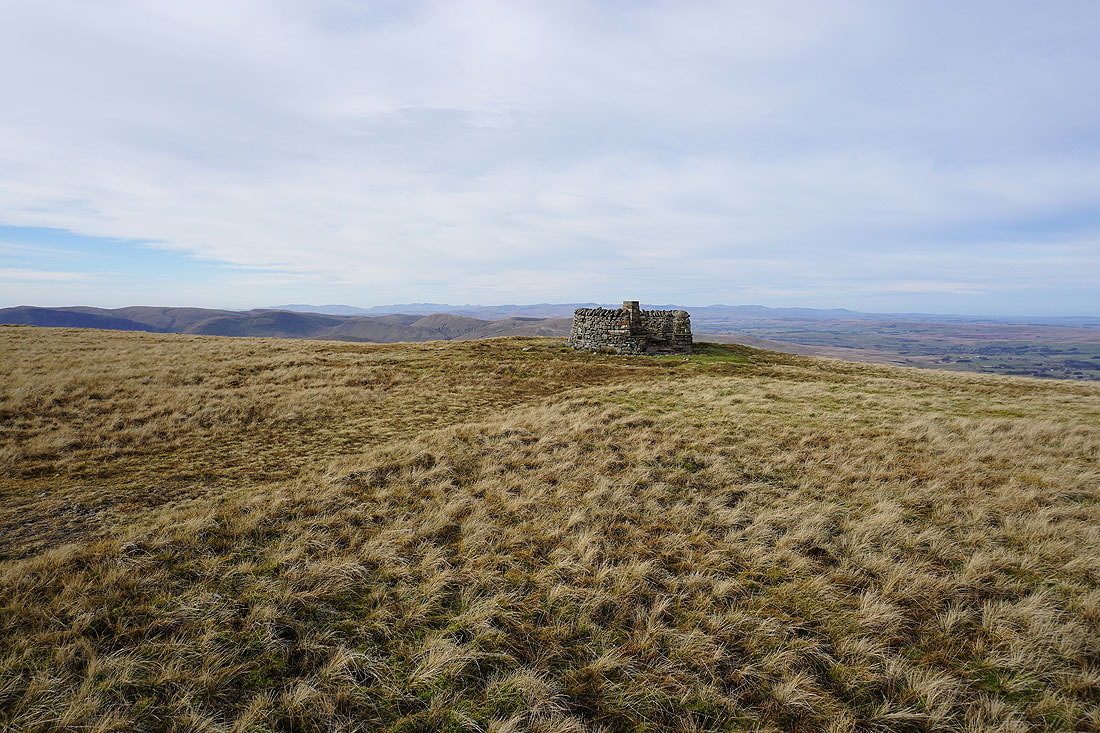
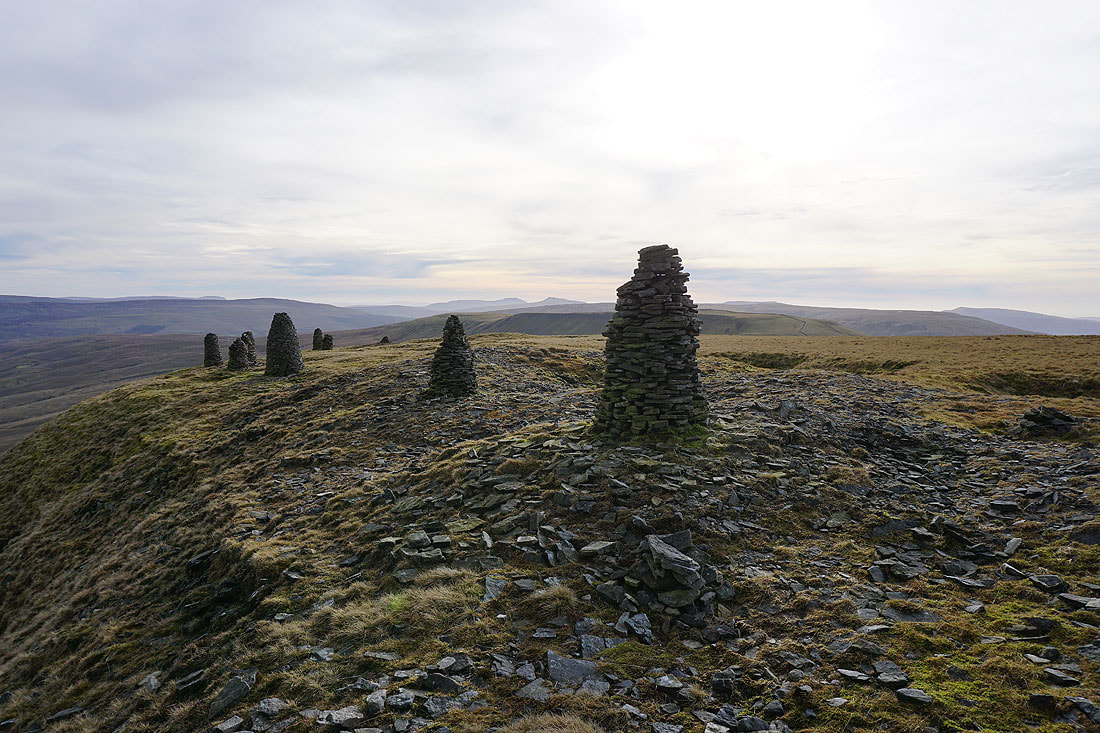
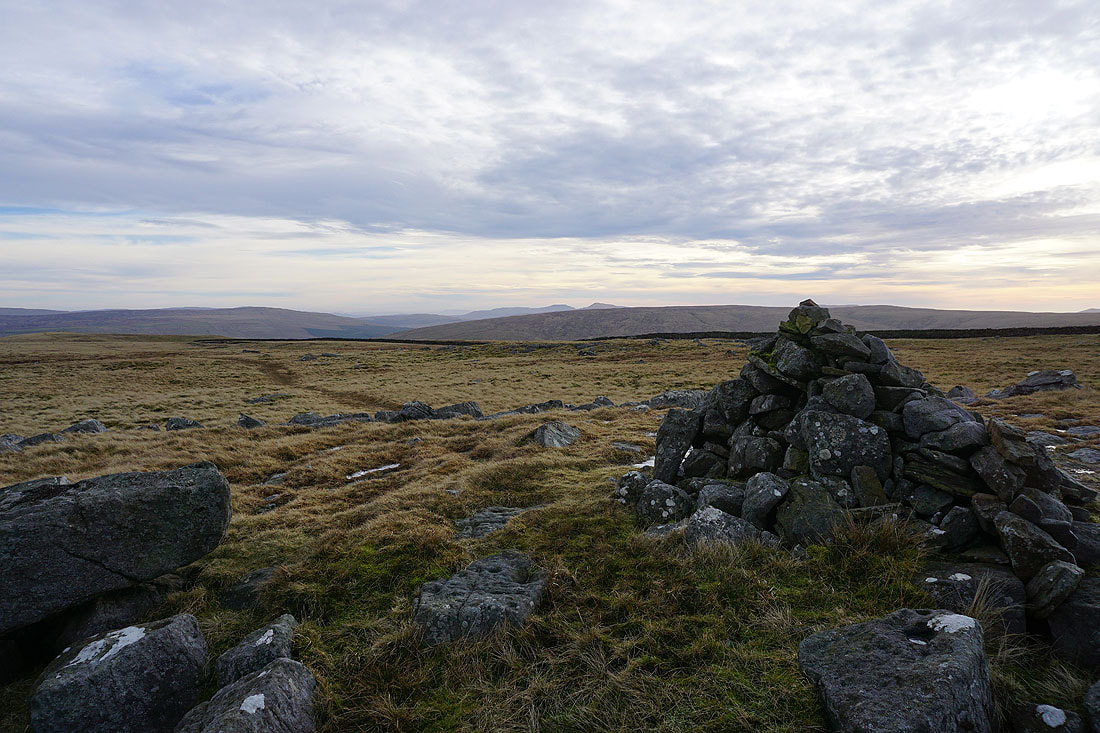
At the recently rebuilt trig point and shelter on Wild Boar Fell
The Eden Valley and the North Pennines to the north
The distinctive profile of Ingleborough and Whernside in the distance to the south
Looking east across the summit plateau

The Howgills as I make the short descent to Sand Tarn..

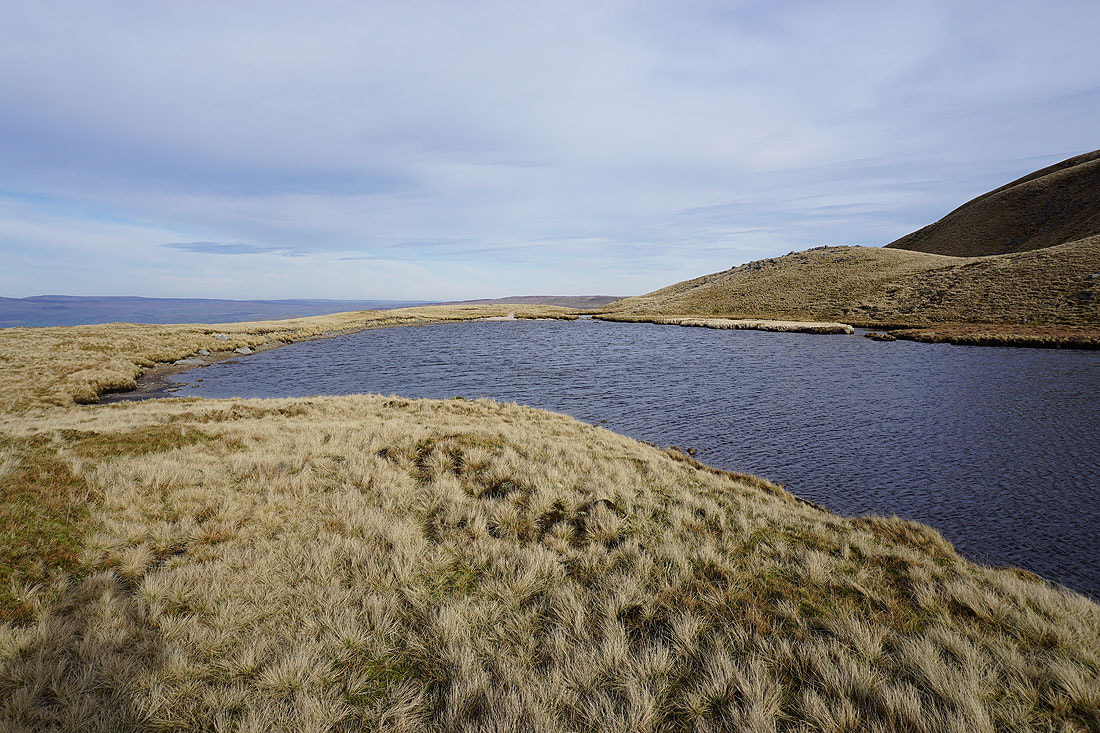
Making my way round Sand Tarn to its sandy shore..

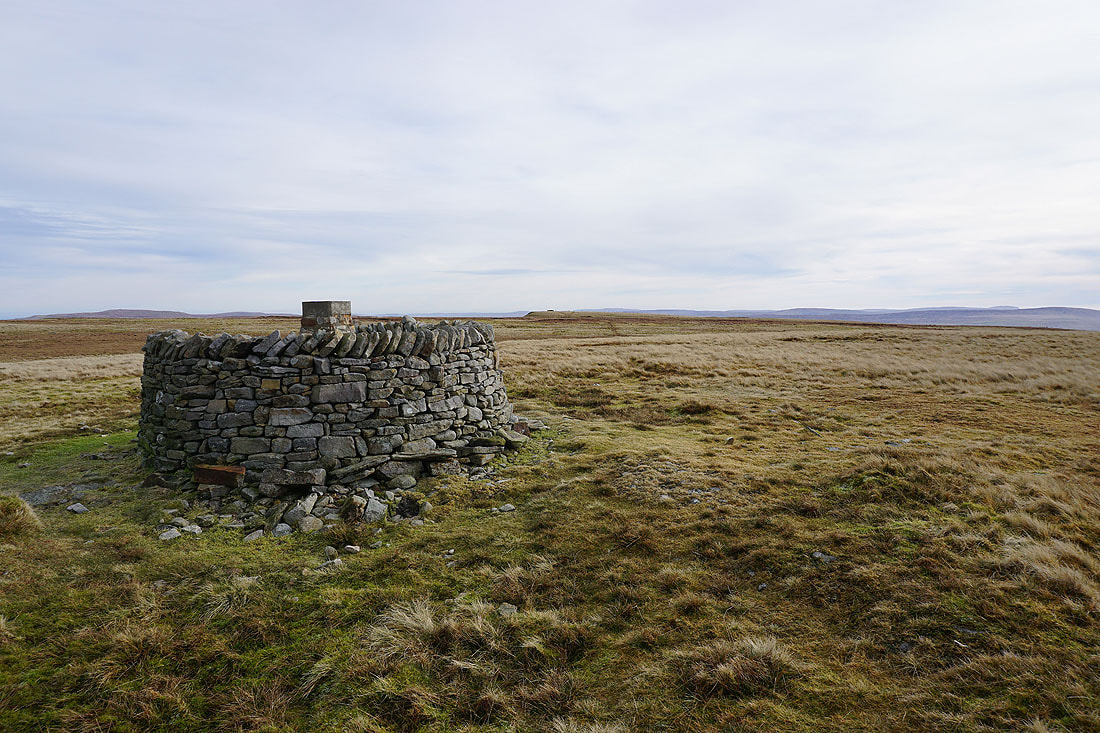
Back up at the trig point and shelter
Blackbed Scar and High Seat on the other side of Mallerstang as I head back to Yoadcomb Scar
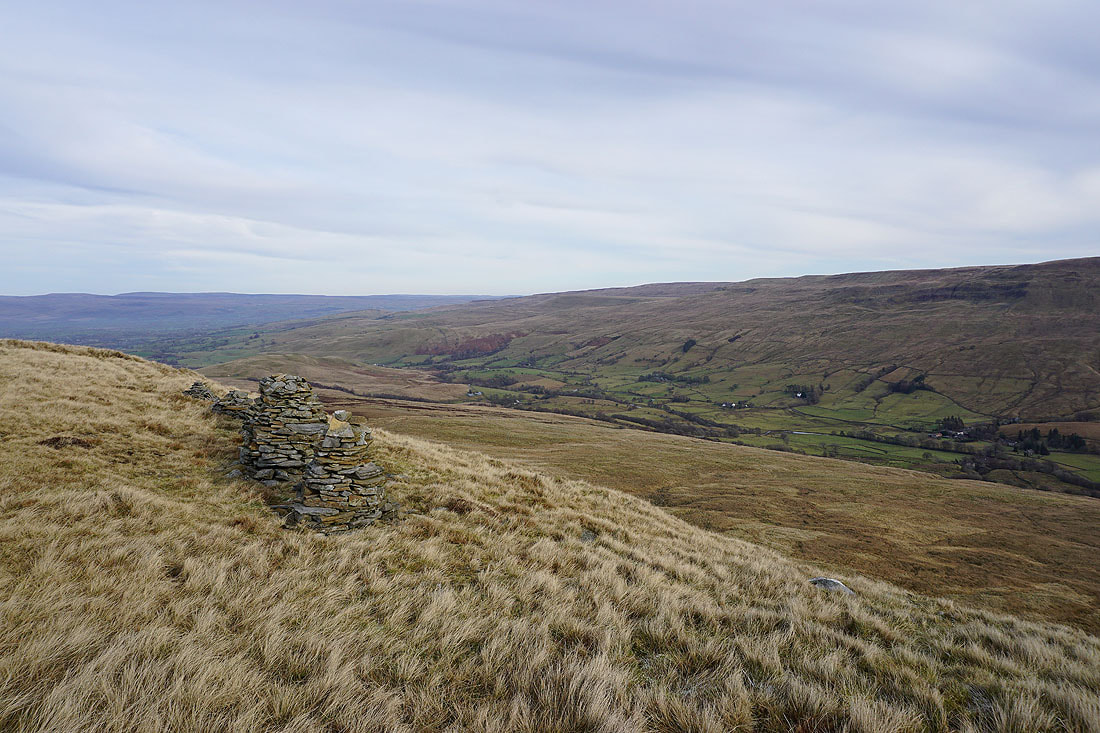
Back on Yoadcomb Scar, looking north to Blackbed Scar
Can't resist taking another photo of the view to the south

From Yoadcomb Scar I follow the fence west across the plateau
To my left, Swarth Fell, with Ingleborough, Whernside, Baugh Fell, Great Coum, and Middleton Fell beyond
A cairn on the western edge of Wild Boar Fell gives me a view of the Howgills, with the Lake District fells in the far distance
The countryside around Ravenstonedale to the north
Heading south to Swarth Fell..
Looking back to Swarth Fell Tarn and Wild Boar Fell
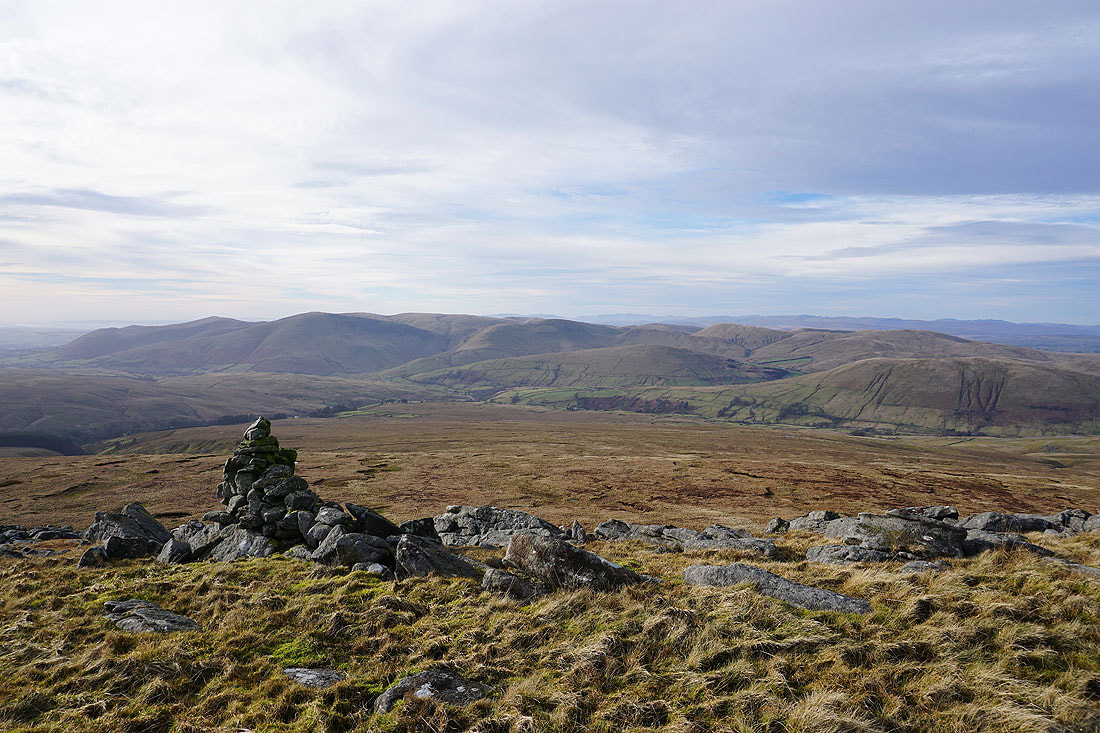
On the summit of Swarth Fell. Looking west to the Howgills and the distant Lake District fells.
Great Knoutberry Hill, Ingleborough, Whernside and Baugh Fell
Lunds Fell on the other side of Mallerstang, with the fells around Wensleydale in the distance
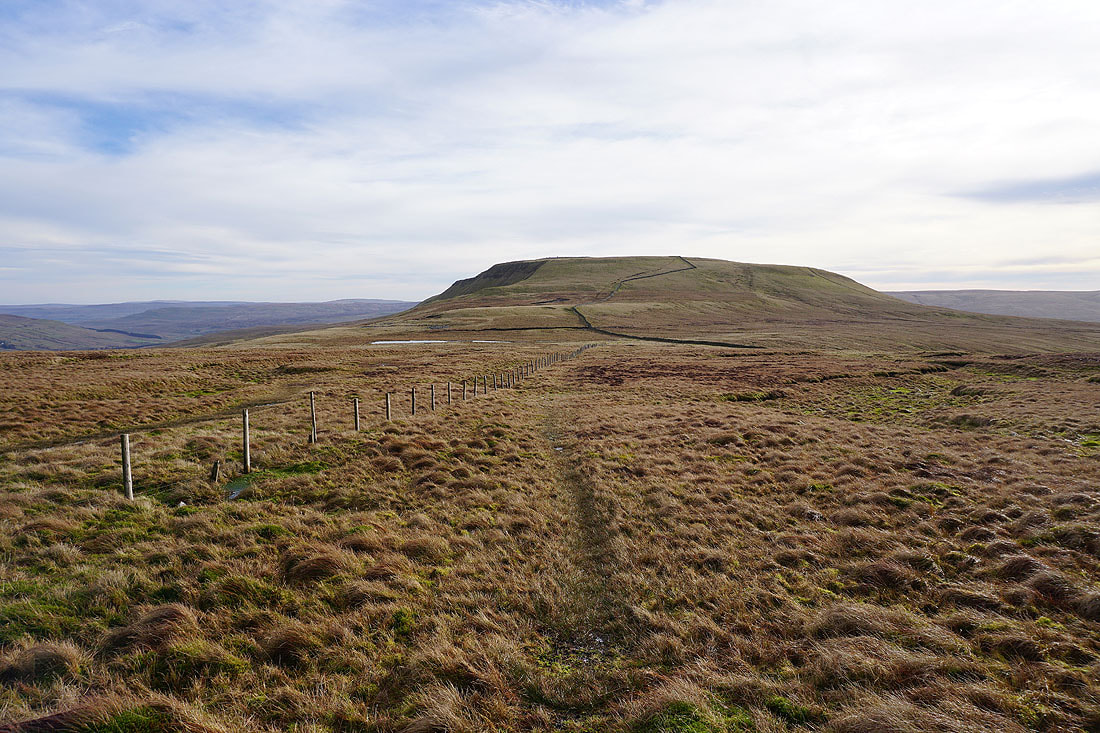
Wild Boar Fell, Mallerstang Edge, and High Seat
Heading south to Swarth Fell Pike
The Howgills through the gap between Baugh Fell and Swarth Fell
and to my right, the sprawling bulk of Baugh Fell
On Swarth Fell Pike
Wild Boar Fell, Mallerstang, and High Seat
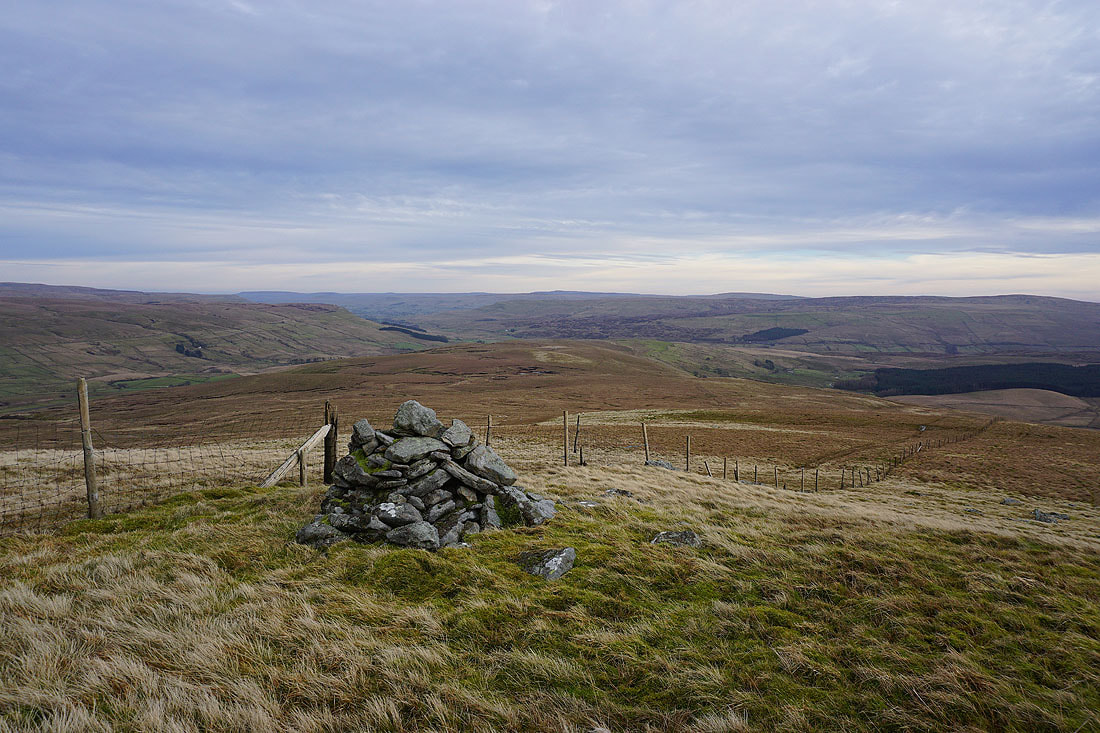
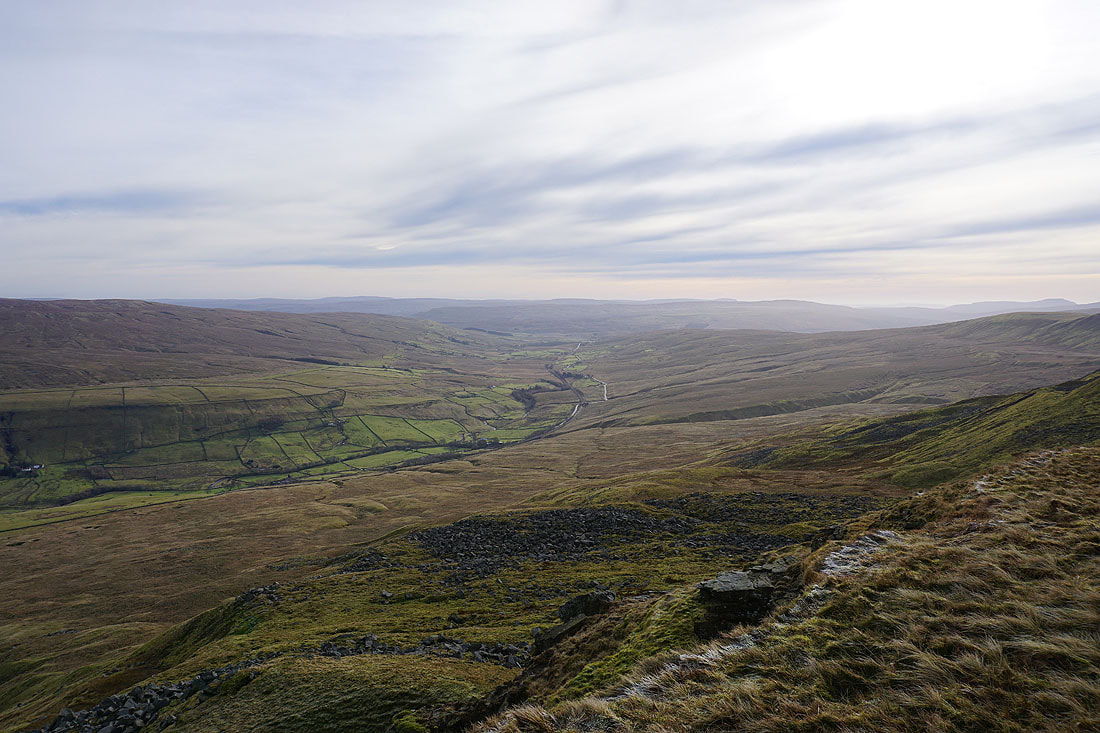
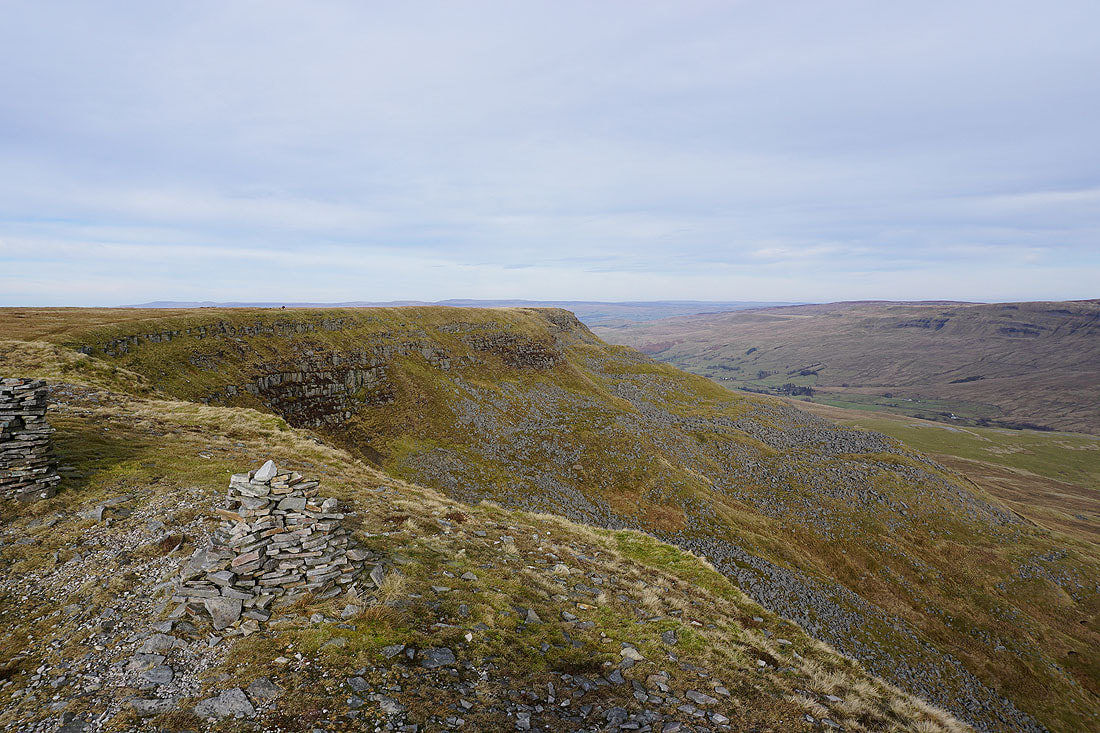
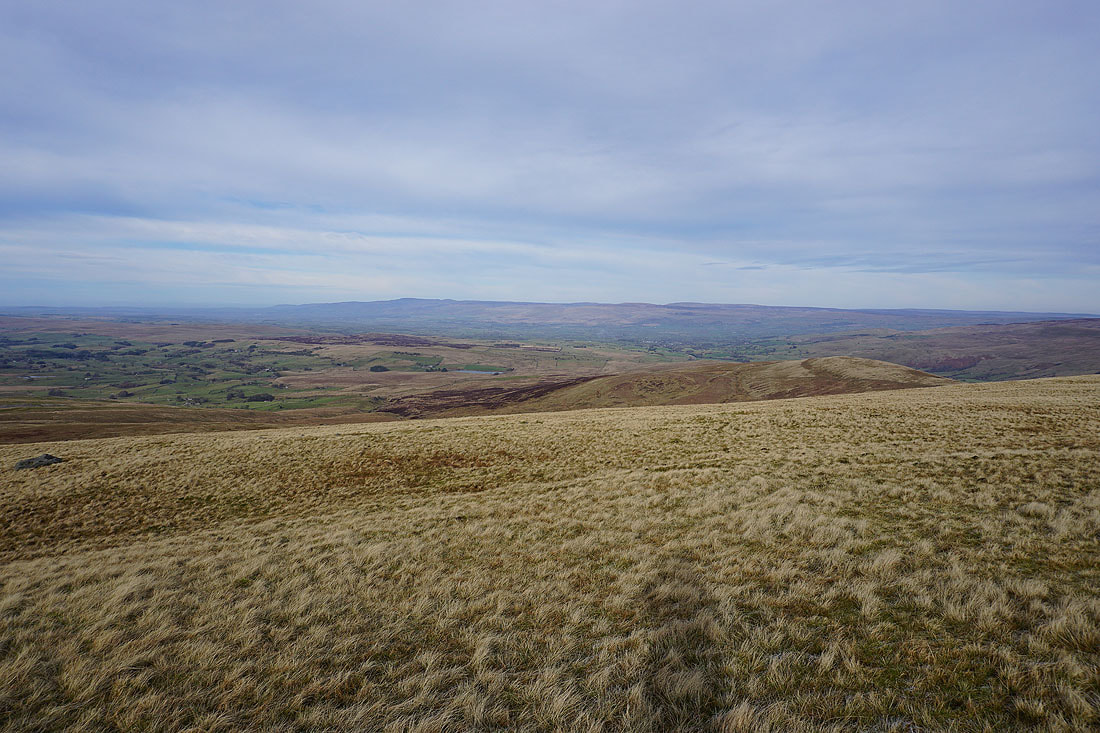
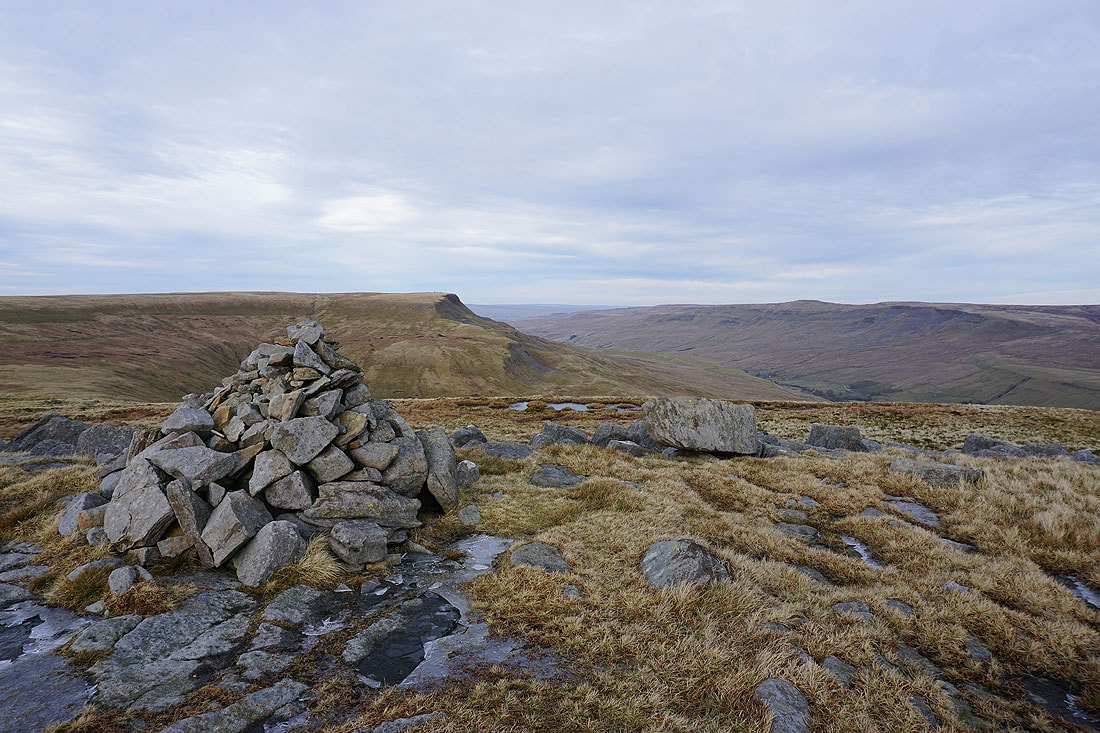
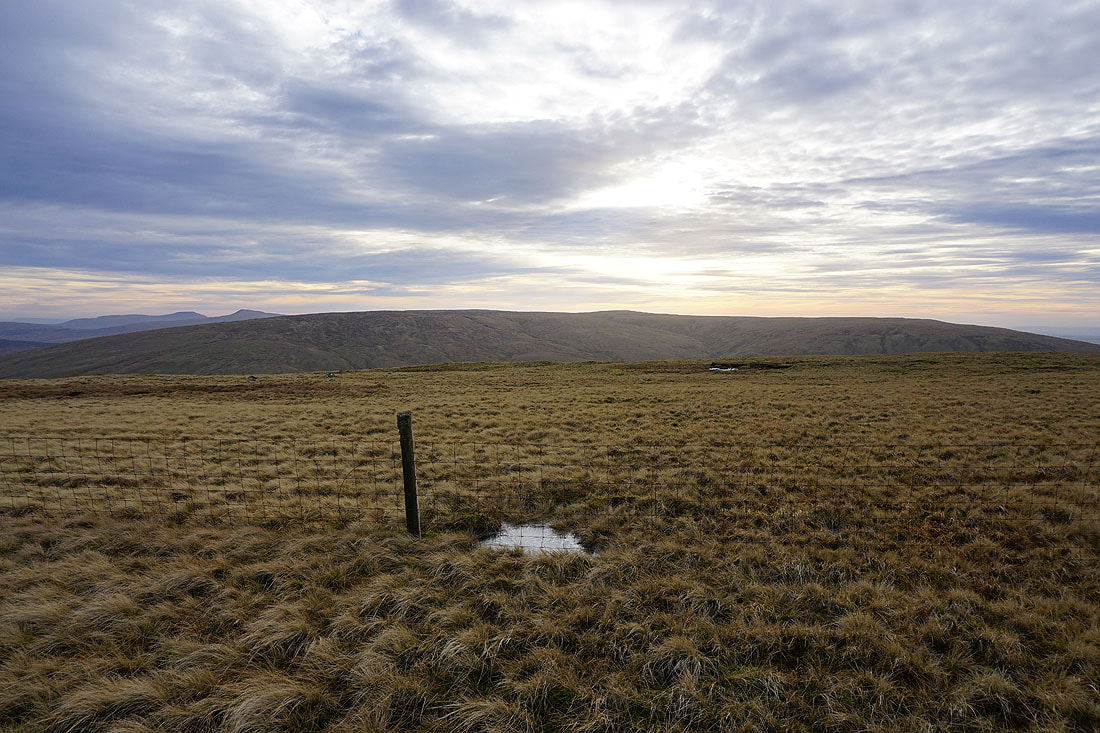
Looking southeast across Grisedale Common to Cotter End, Widdale Fell and the moors around upper Wensleydale
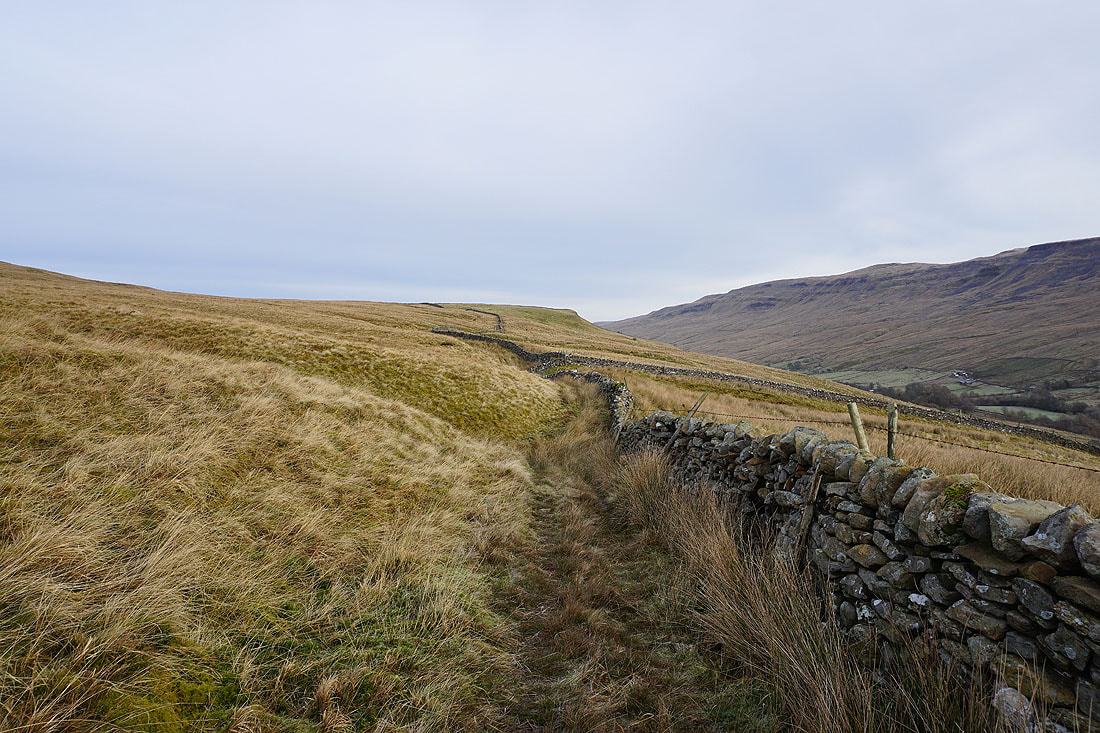
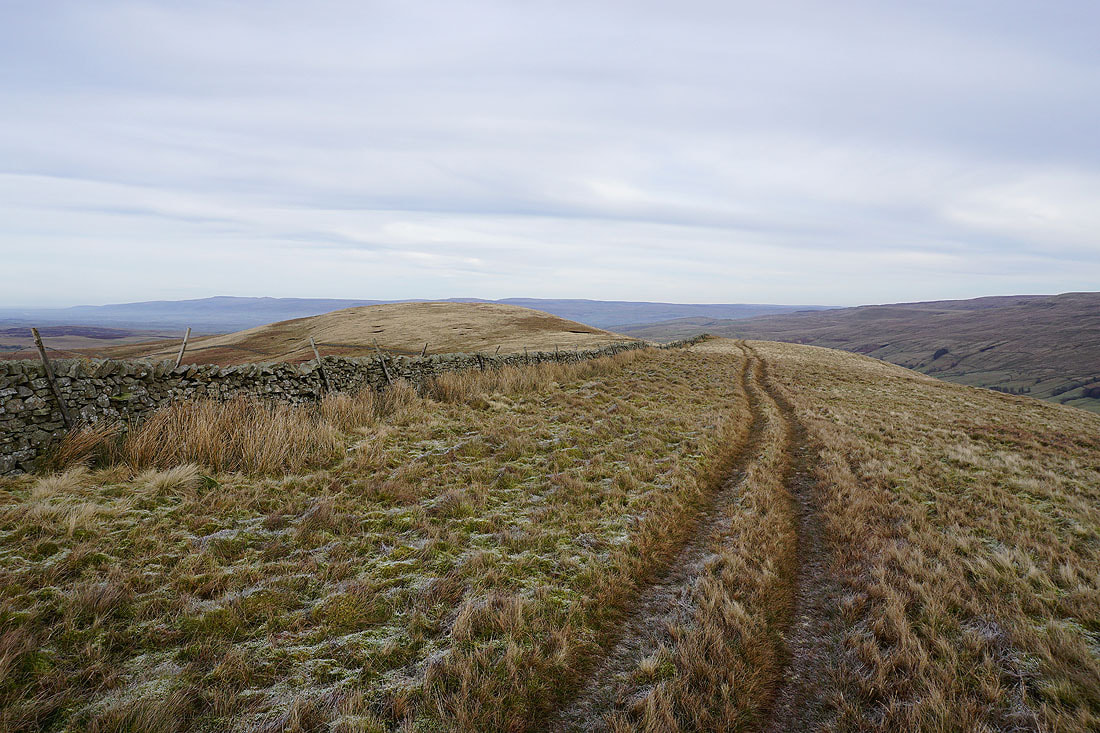
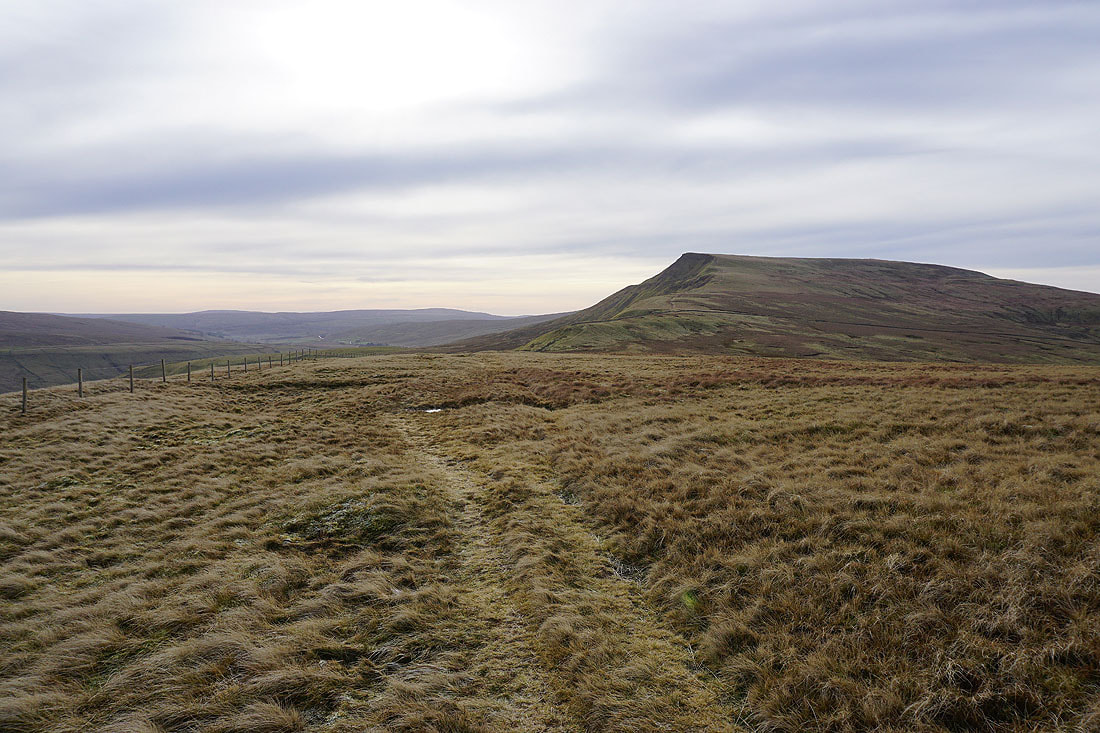
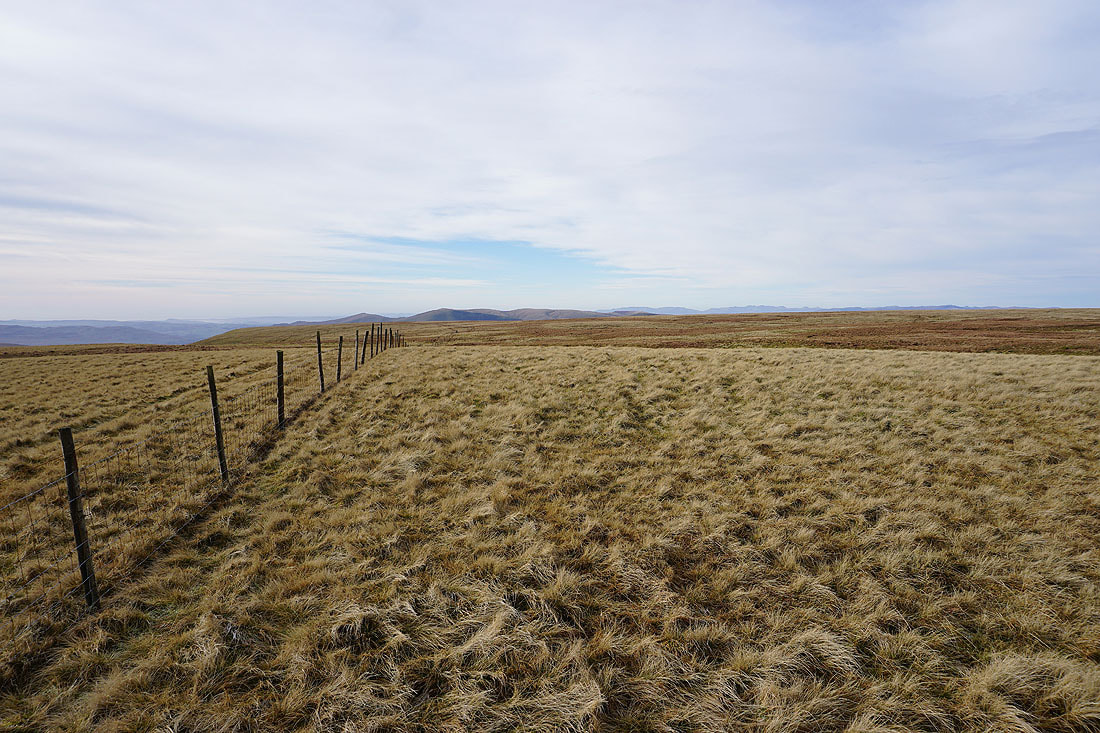
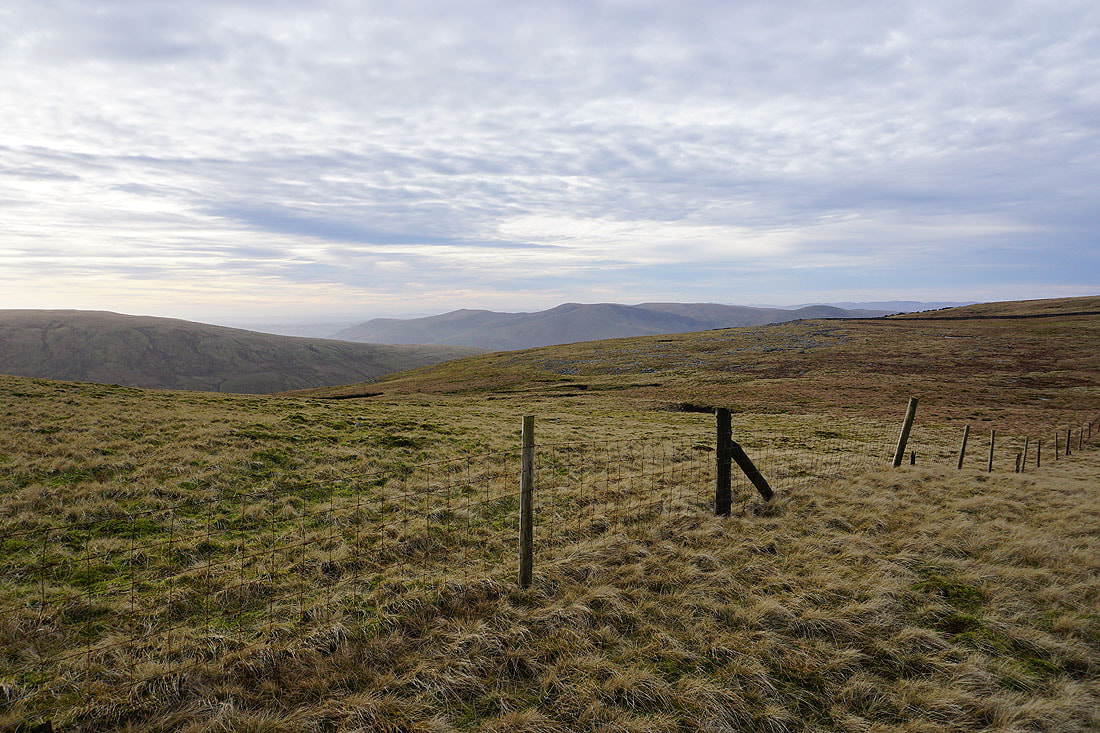
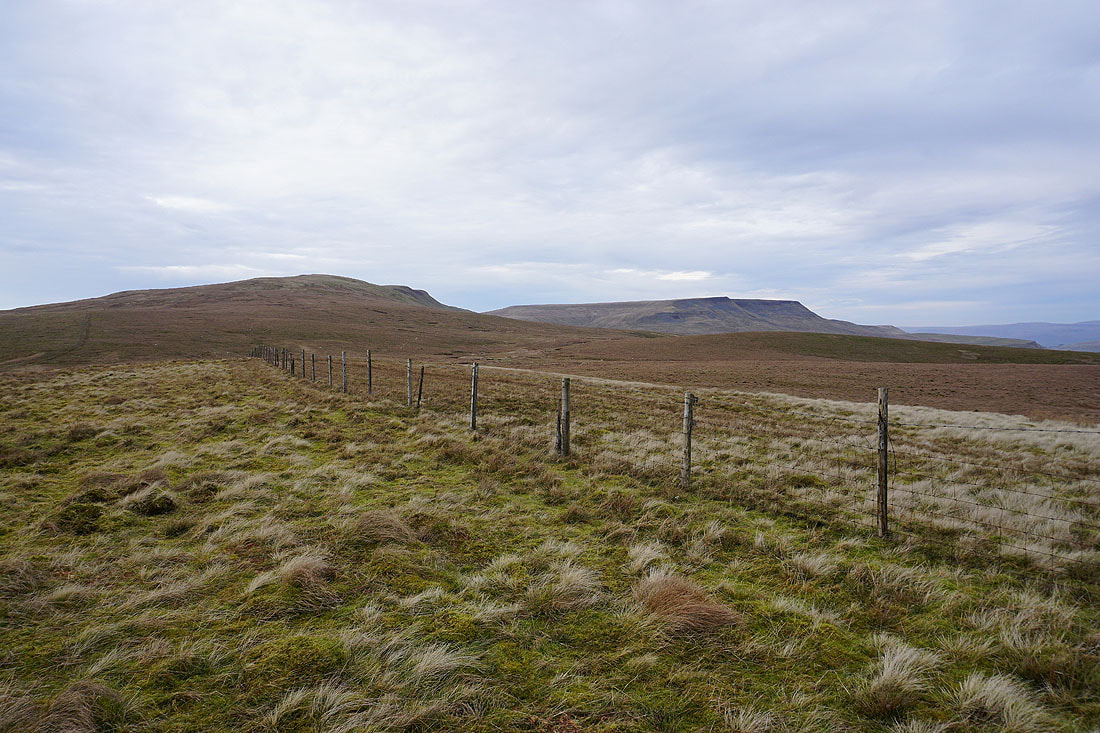
Heading southeast from Swarth Fell Pike I reach a junction of fences. I'll take the one to the left.
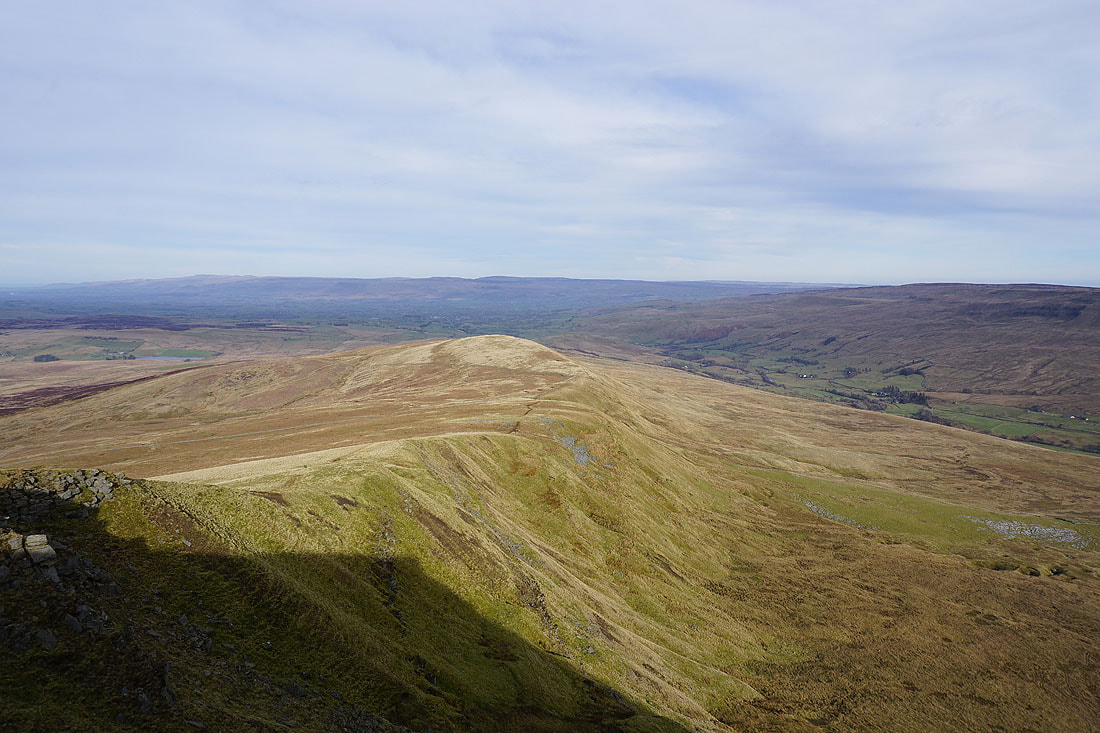
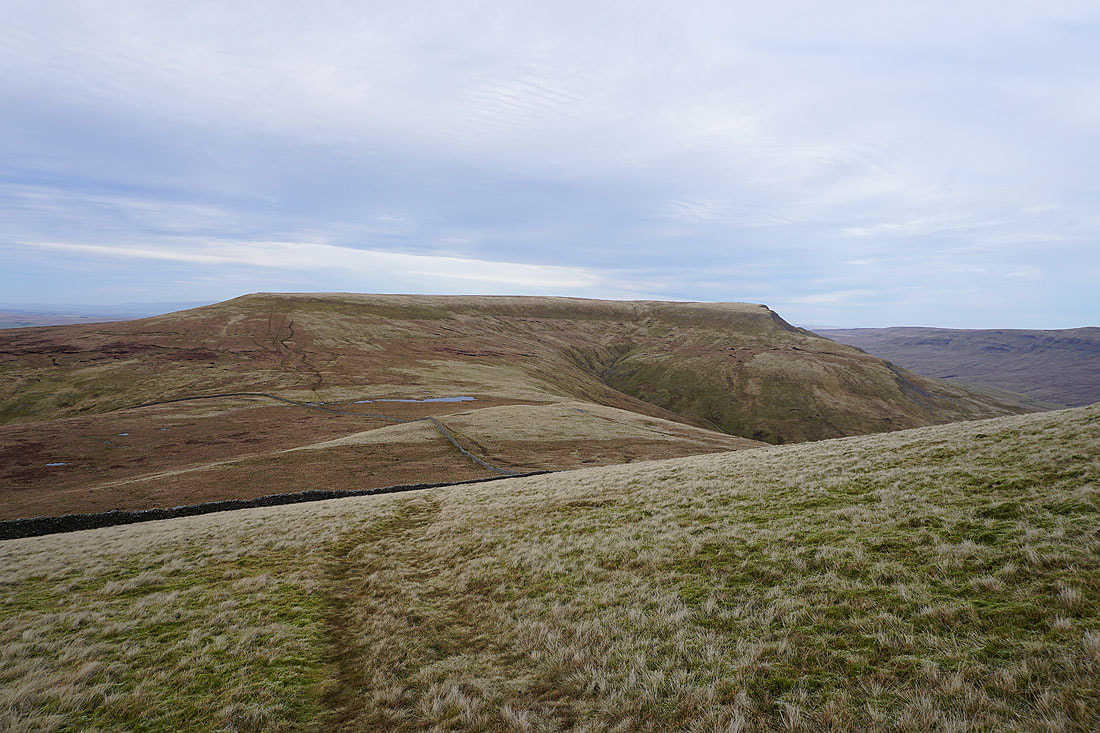
Looking back to Swarth Fell and Wild Boar Fell
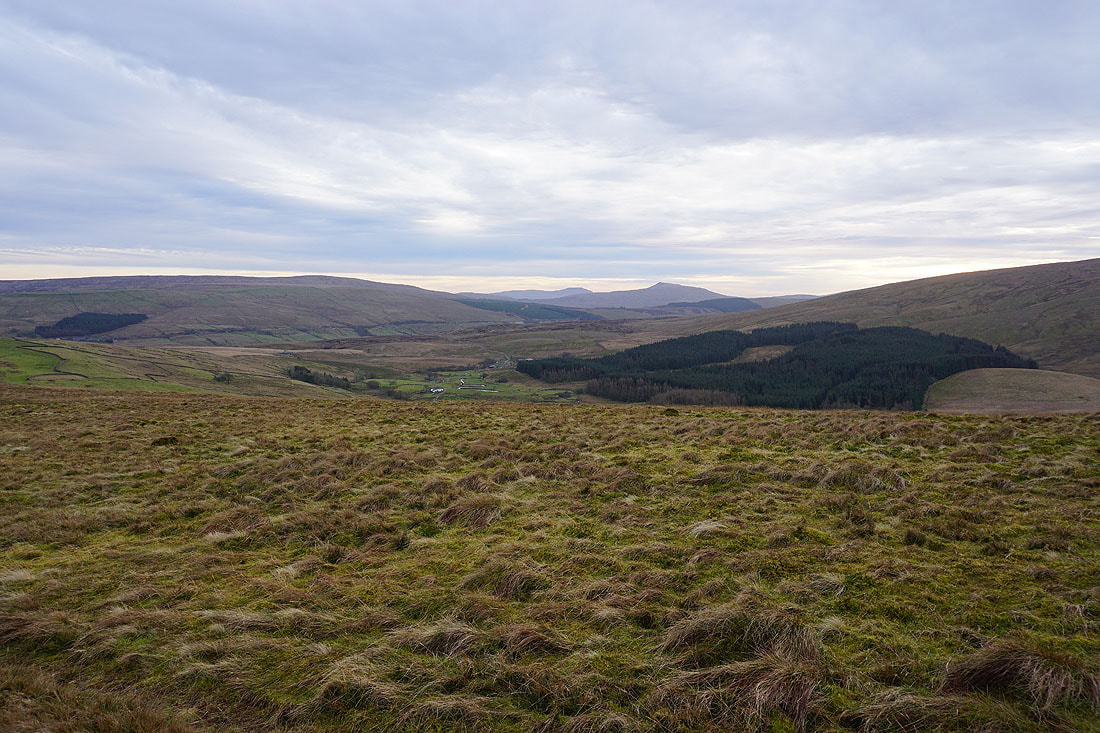
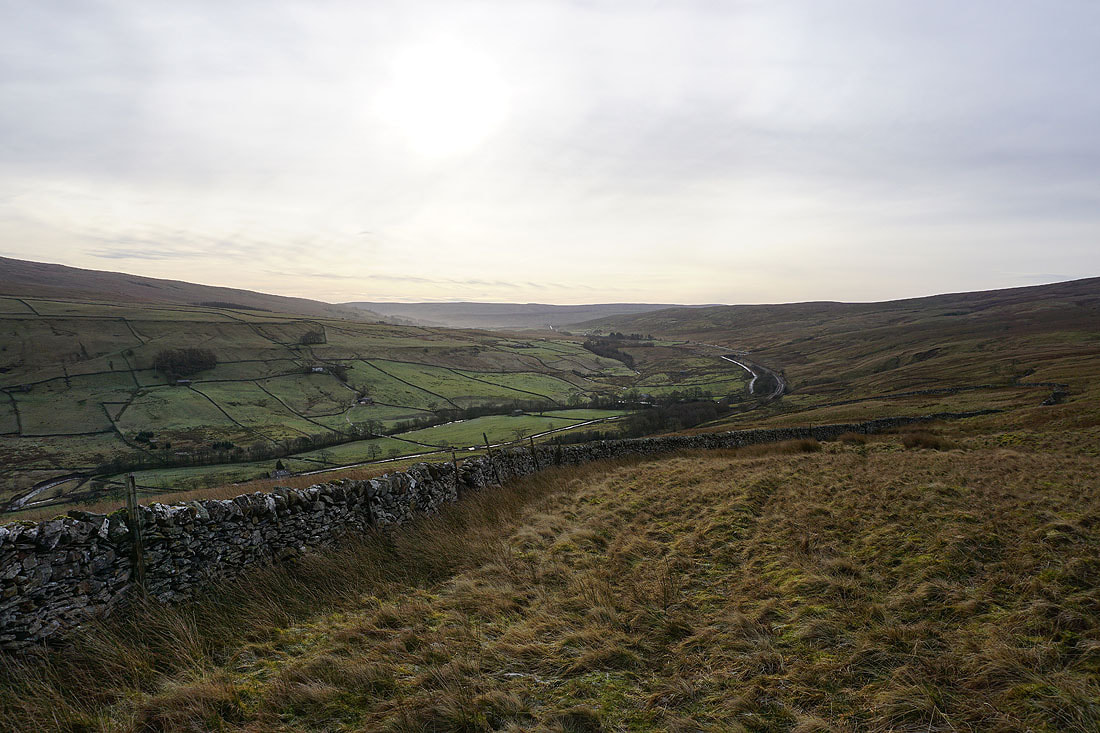
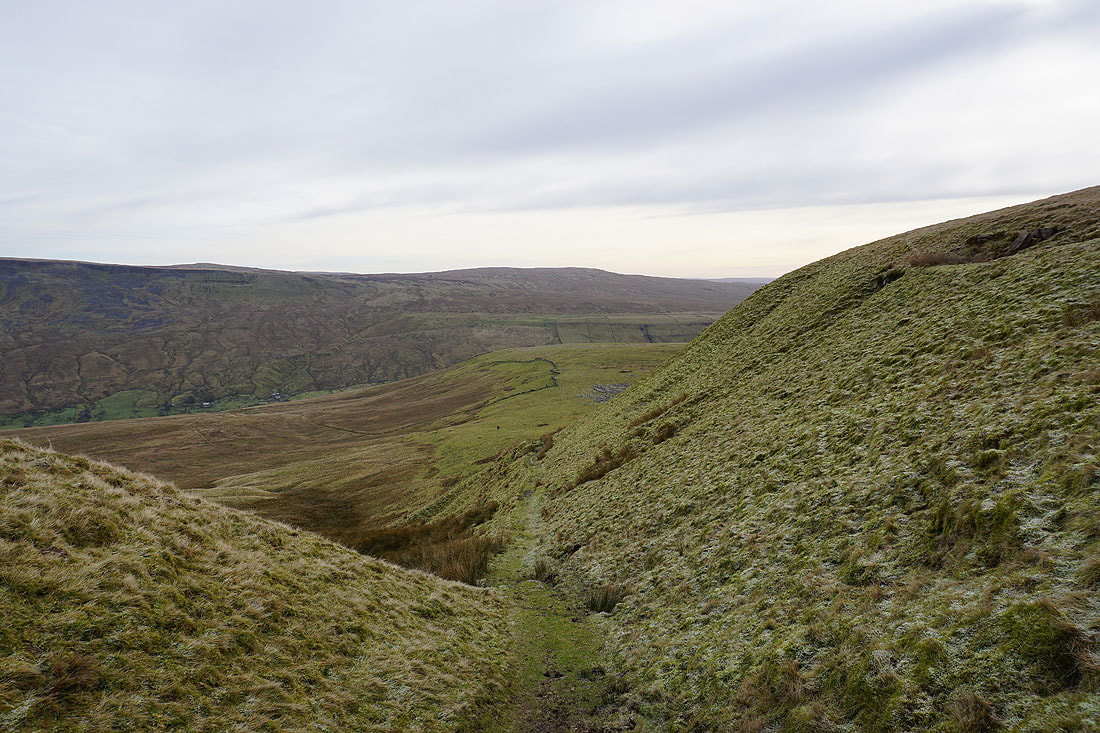
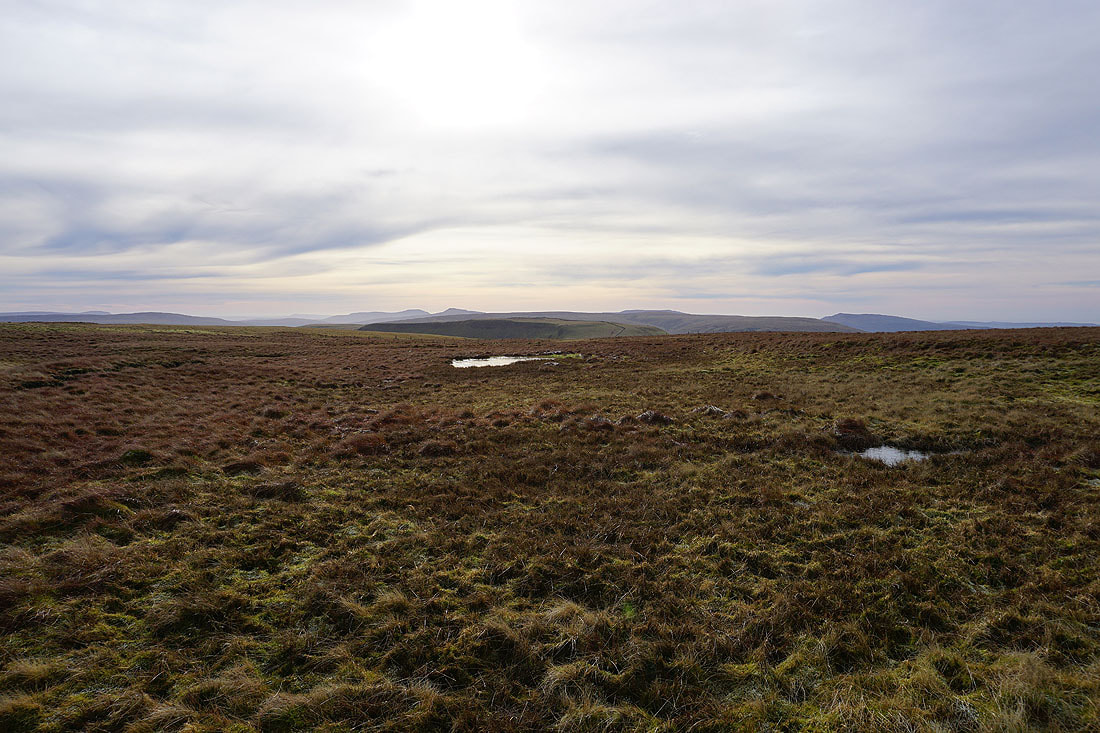
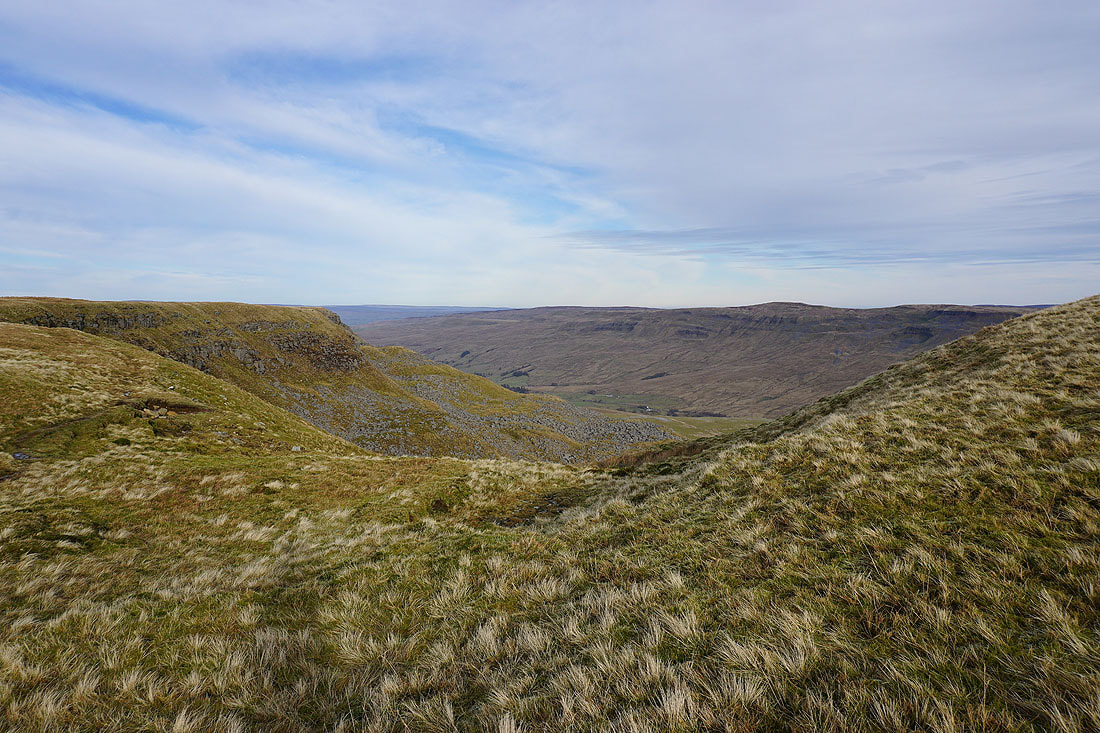
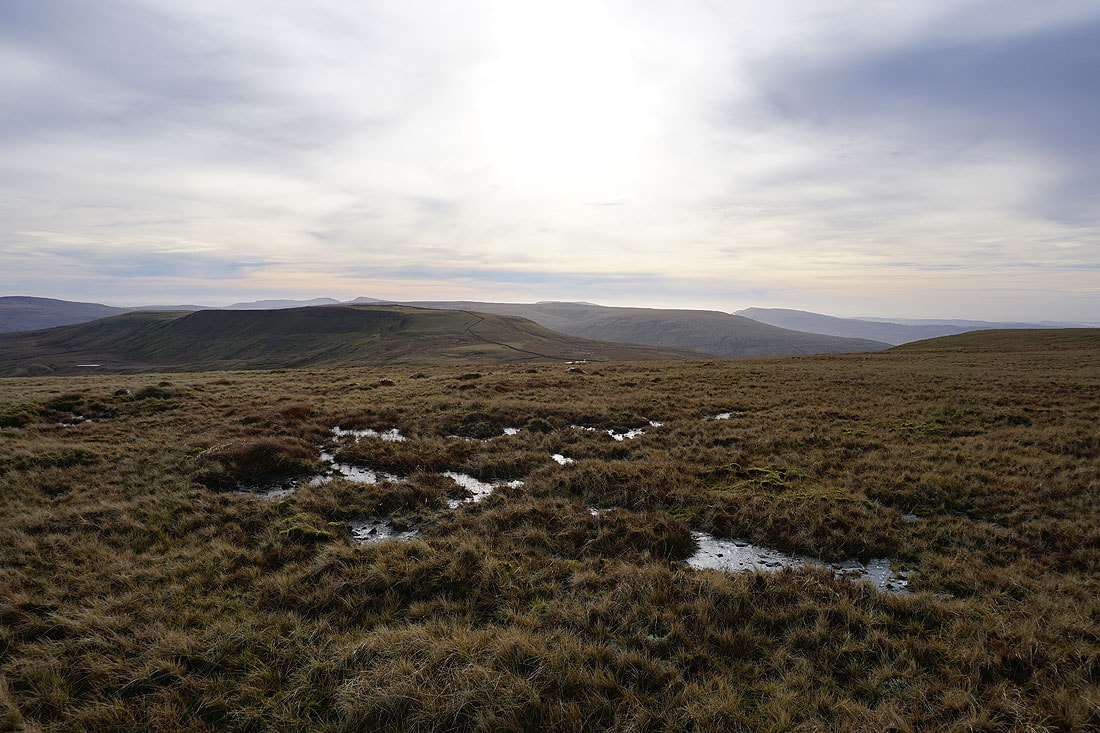
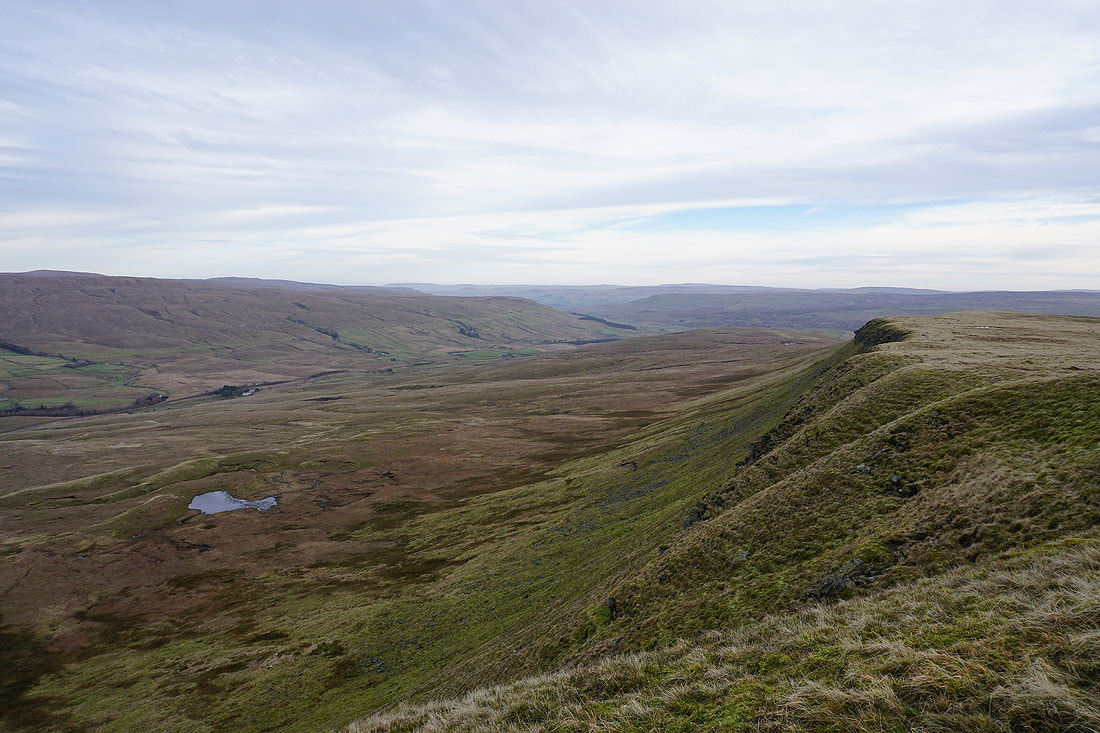
The hidden upland valley of Grisedale below
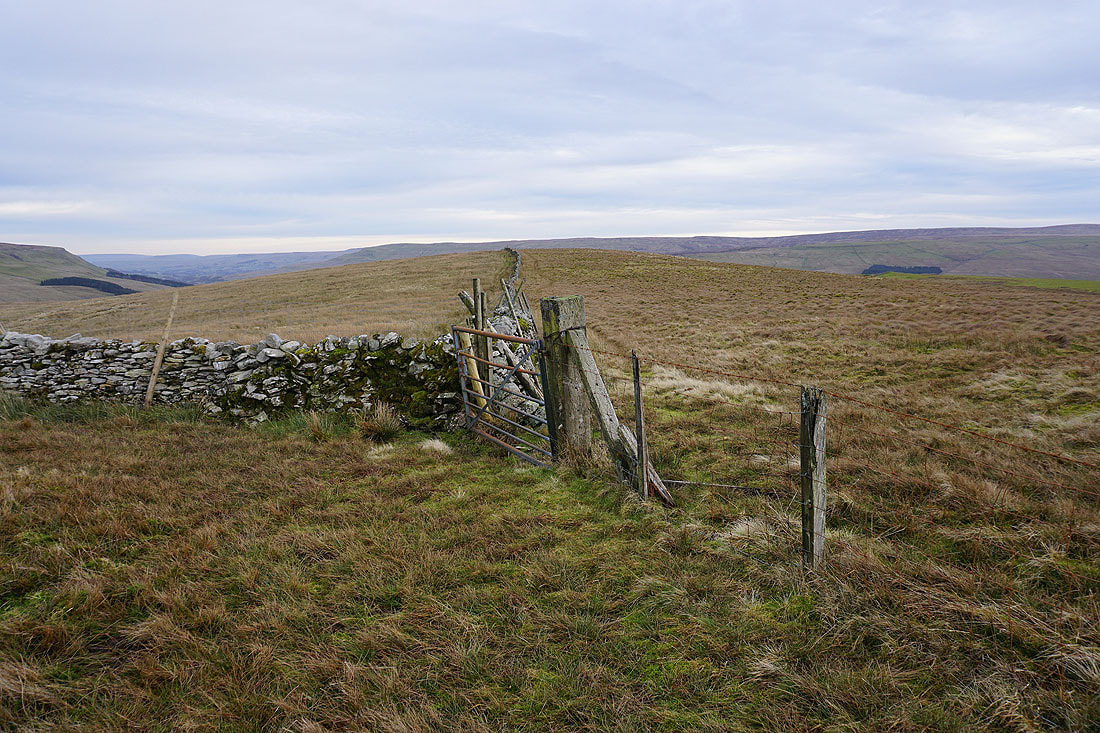
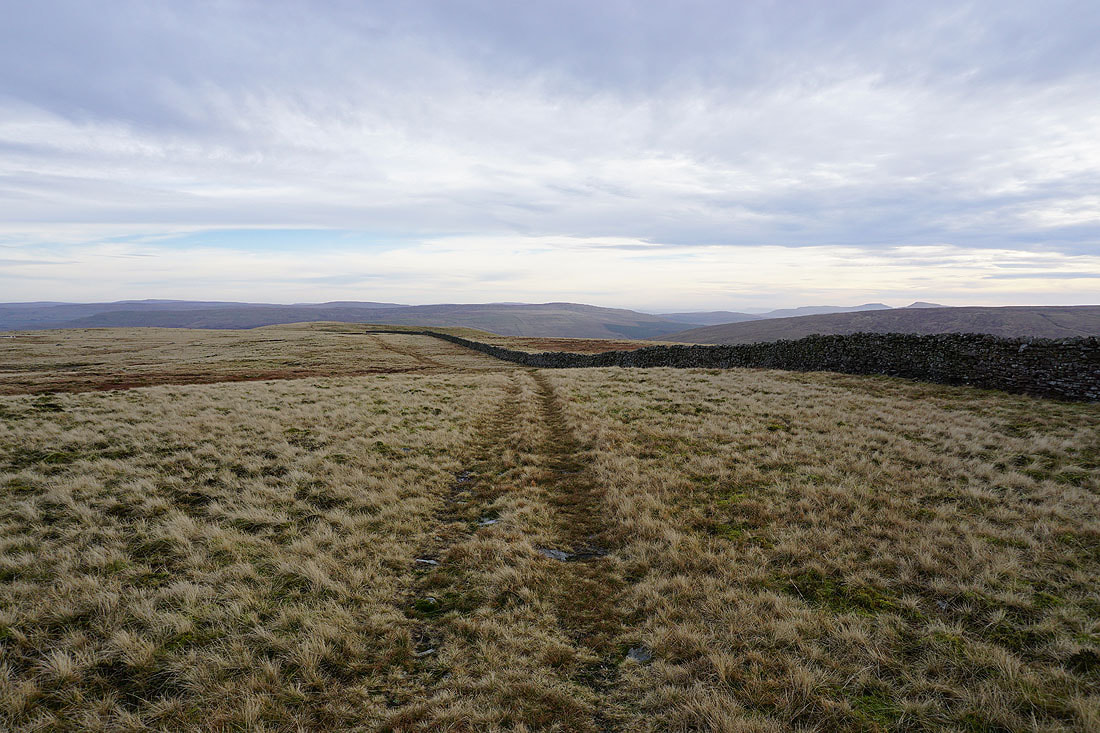
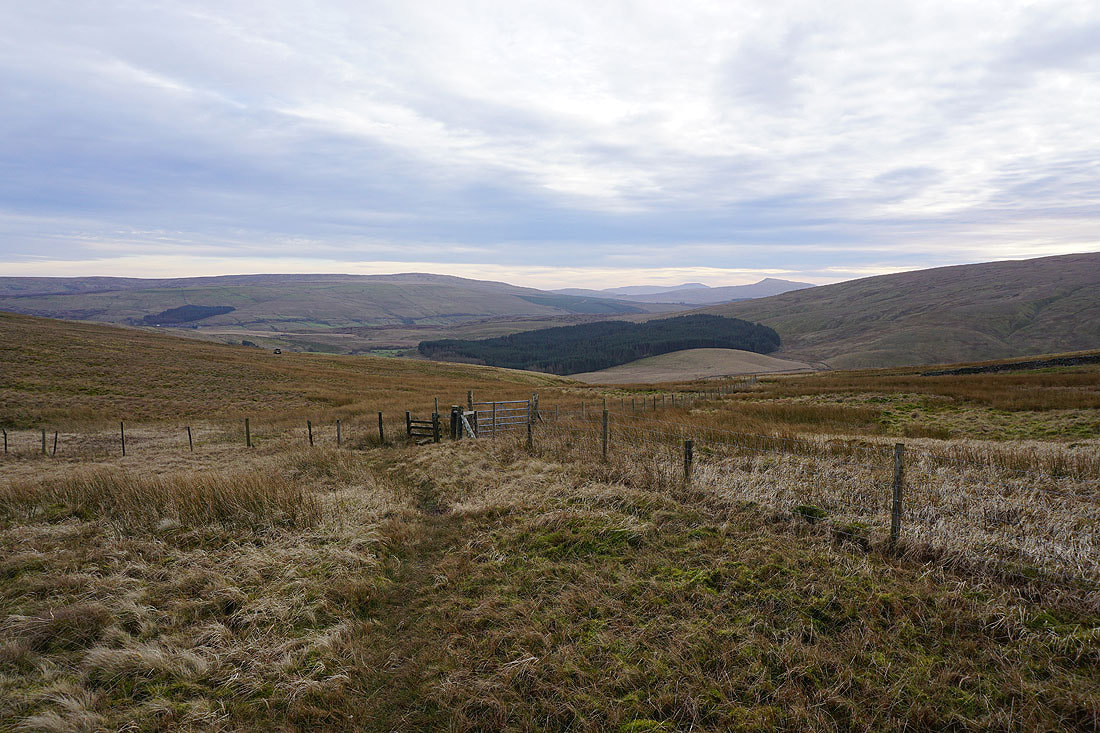
At this junction of walls and fences I reach the Grisedale to Mallerstang bridleway. There isn't really any evidence of its existence on the ground though.
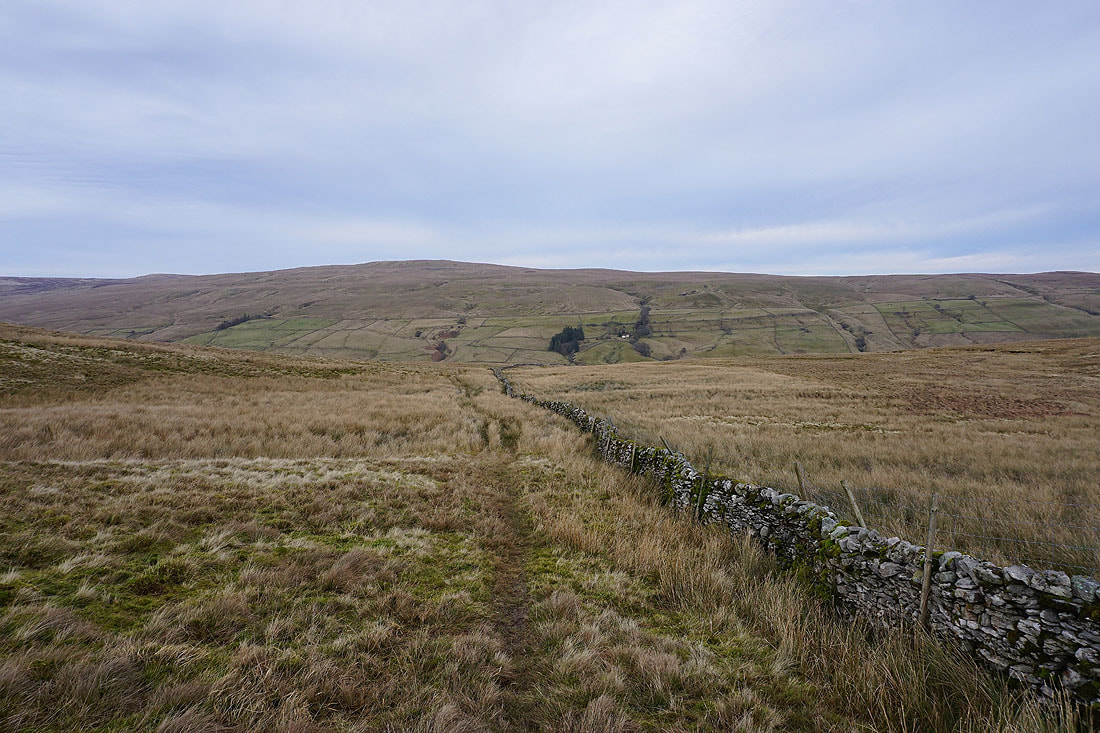
Since I can't keep to the line of the bridleway I end up following this quadbike track down the moor to the road below
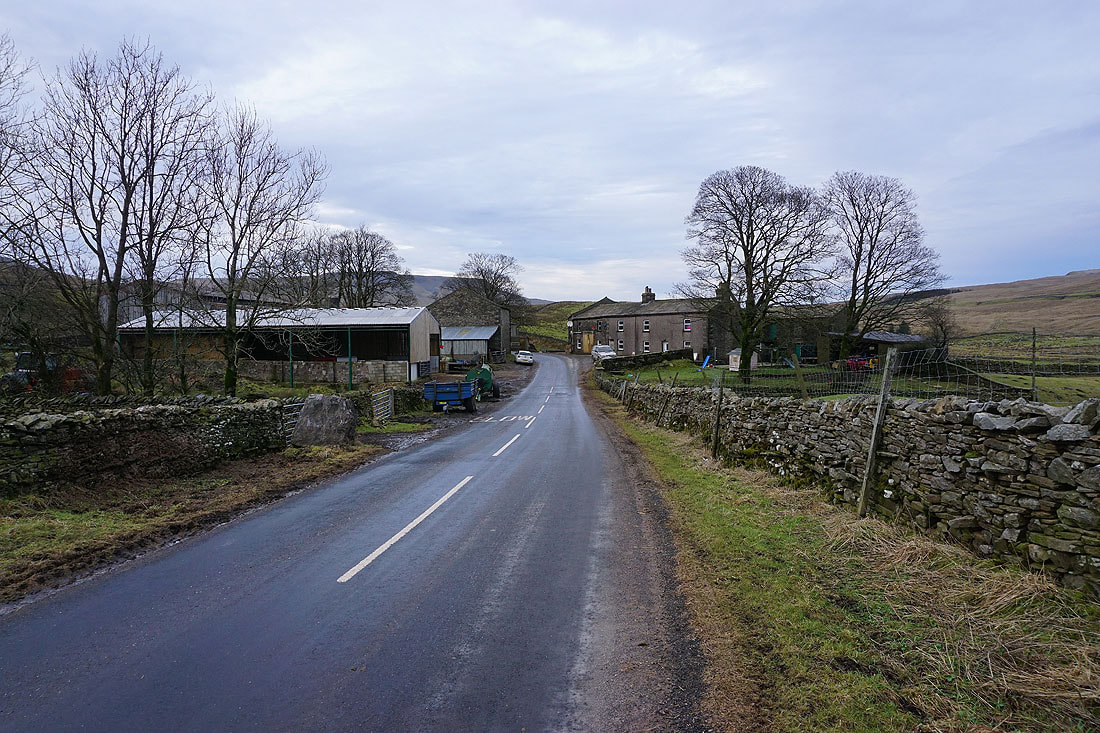
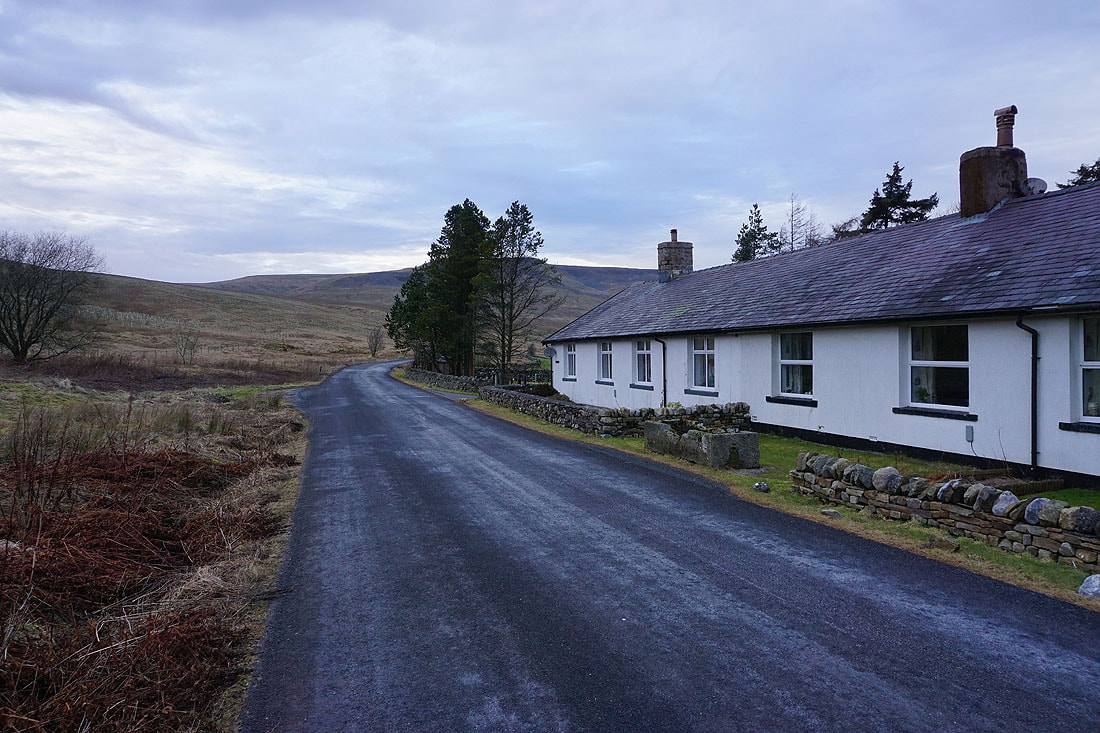
A walk north along the road past Shaw Paddock Farm, and Aisgill Moor Cottages back to Cotegill Bridge...