5th October 2013 - Stanage Edge
Walk Details
Distance walked: 12.4 miles
Total ascent: 2243 ft
OS map used: OL1 - The Peak District, Dark Peak area
Time taken: 7 hrs
Route description: Hathersage-Baulk Lane-North Lees-Stanage End-High Neb-Stanage Edge-Upper Burbage Bridge-Burbage Rocks-Carl Wark-Higger Tor-Fiddler's Elbow-Mitchell Field-Hathersage
This was my first ever visit to Stanage Edge and I thoroughly enjoyed every step. To take advantage of the longer days before the clocks go back I took in Burbage Rocks, Carl Wark and Higger Tor as well.
From Hathersage I left the village by the track of Baulk Lane which took me to the lane at Brookfield Manor. A short walk up the road and then I took the driveway up to North Lees Hall. Past the hall and I arrived at the lane beneath Stanage Edge and the track up to the edge. I was on Stanage Edge for a short while as I walked north but left it to take the path under High Neb to Stanage End. When I reached Stanage End I then walked the full length of the edge to Upper Burbage Bridge. I then walked along Burbage Rocks before heading down and across Burbage Brook to Carl Wark and Higger Tor. After taking in the view from Higger Tor I made my way back down to Hathersage.
Route map
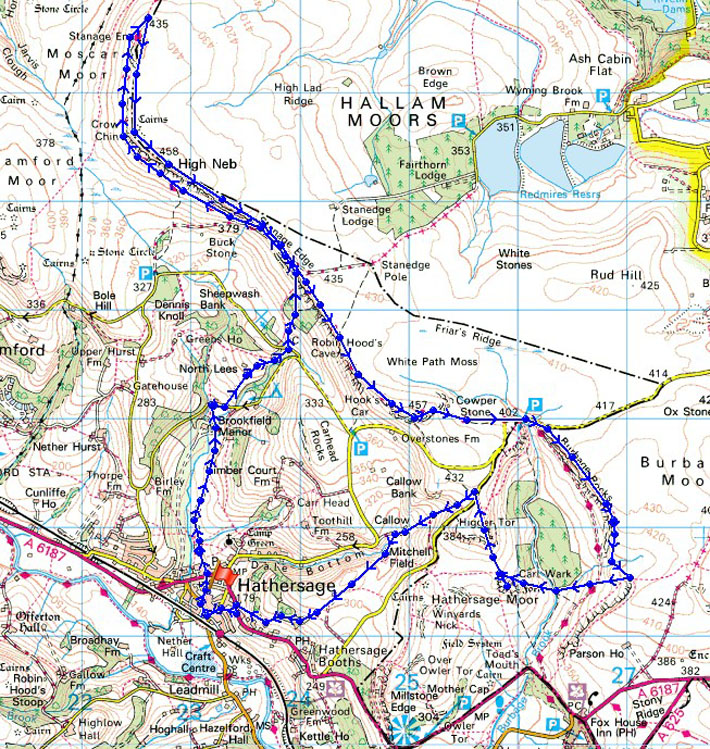
© Crown copyright. All rights reserved. License number PU 100034184.
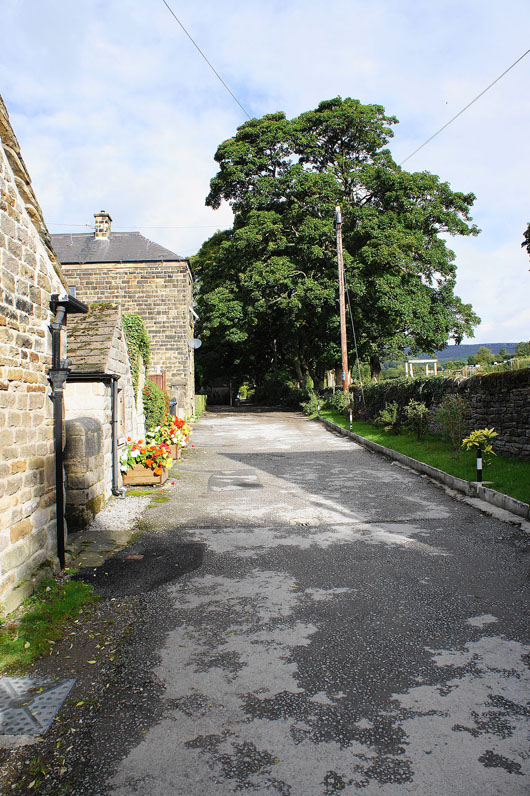
Leaving Hathersage by Baulk Lane
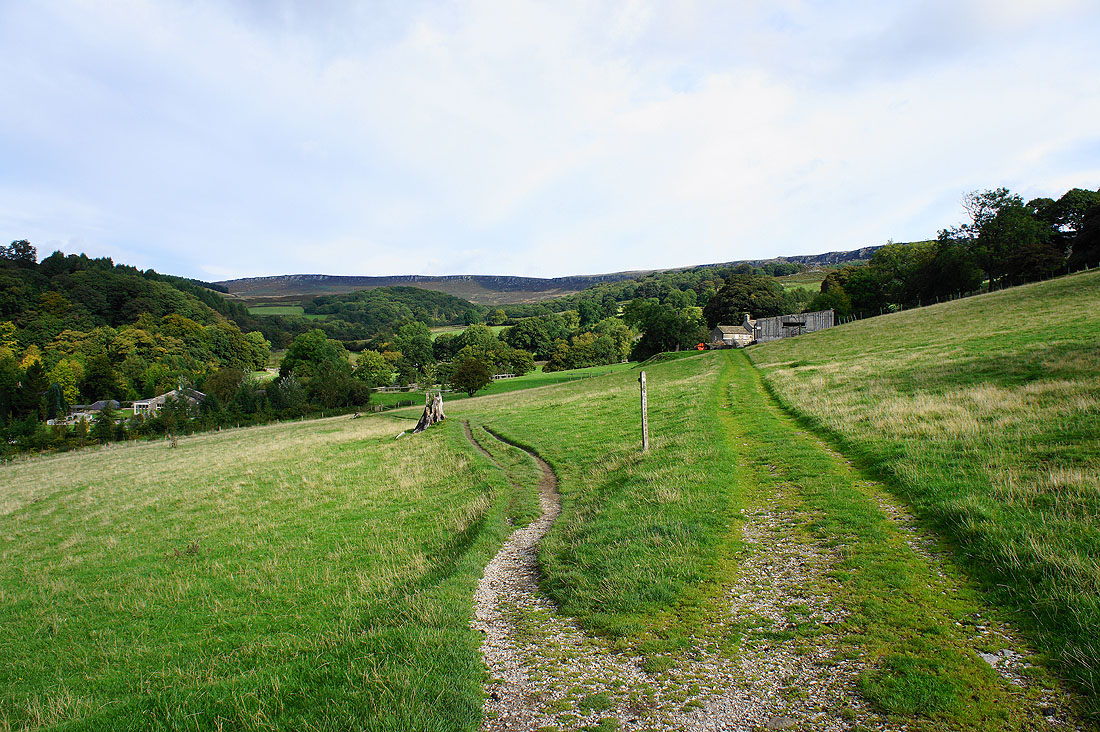
Stanage Edge briefly appears as the path crests a low hill
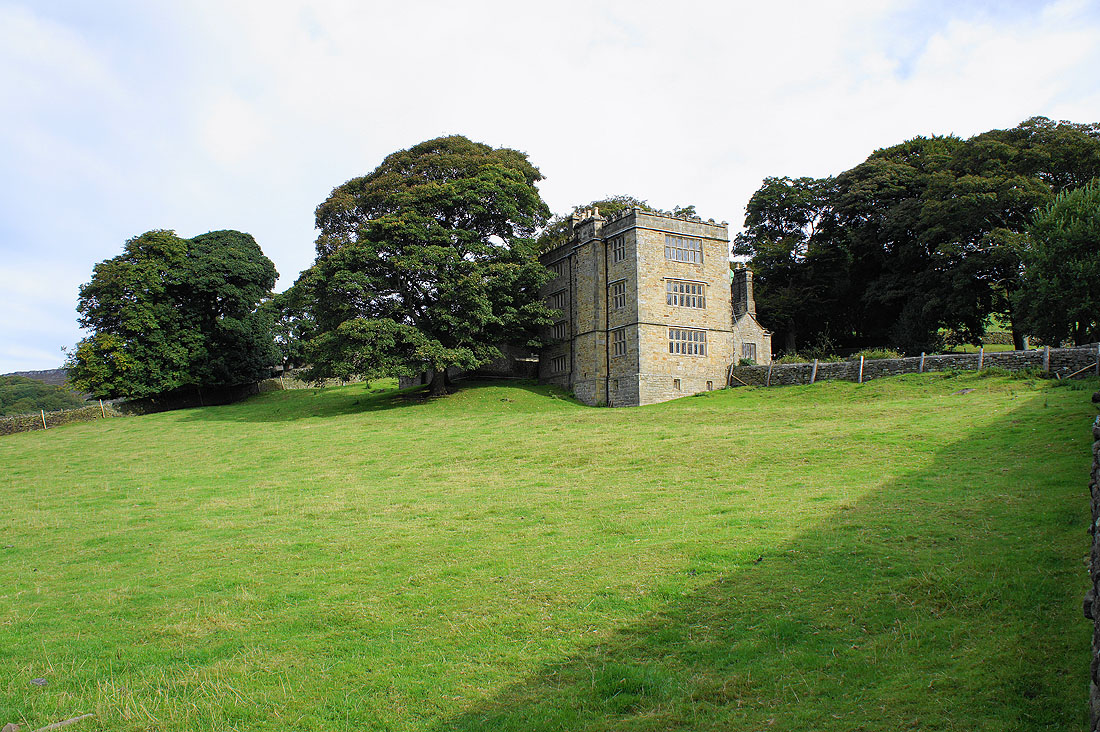
Passing North Lees Hall
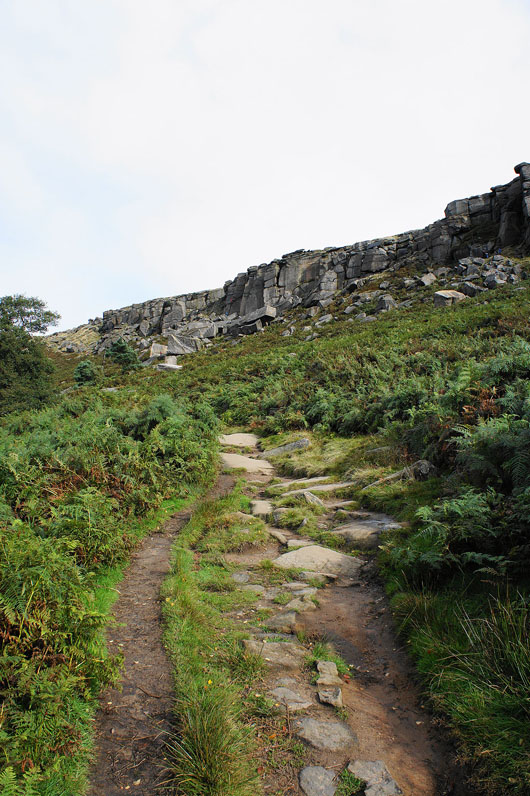
The crags of Stanage Edge finally appear
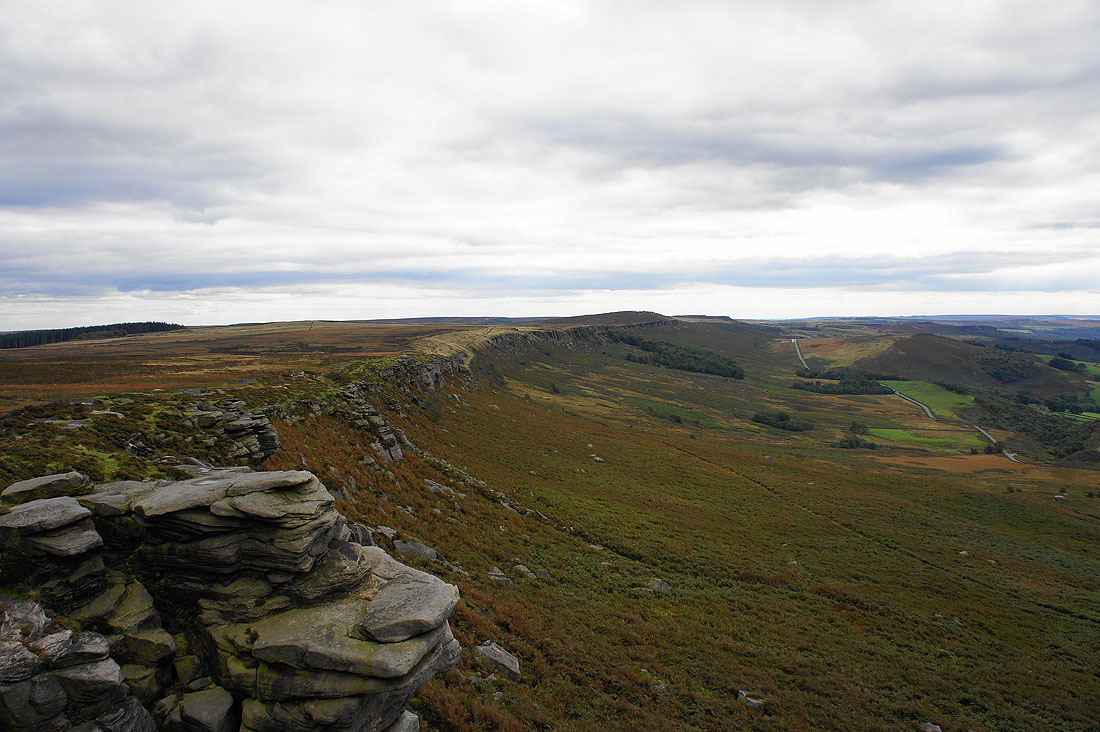
Up on the Edge
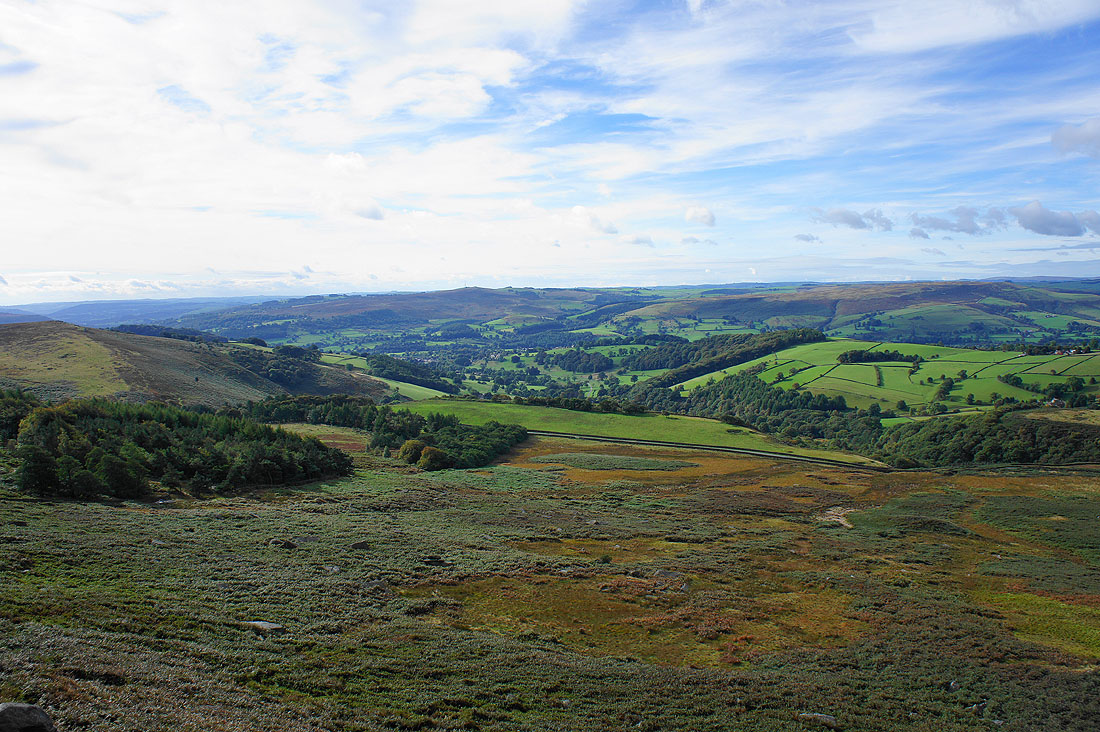
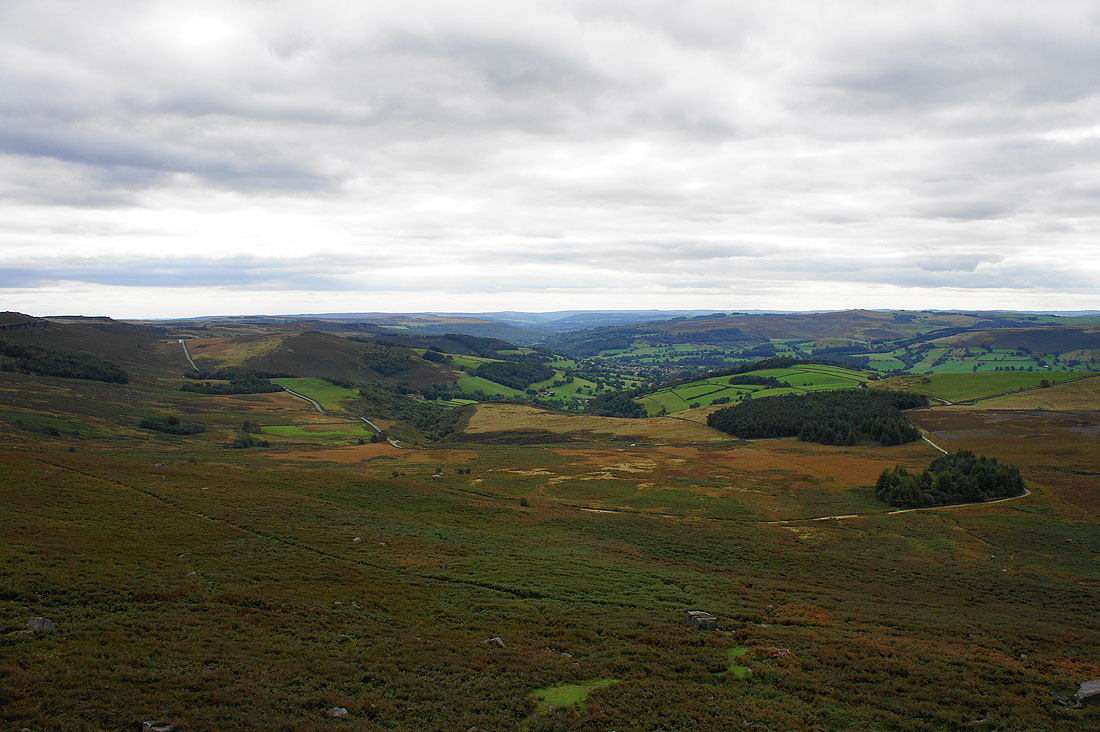
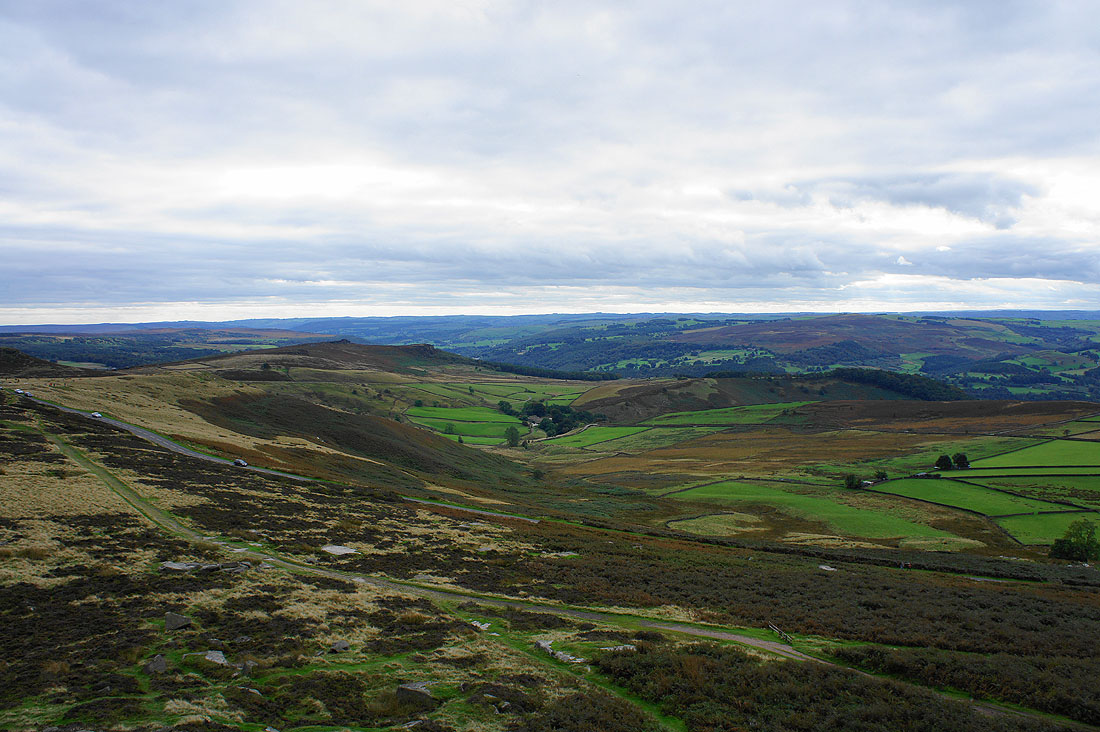
The view back down into the valley. Hathersage is just hidden round the side of the hill on the left. Eyam Moor and Offerton Moor are on the other side of the valley.
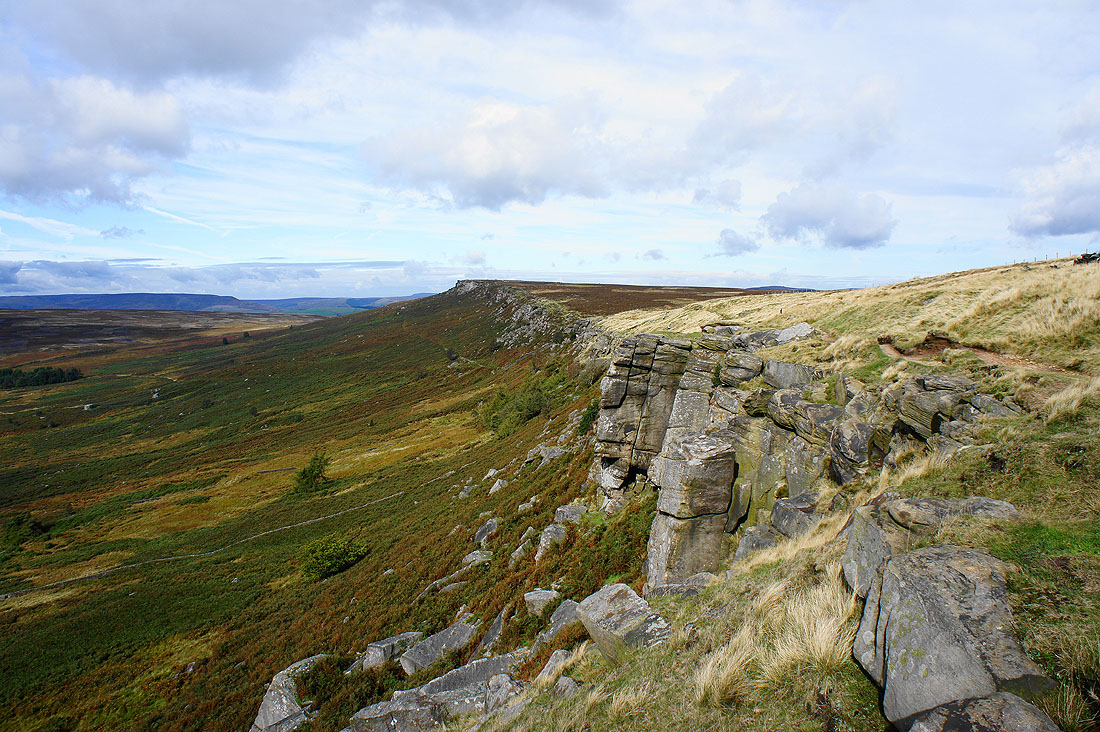
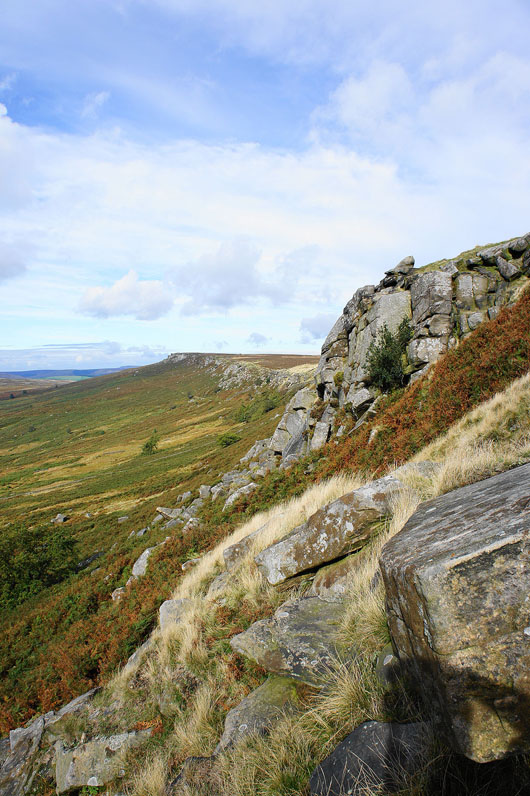
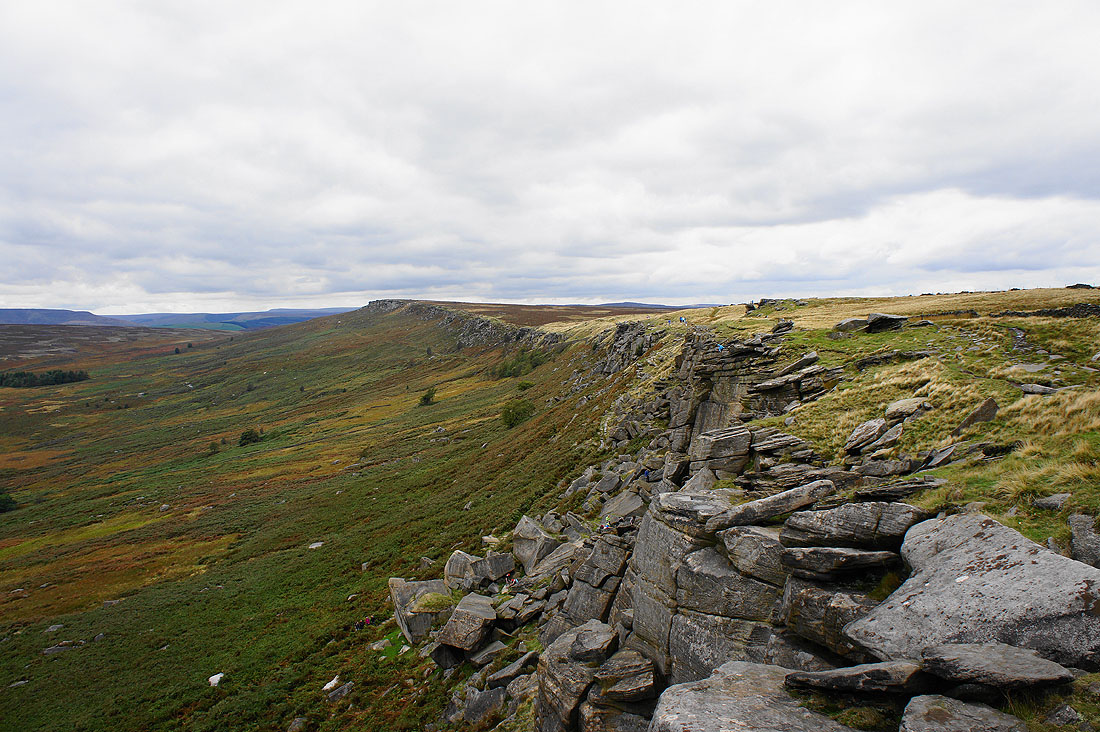
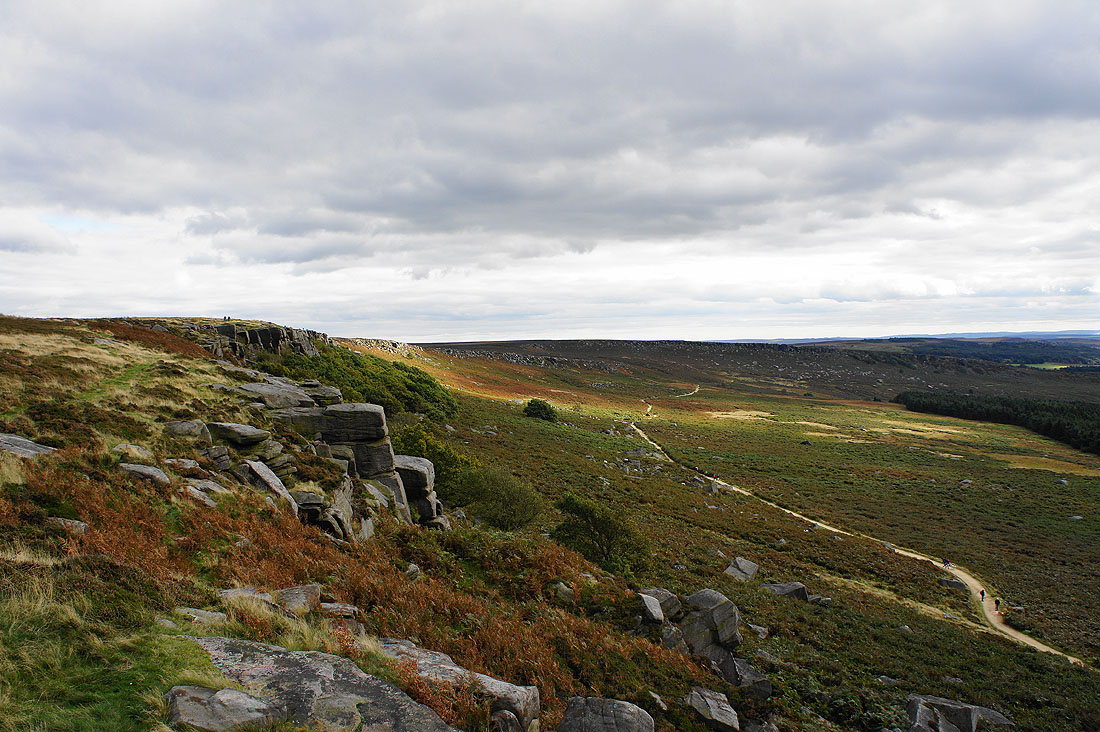
Stanage Edge stretches away to the north
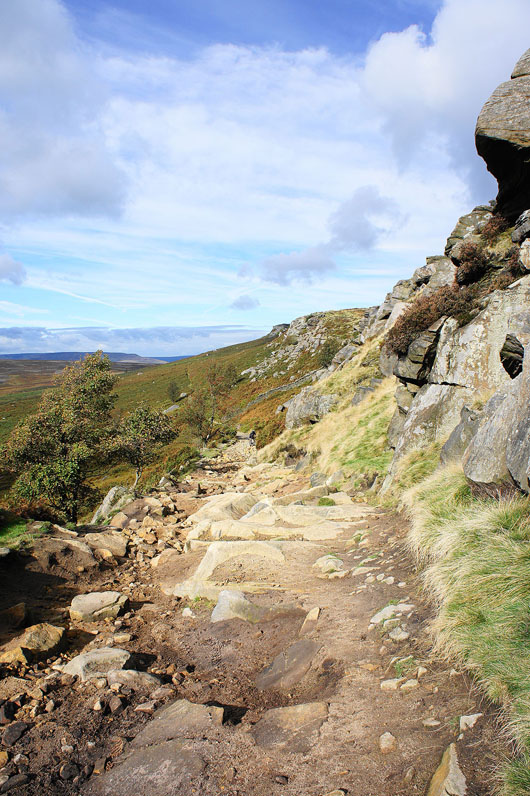
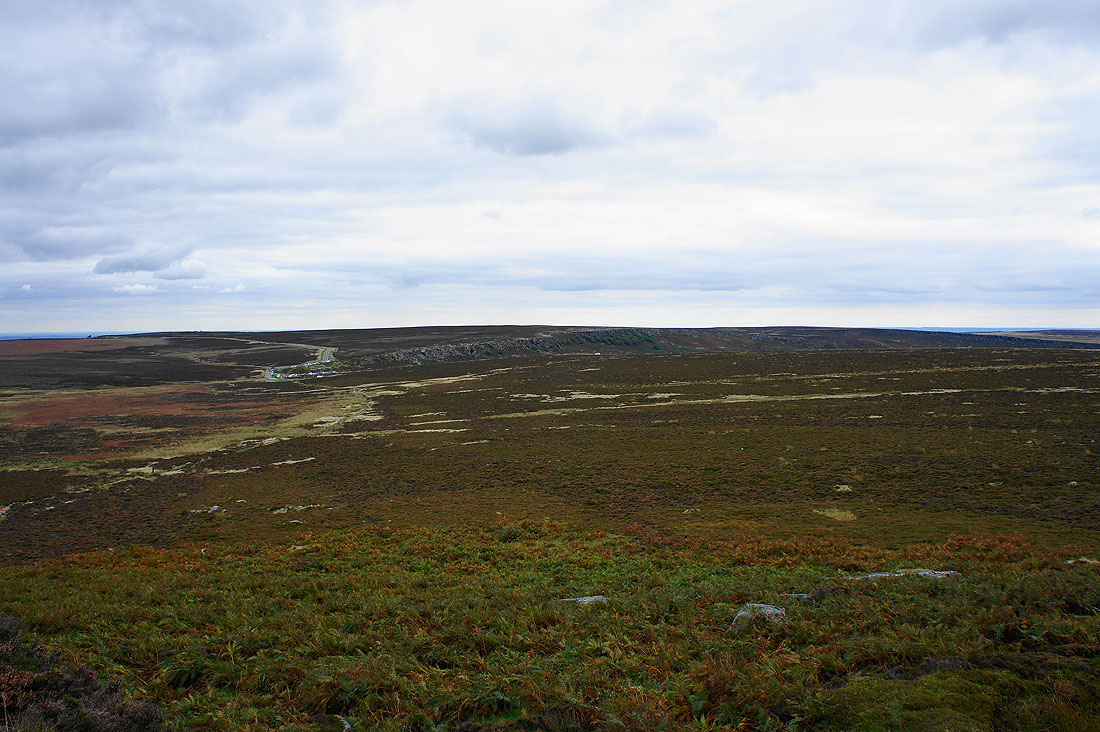
I wasn't on the Edge for long. I'm going to follow this path beneath the crags to Stanage End.
|
|
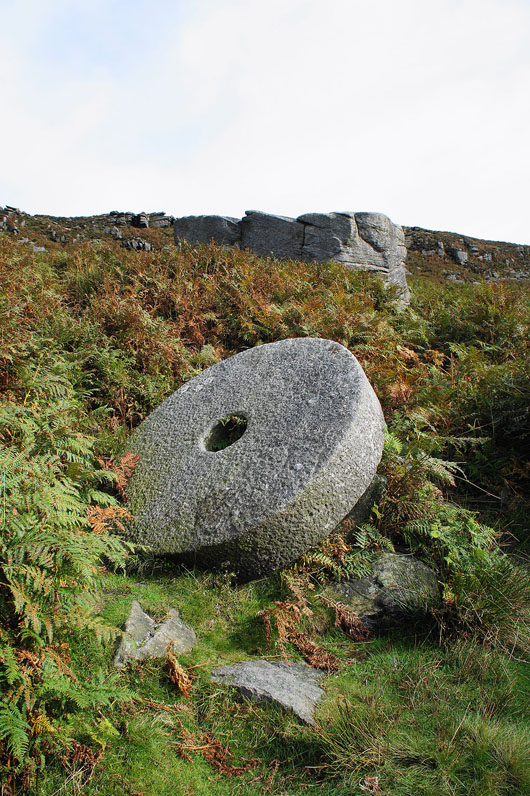
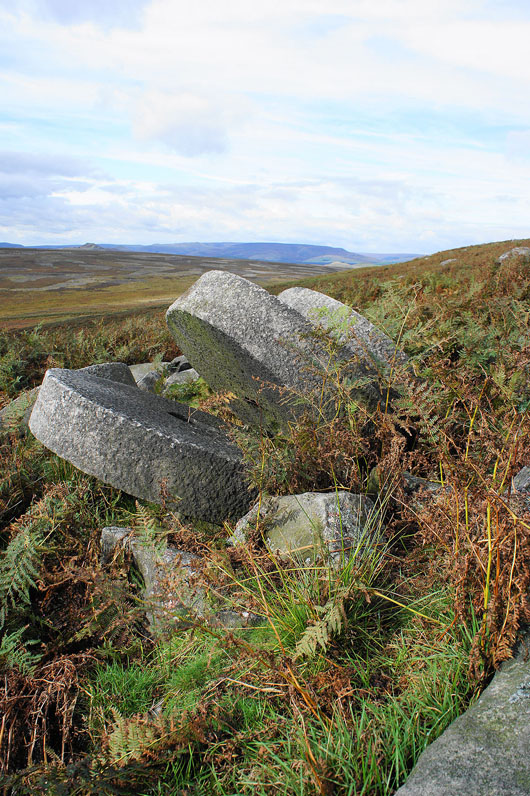
Millstones in repose. There are quite a few scattered amongst the bracken and heather by this path beneath the crags.
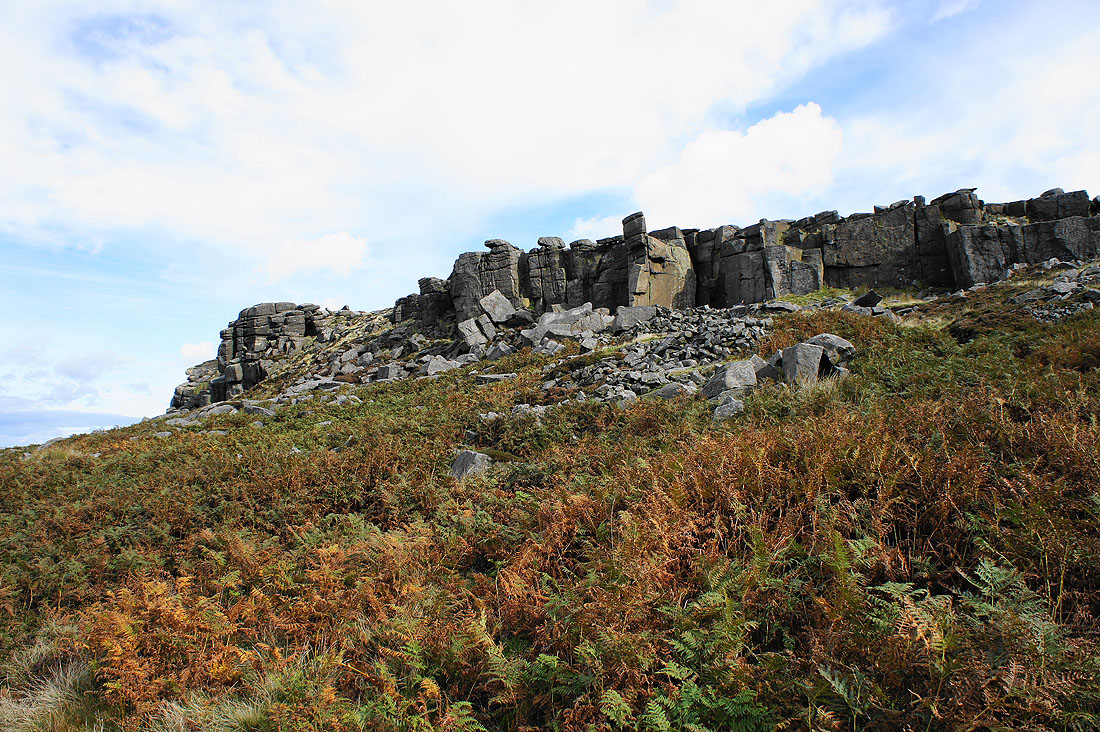
Stanage End. I'll follow the path past the crags and round the back and up onto them.
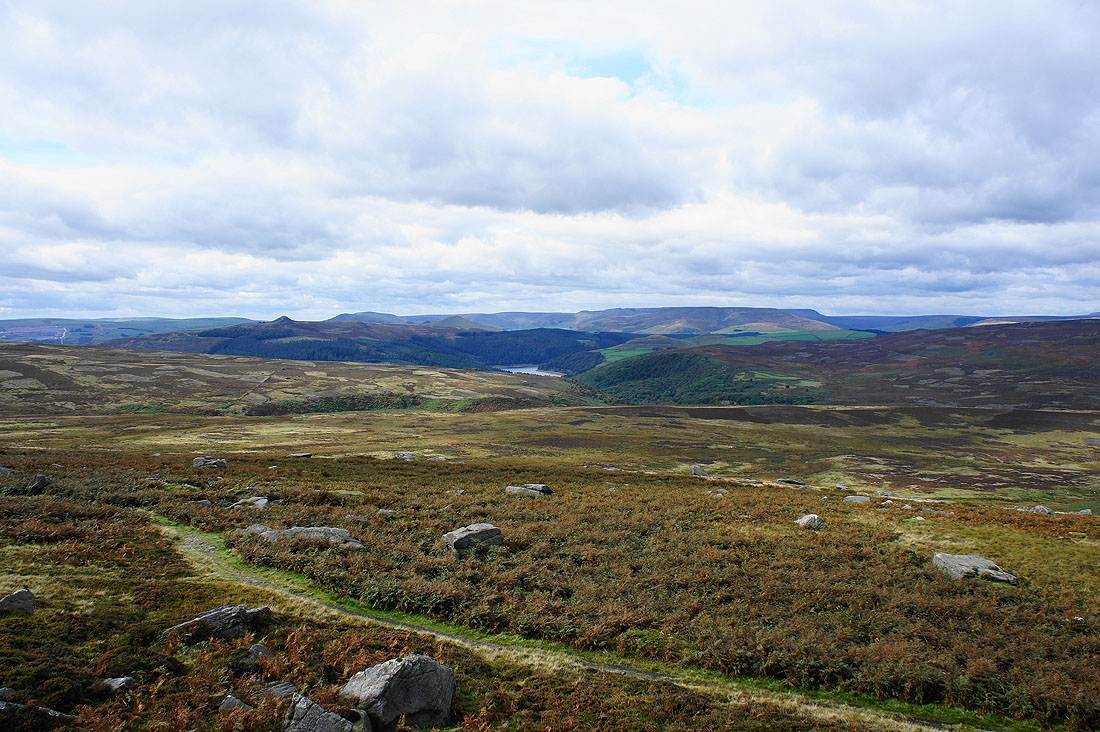
Great views from Stanage End. Win Hill, Kinder Scout and the Edale Horseshoe. A little bit of the Ladybower Reservoir can be seen.
Looking across to Back Tor and Derwent Edge
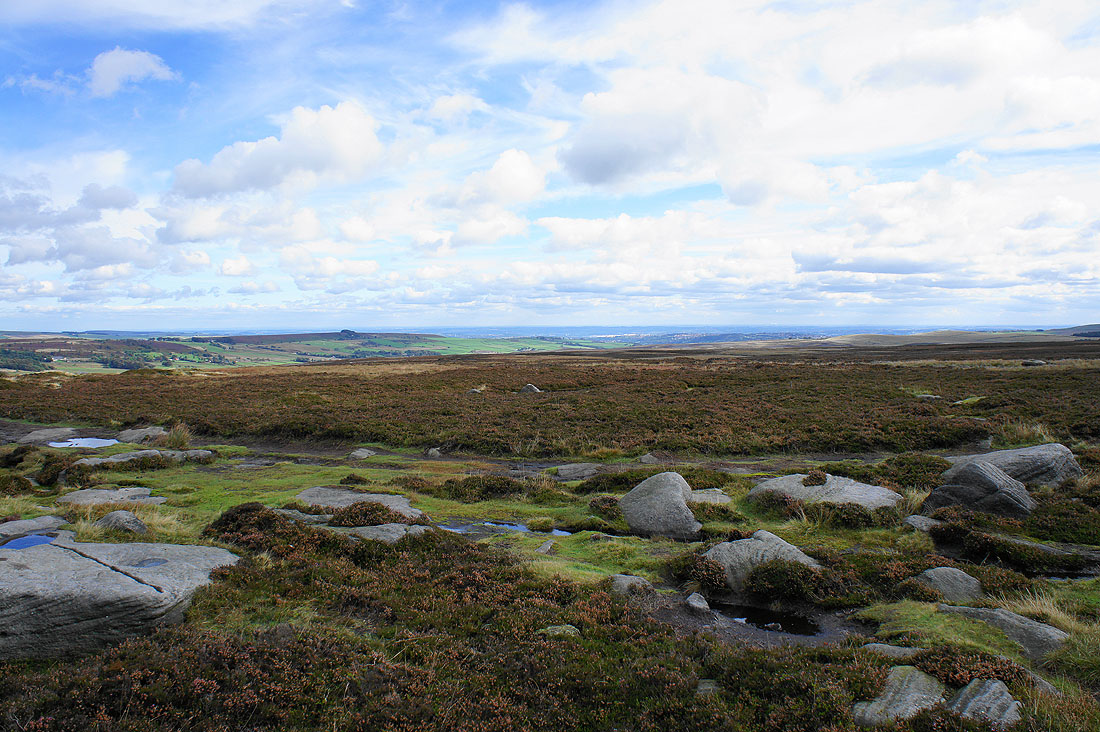
To the east the moors descend to the city of Sheffield
Heading south along the Edge
Approaching the trig point on High Neb
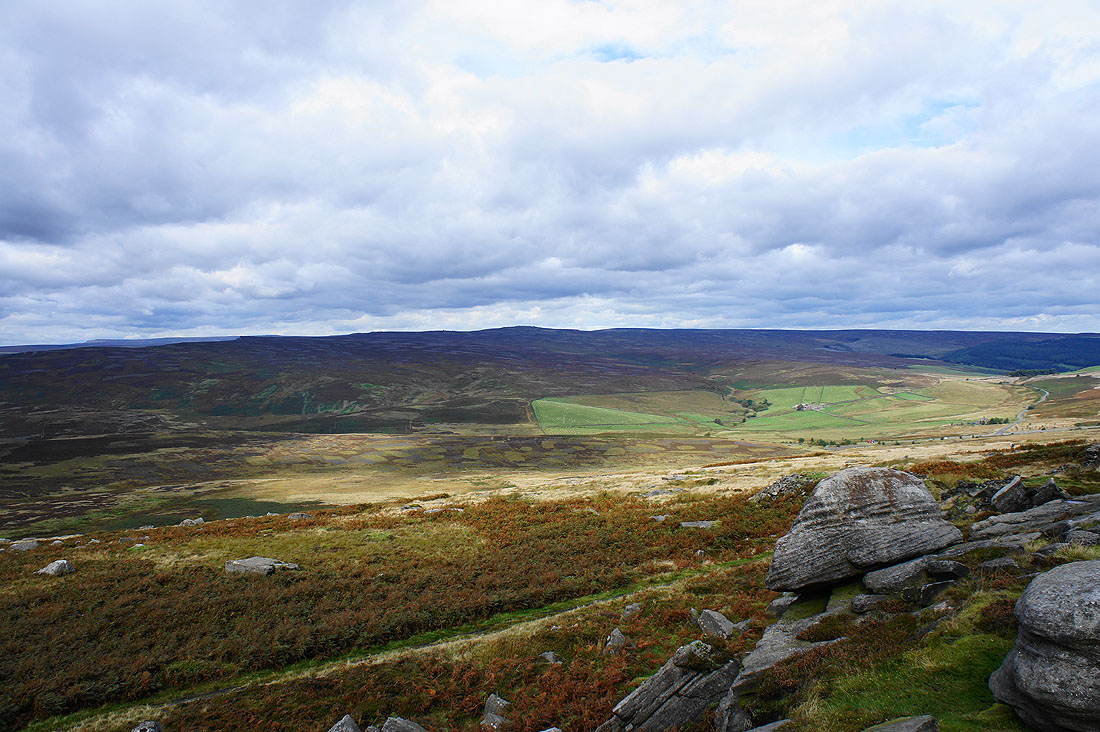
The view from High Neb. Stanage Edge heading to the southeast.
Kinder Scout and Bleaklow in the distance
Derwent Edge and Back Tor
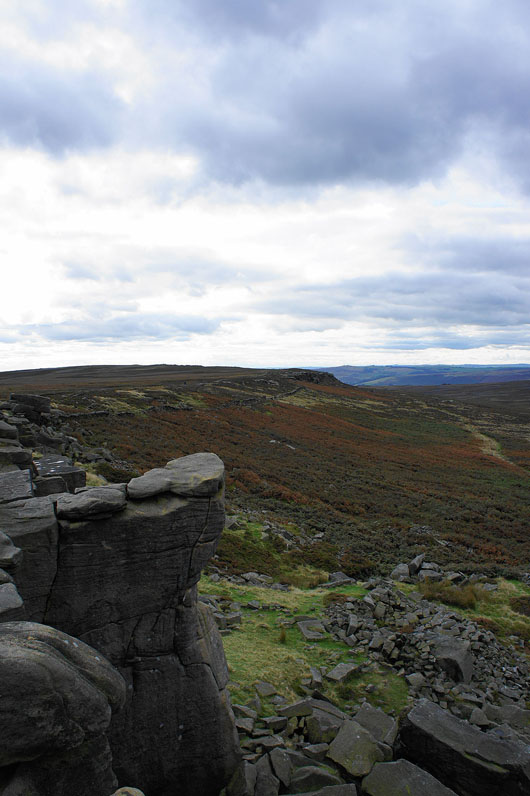
Great walking along the top of the Edge to come. A shame it's clouded over and there's no sun to light the crags. Up until now I've not seen any climbers but that's about to change.
The Derwent Valley below
Looking back north along the Edge. I've passed the spot where I first joined the Edge earlier in the day. There are lots of rock climbers on the crags now.
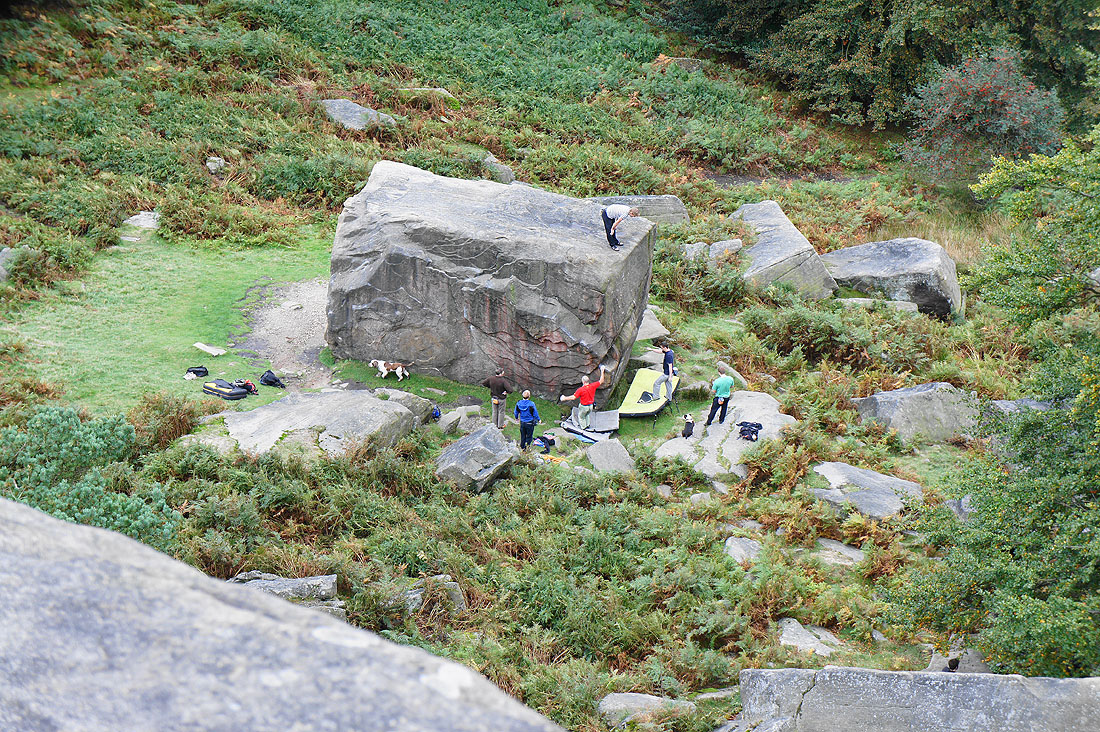
Enjoying bouldering..
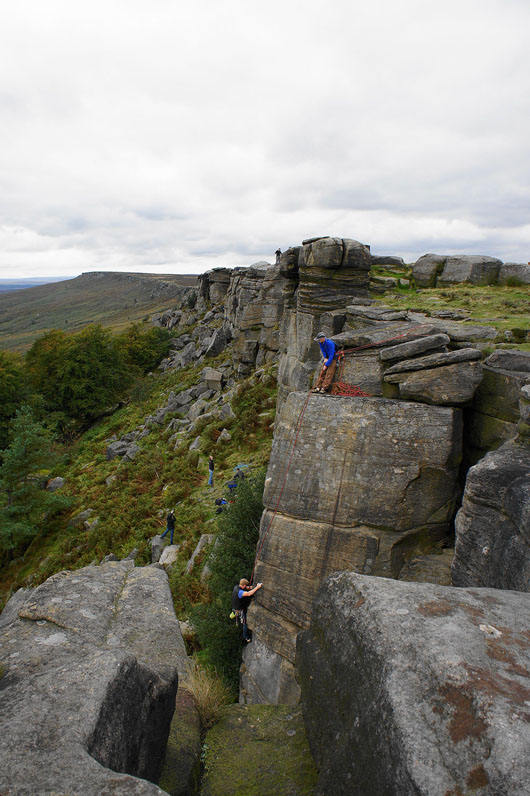
..and climbing
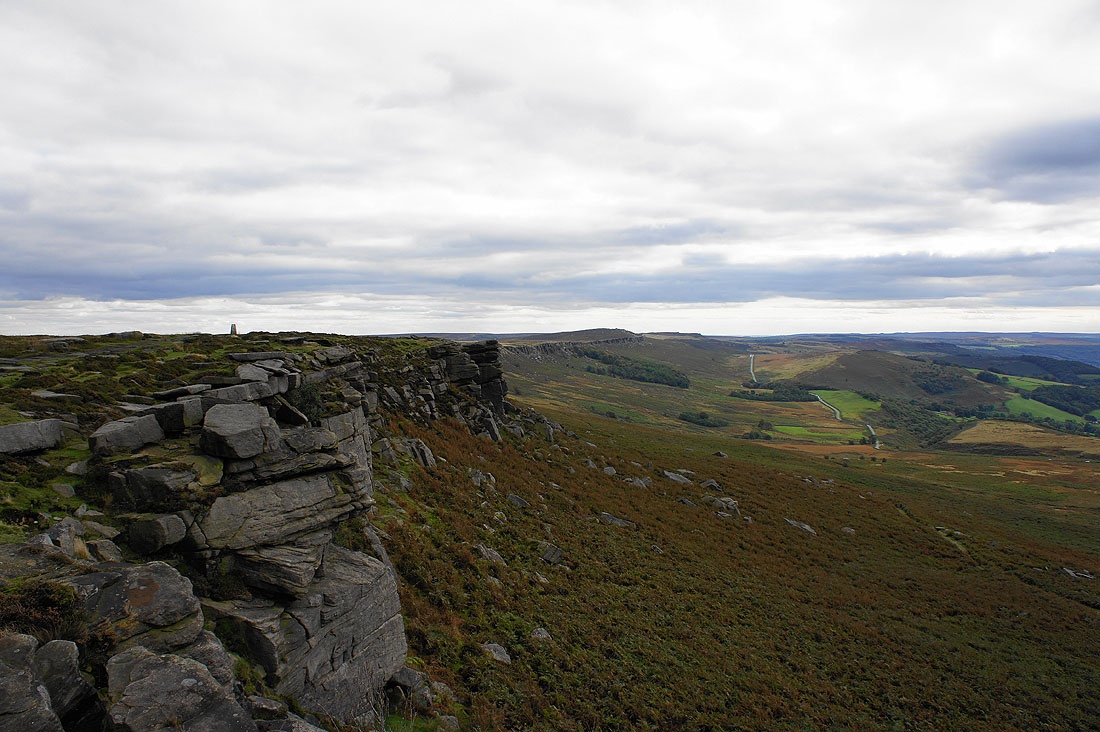
Almost at the trig point at the southern end of Stanage Edge and a brief appearance of the sun really lights up the crags
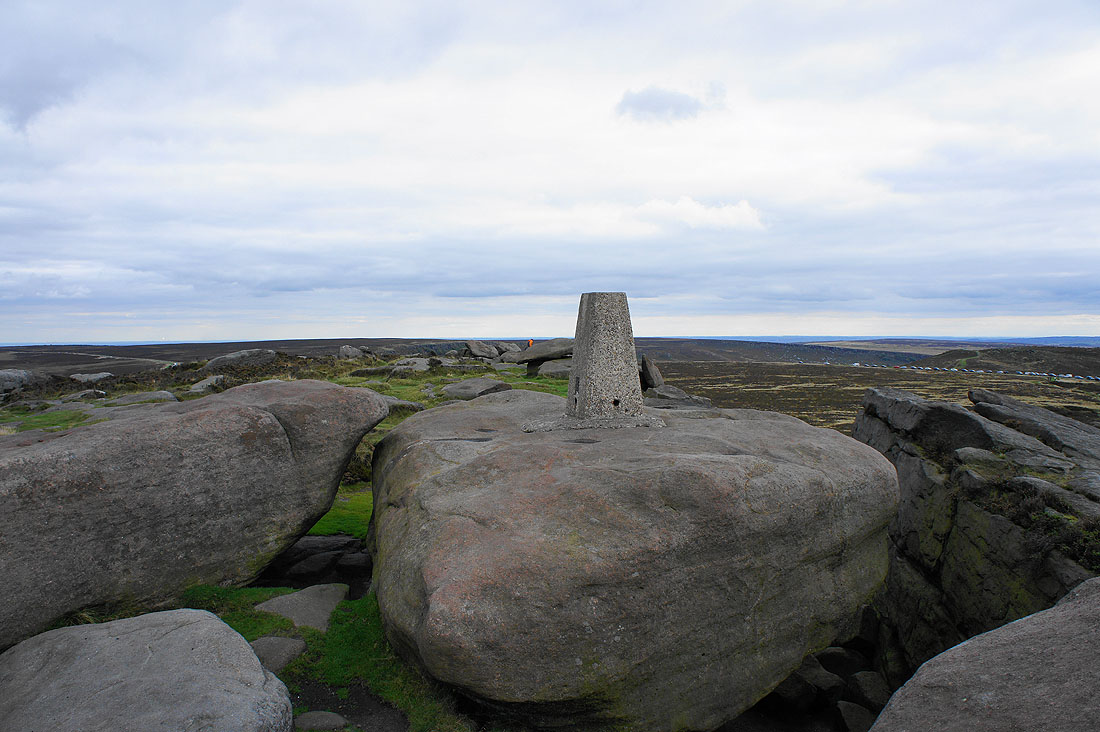
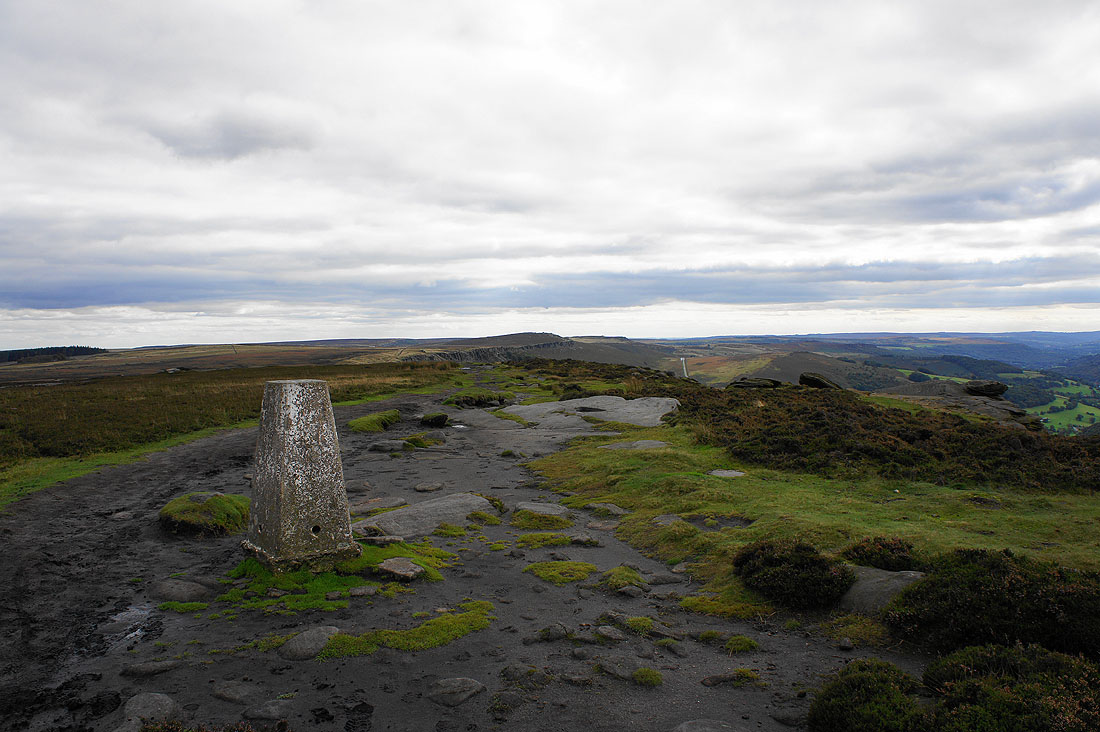
The trig point that marks the southern end of Stanage Edge

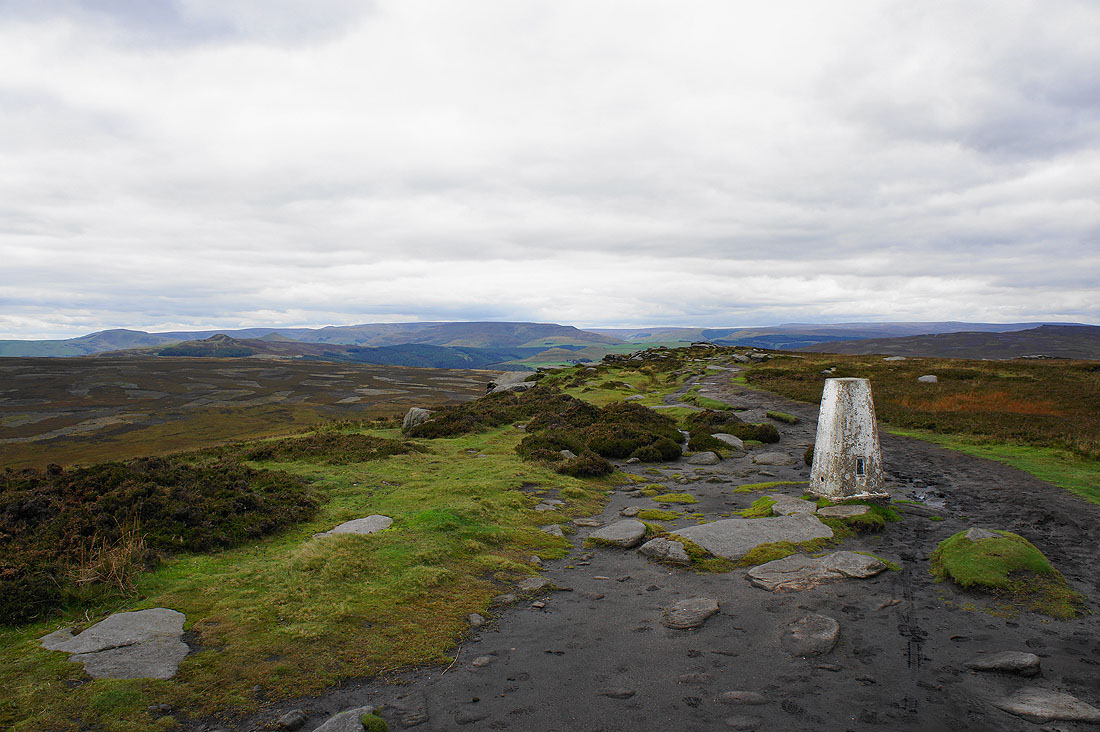
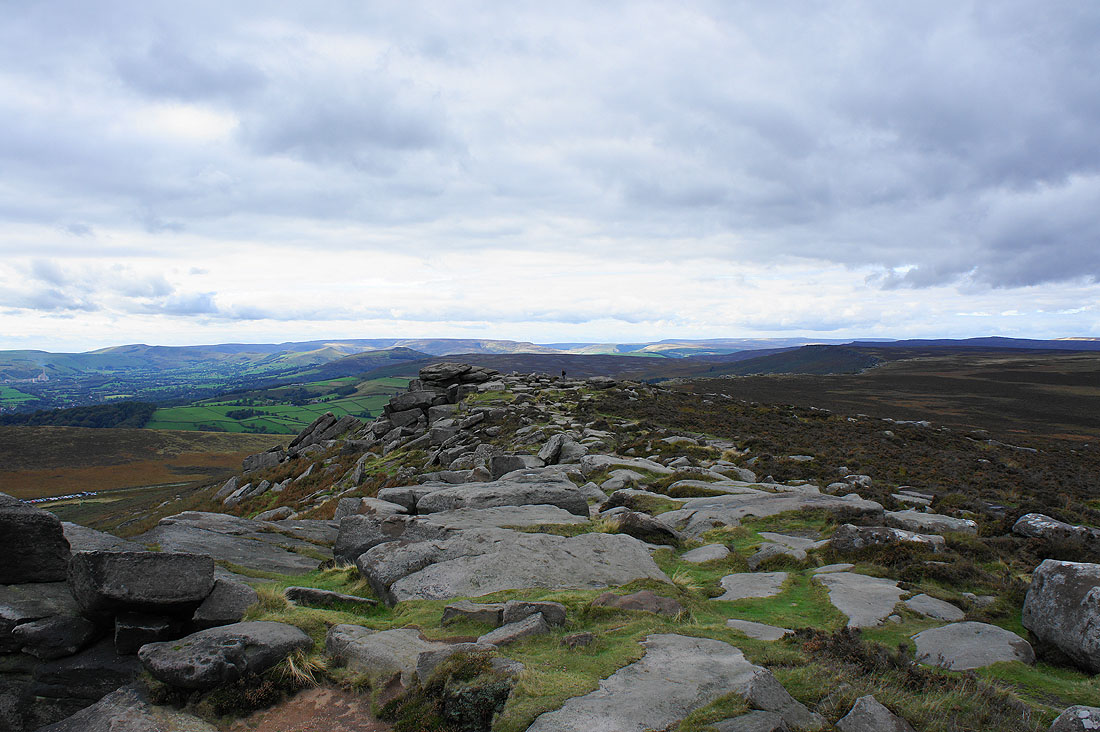
A distant view to the Hope Valley, Mam Tor, Kinder Scout and Win Hill
Sunshine on Kinder Scout and Bleaklow
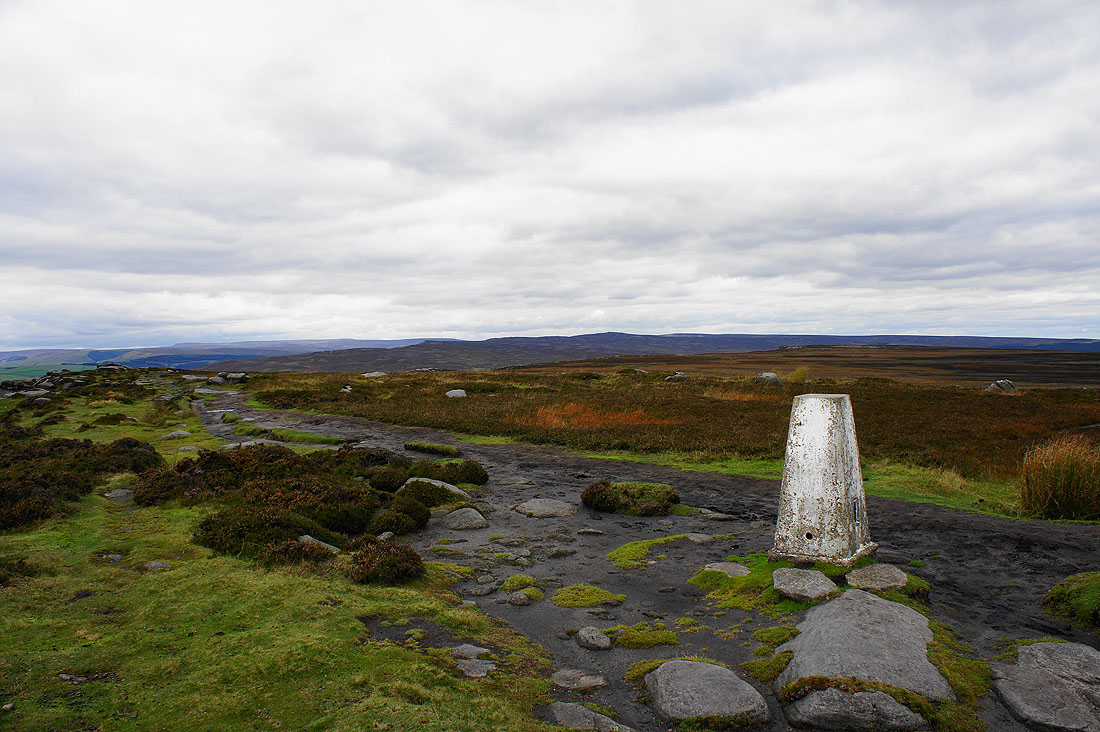
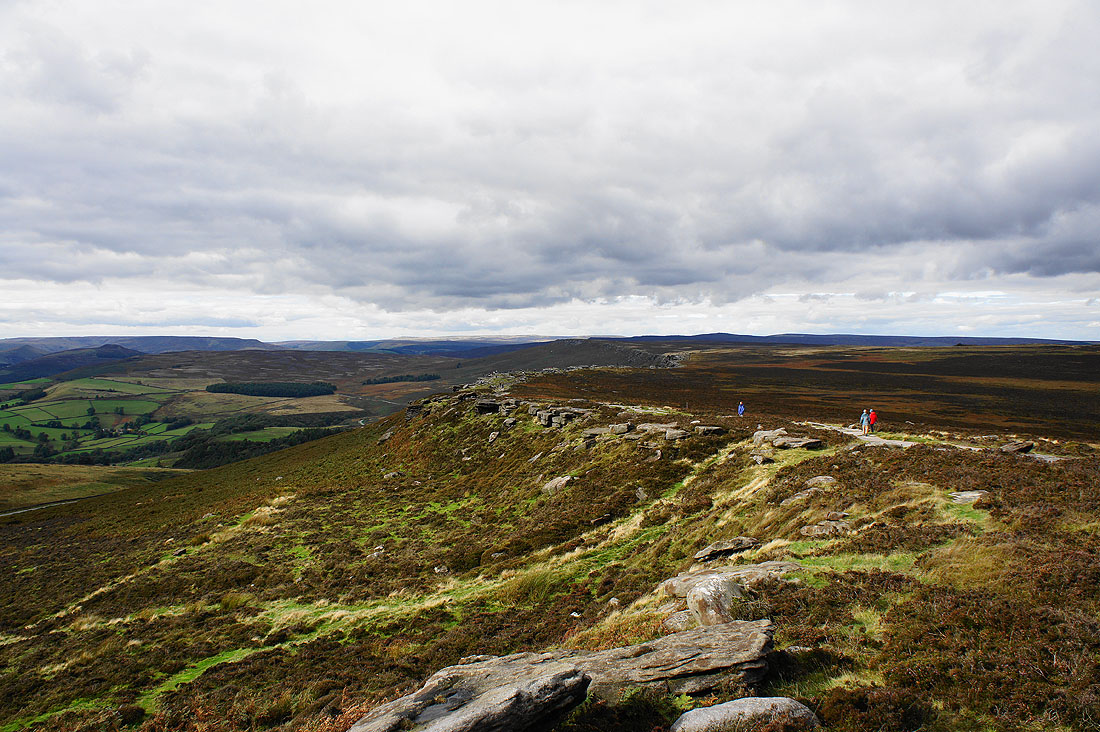
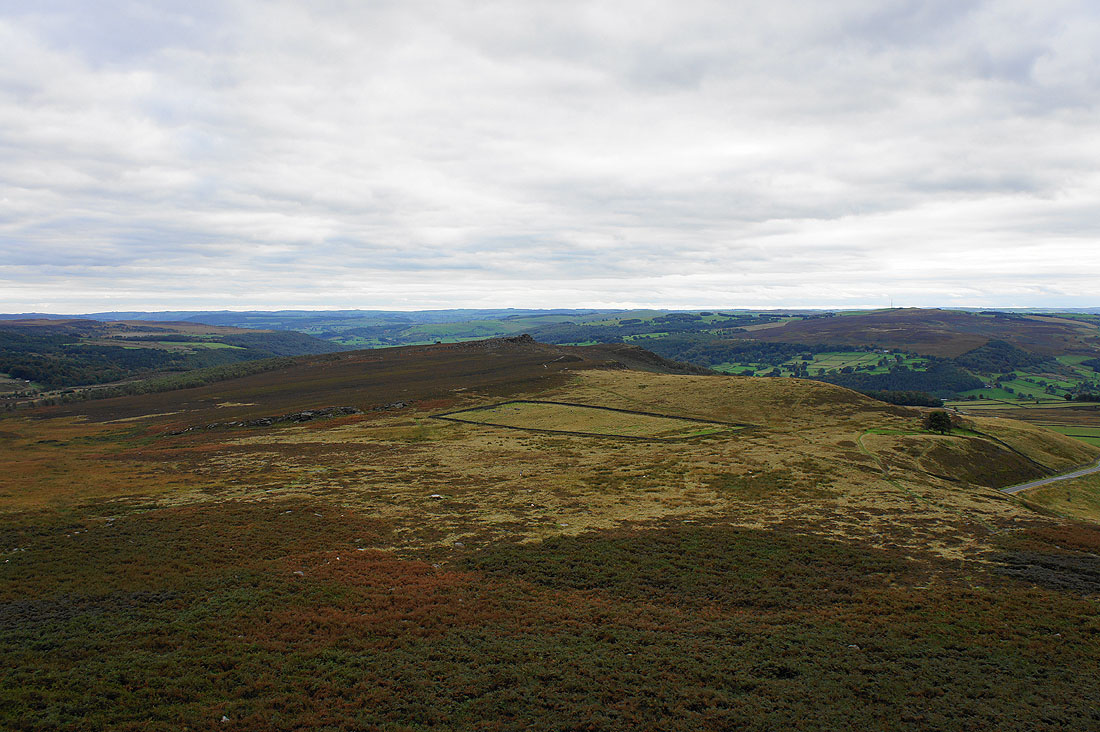
My route back down to Hathersage will be across the ridge in the middle of the picture
Heading for Upper Burbage Bridge and Burbage Rocks
On Burbage Rocks
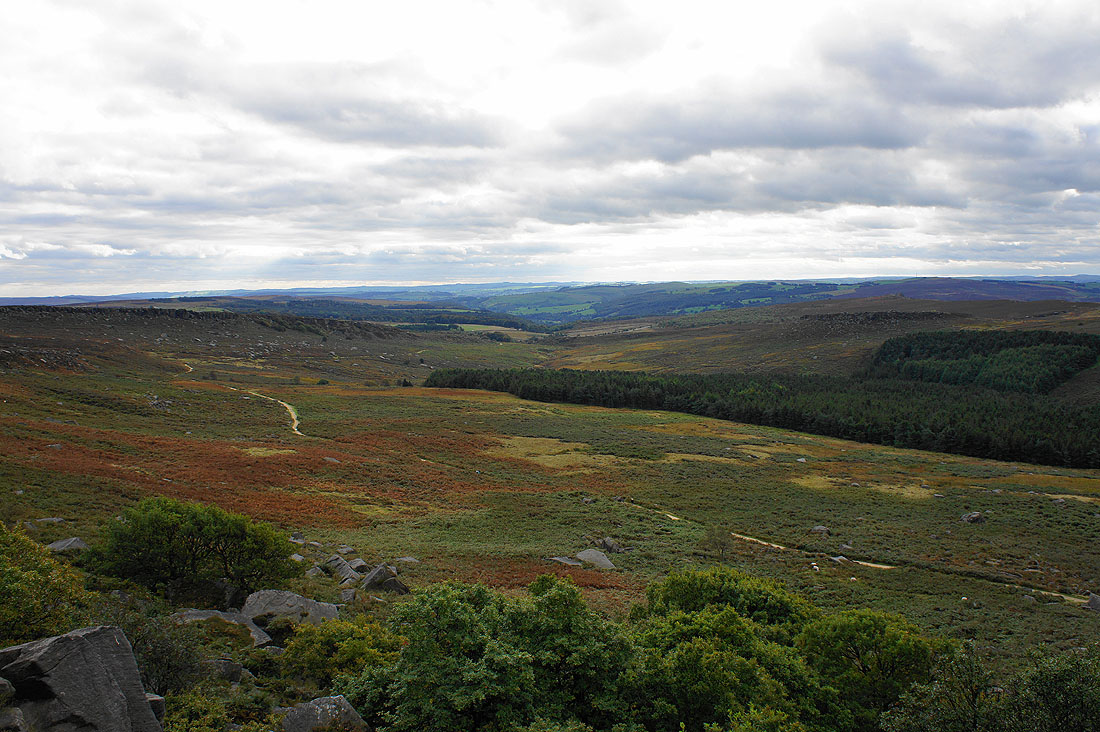
The valley of Burbage Brook. I'll be crossing it later as I head to Carl Wark.
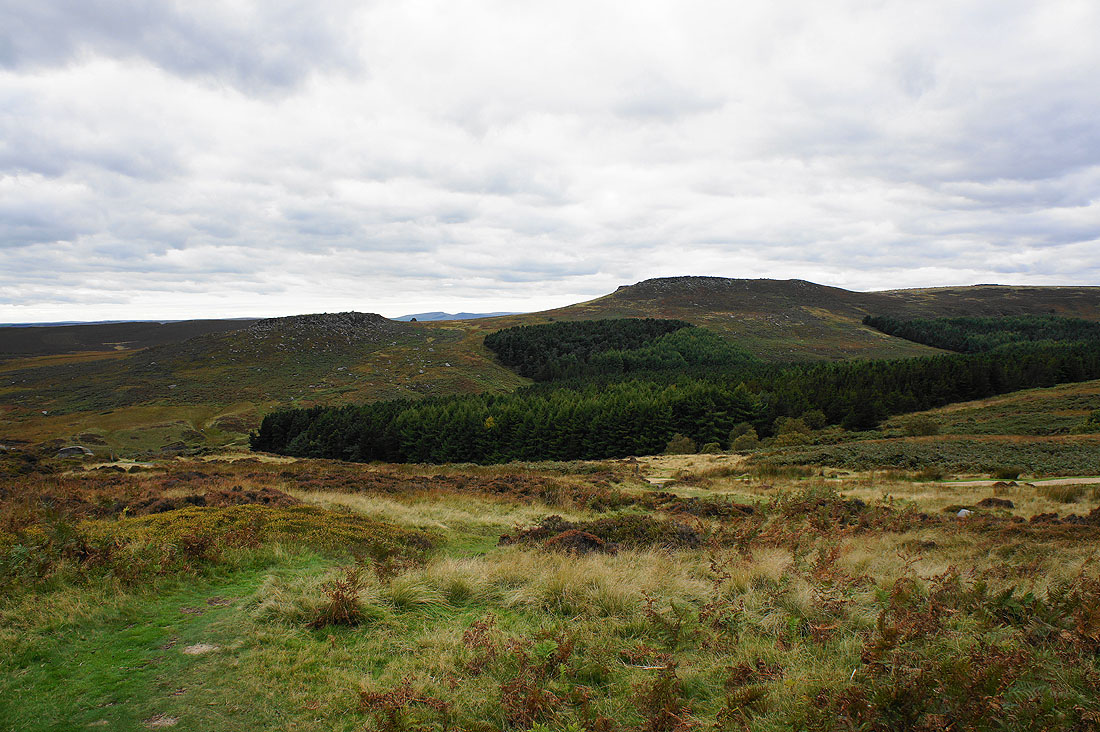
Carl Wark and Higger Tor as I head down to cross Burbage Brook
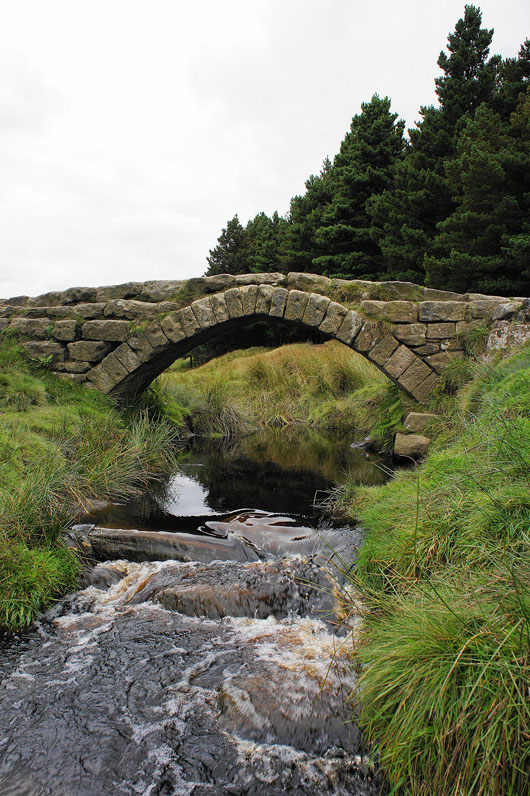
The perfectly constructed little bridge over Burbage Brook
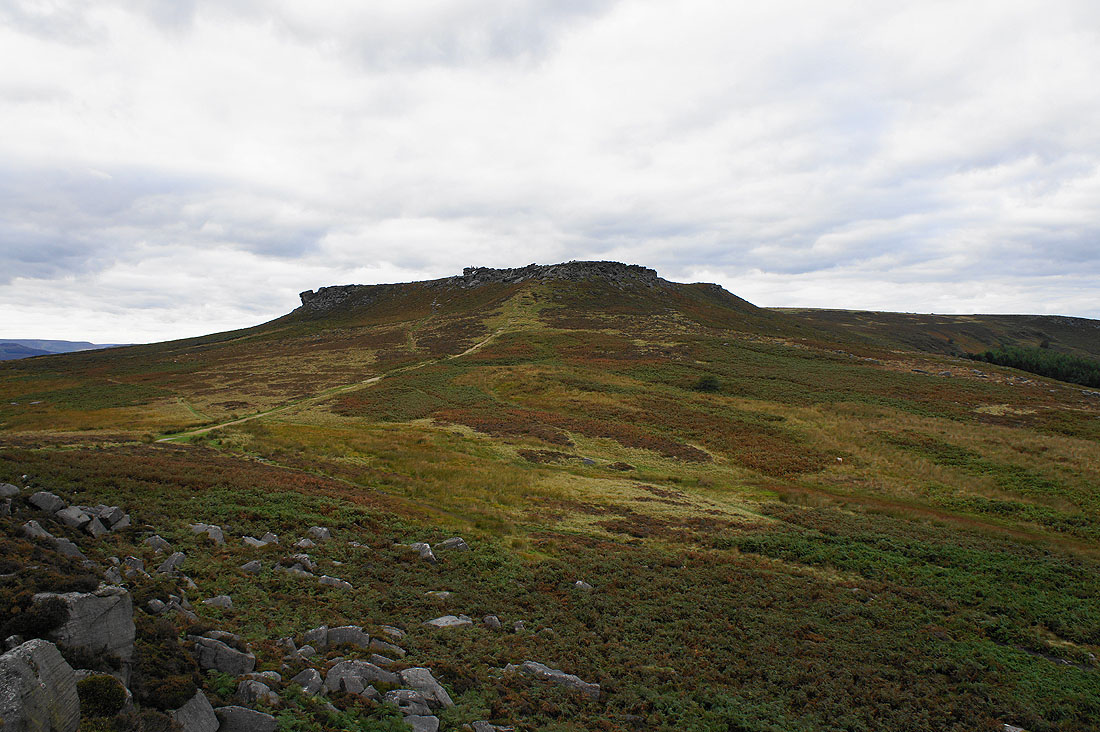
Higger Tor from Carl Wark

The final stop of the day, Higger Tor and there are great views as I walk around its edge. Carl Wark from Higger Tor.
Over Owler Tor

The Derwent Valley and Hope Valley leading up to Mam Tor, Lose Hill, Win Hill and Kinder Scout
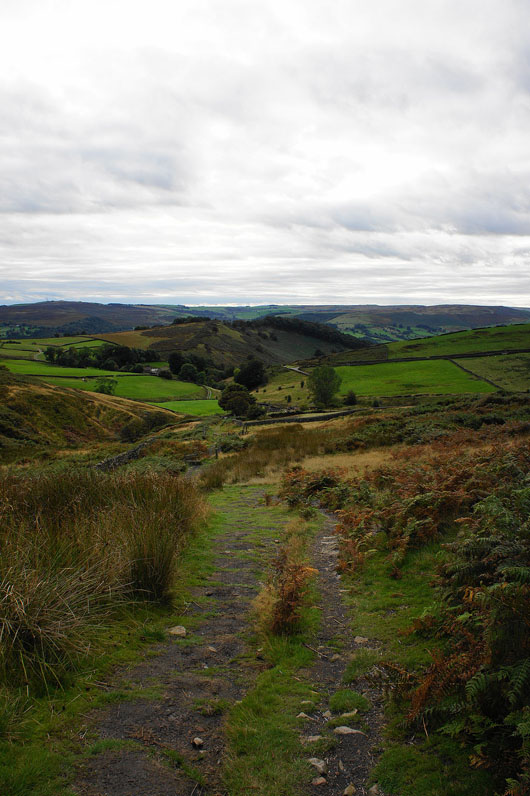
At last I'm on my way back to Hathersage. My route will take me down this track and then across to the left of the brow of the hill.
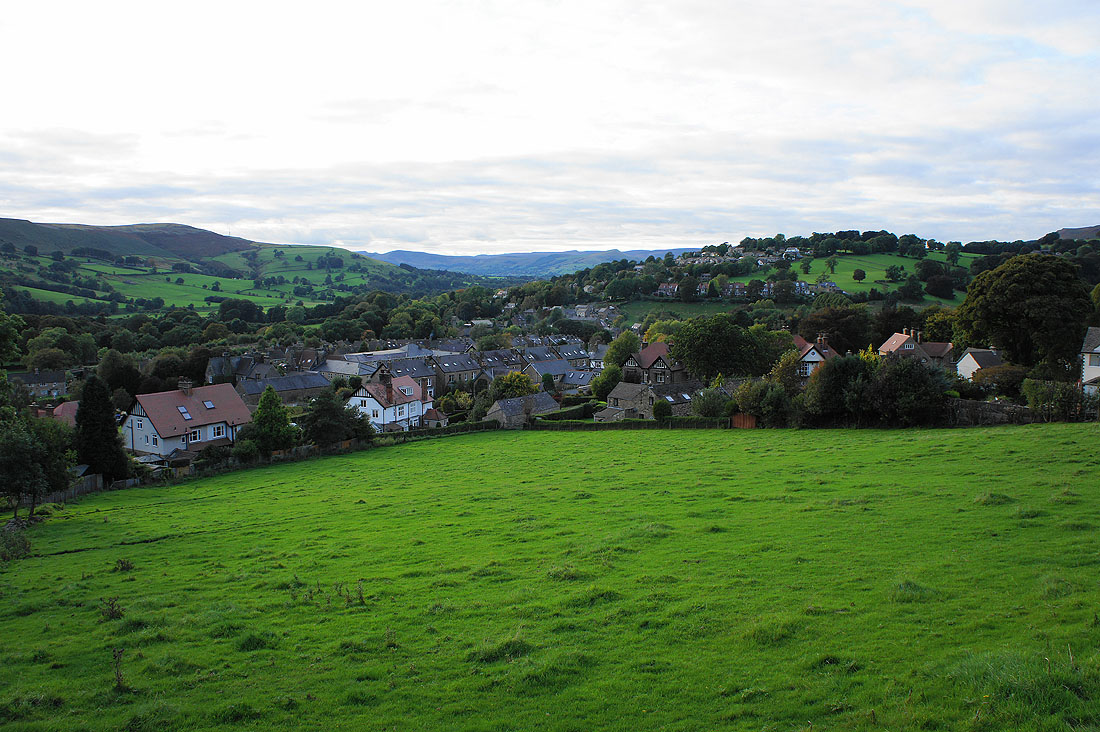
The roofs of Hathersage beckon