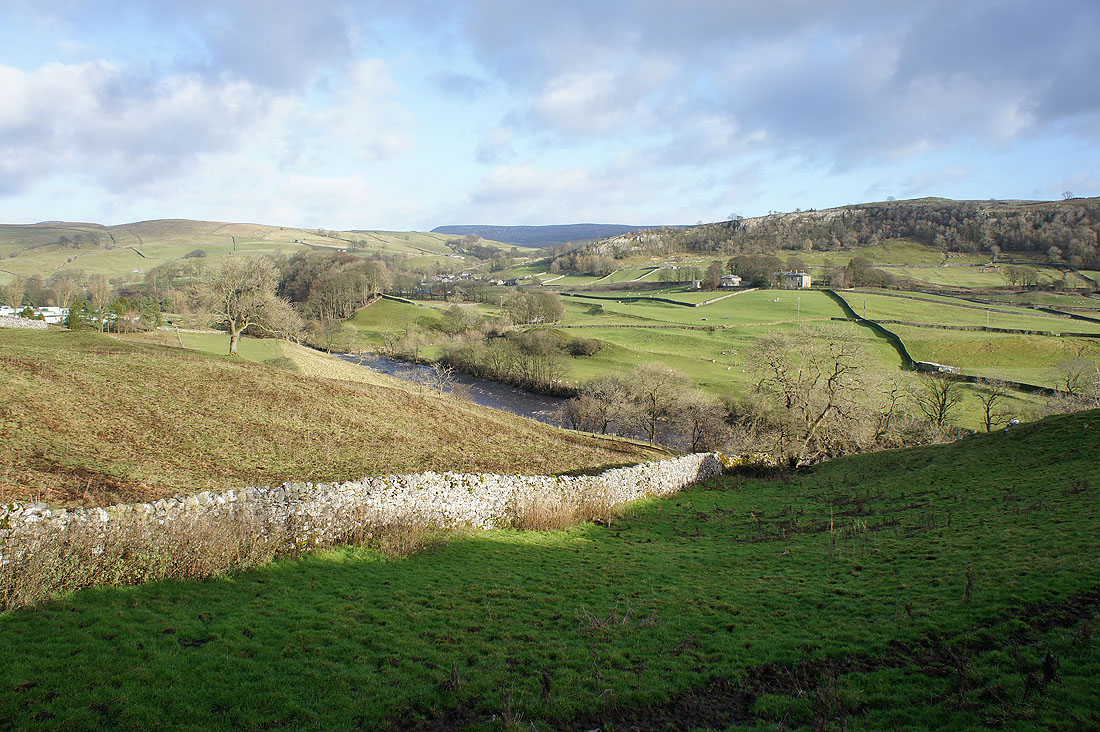
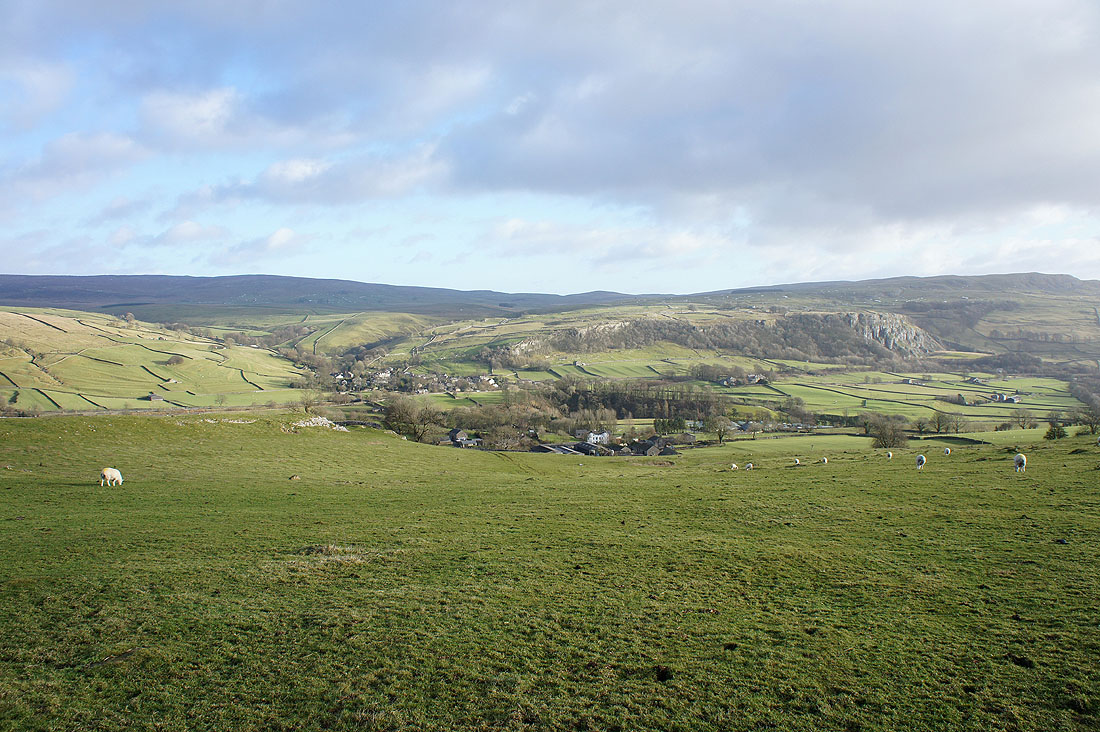
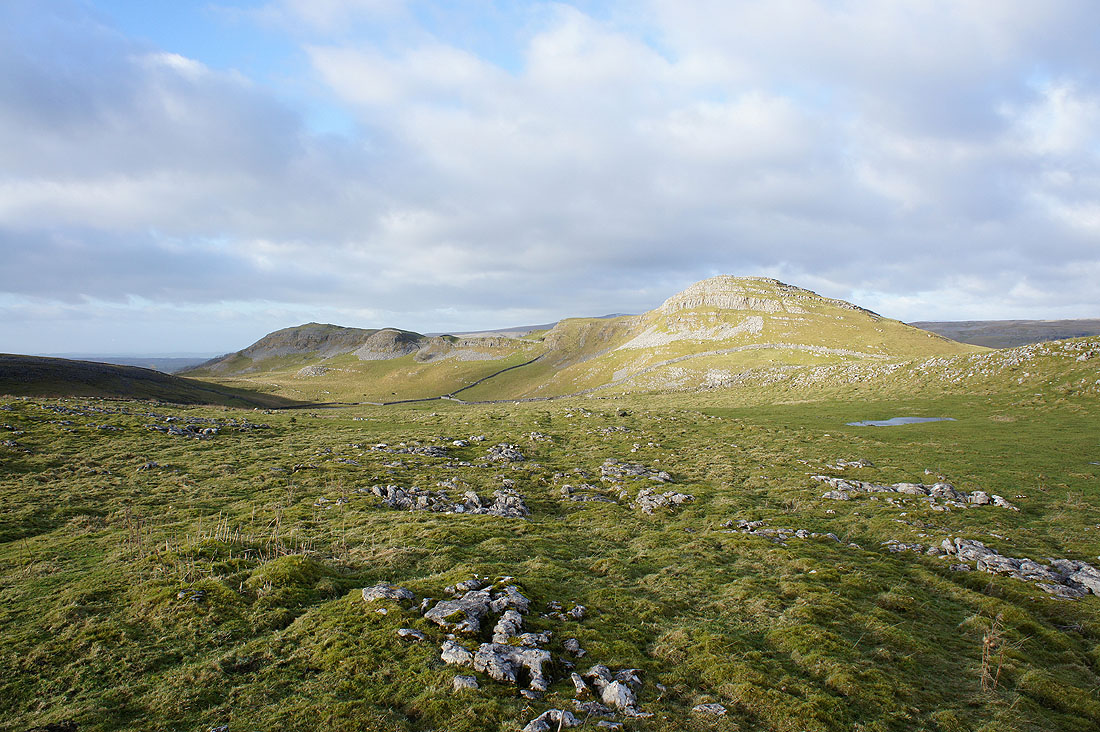
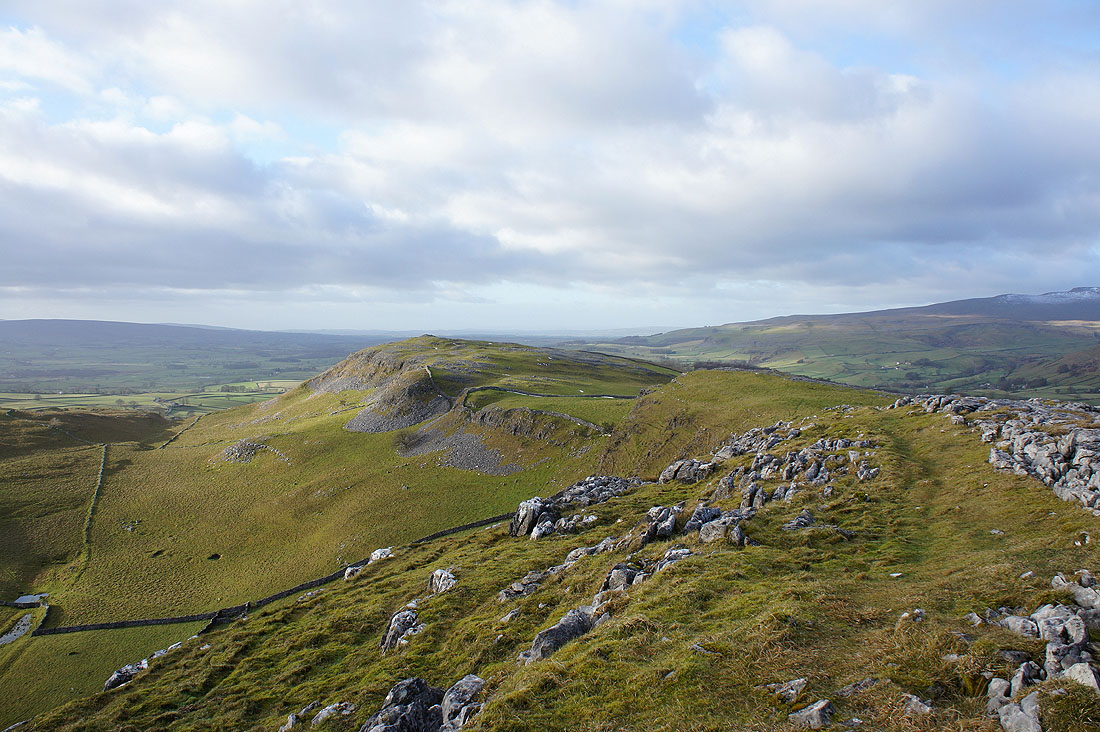
9th December 2012 - Giggleswick, Smearsett & Pot Scars
Walk Details
Distance walked: 7.0 miles
Total ascent: 1424 ft
OS map used: OL2 - Yorkshire Dales, Southern & Western areas
Time taken: 5 hrs
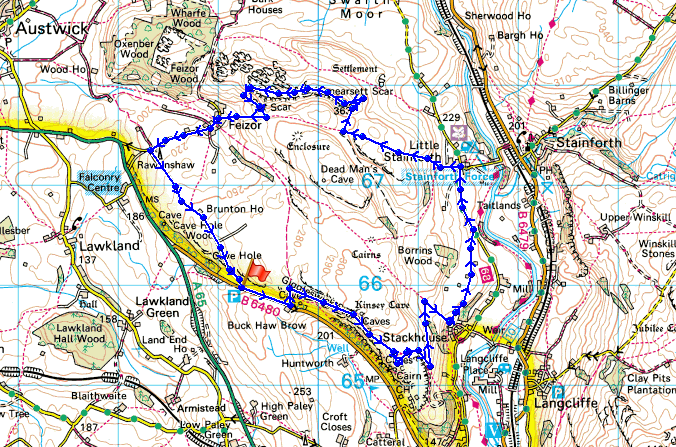
Route description: Layby on B6480 at Buck Haw Brow-Giggleswick Scar-Stackhouse-Little Stainforth-Smearsett Scar-Pot Scar-Feizor-Kiln Hill Lane-Brunton Road-Layby on B6480 at Buck Haw Brow
The rain that I awoke to soon cleared today but it was forecast to remain windy so I decided on a fairly low level walk. I first visited Smearsett and Pot Scar back in July and I thought at the time that they were great viewpoints for Ingleborough and warranted another visit when the weather for photography was better. I wasn't disappointed.
I started this walk from the layby on the B6480 at Buck Haw Brow. A brief walk back along the road towards Settle brought me to a gate that allows access to the fellside. I then walked along Giggleswick Scar until I reached the Schoolboys Tower cairn and then it was down to Stackhouse. A walk through fields brought me to the lane to Little Stainforth. After passing through Little Stainforth the best part of the walk lay ahead, Smearsett Scar and Pot Scar. My route back was through Feizor and along a couple of lanes to the layby.
Route map
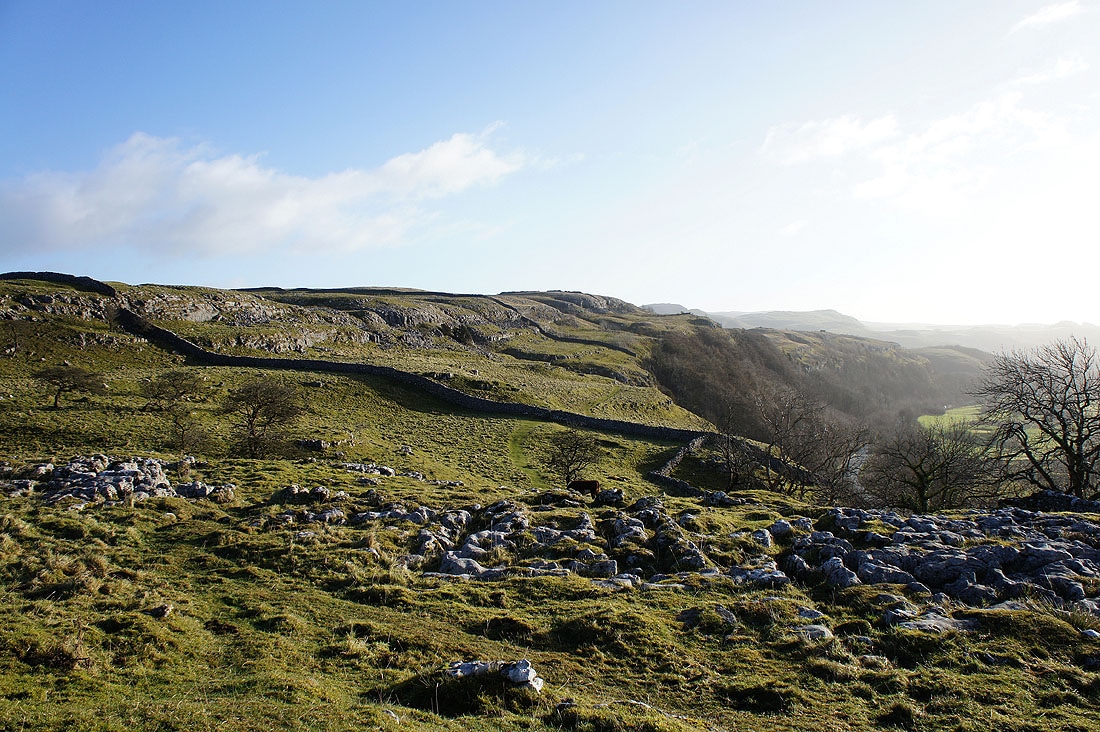
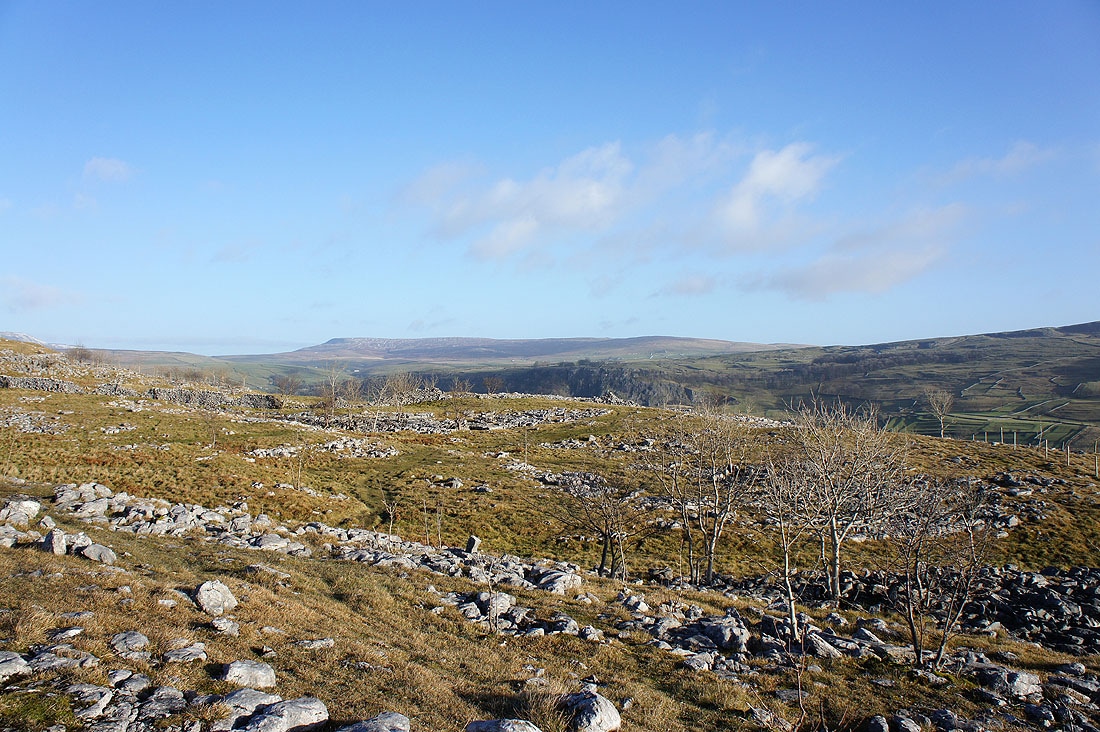
On the path above Giggleswick Scar
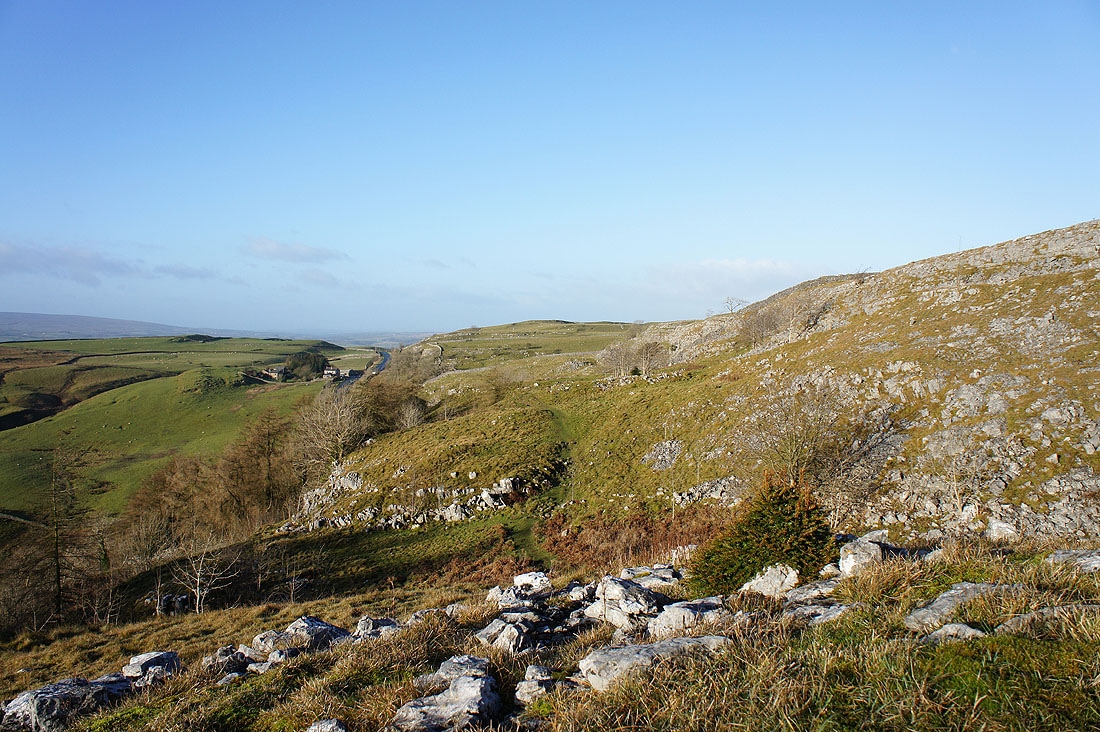
and looking back the other way
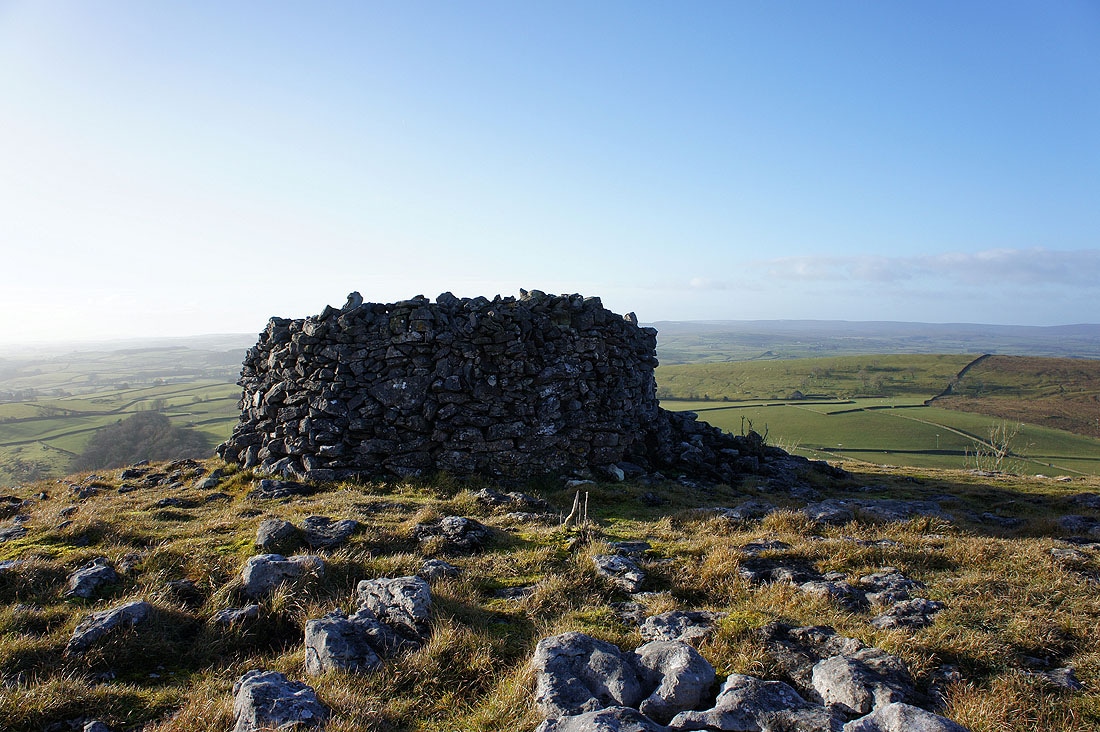
The Schoolboys Tower cairn
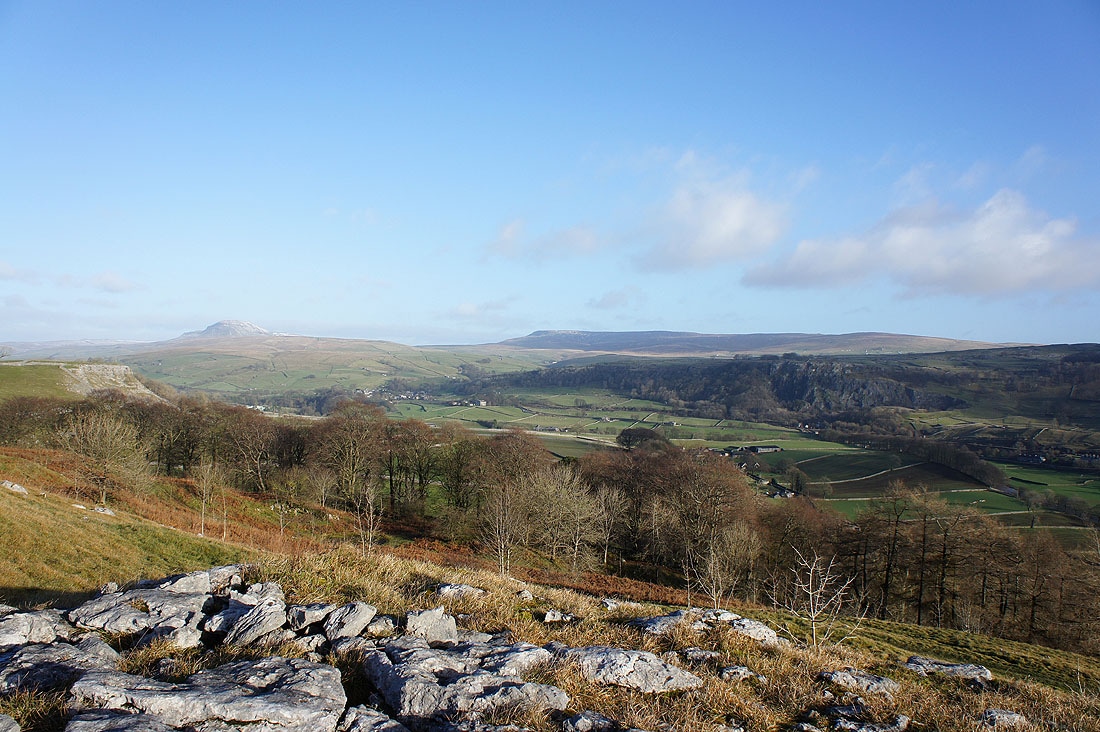
A view of Fountains Fell from the cairn
As I head down into Ribblesdale, Penyghent joins the scene. That's Reinsber Scar on the left of the picture.
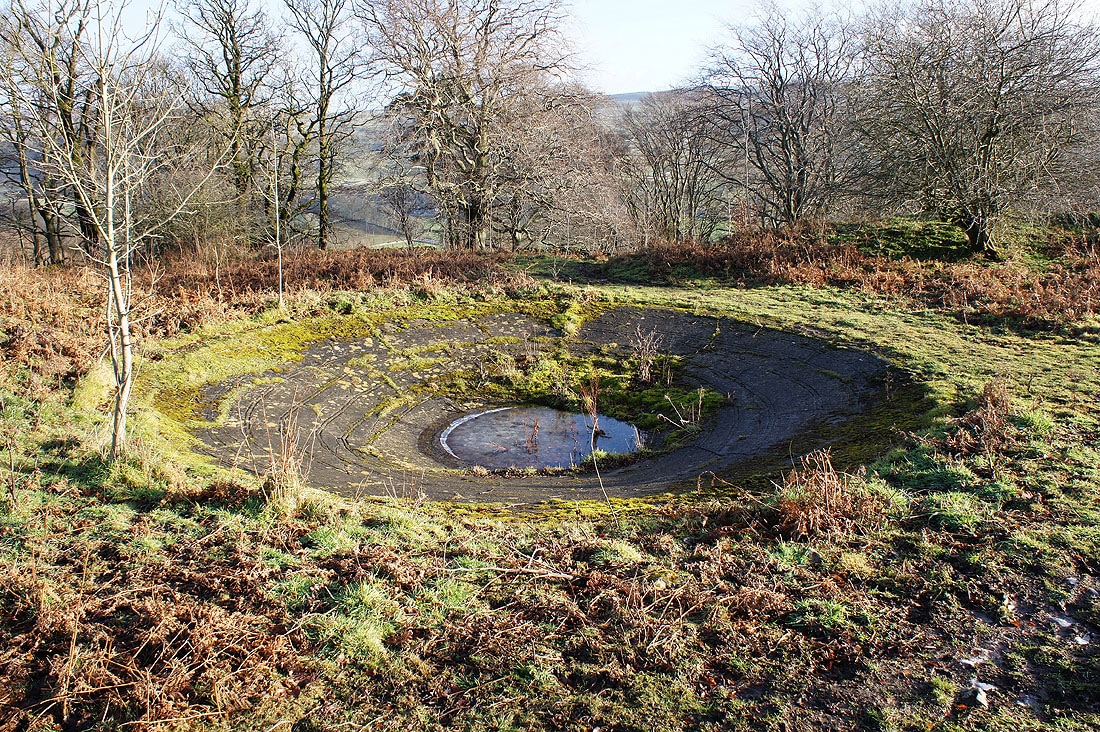
My route took me past this dew pond
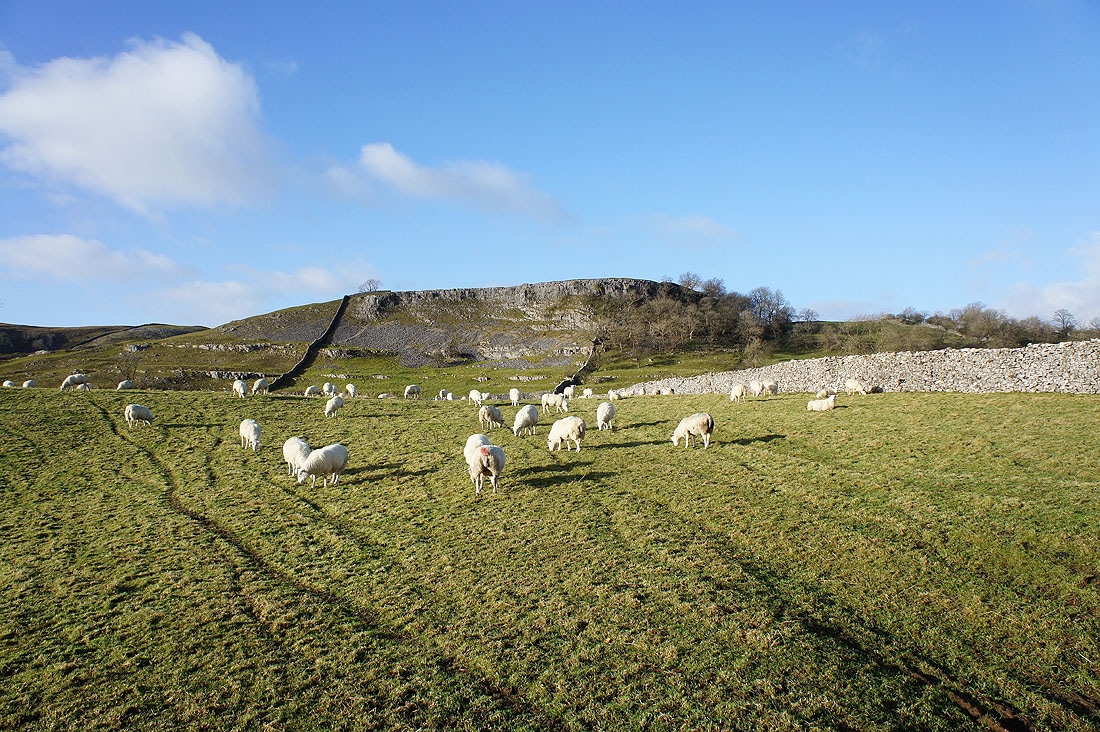
Passing beneath Reinsber Scar
I'm on the lane to Little Stainforth and there's a brief moment where I can see the Ribble
I've left Little Stainforth to head for Smearsett Scar but I had to turn around and take a picture of the view across Ribblesdale to Stainforth and Stainforth Scar
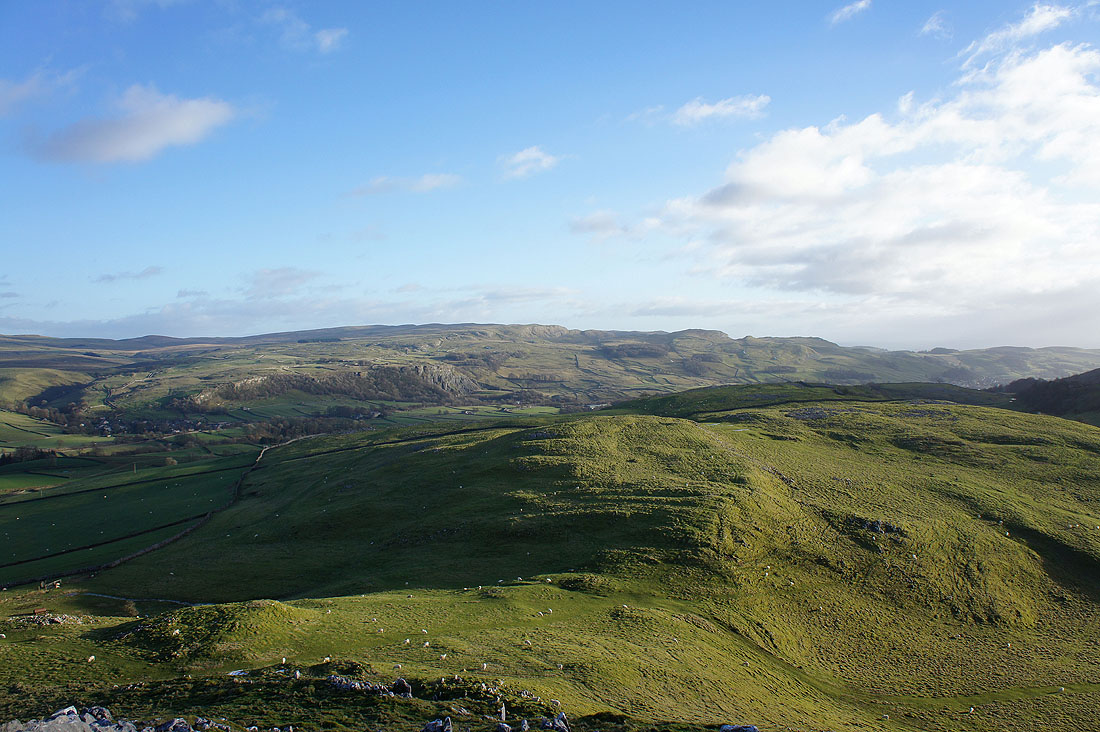
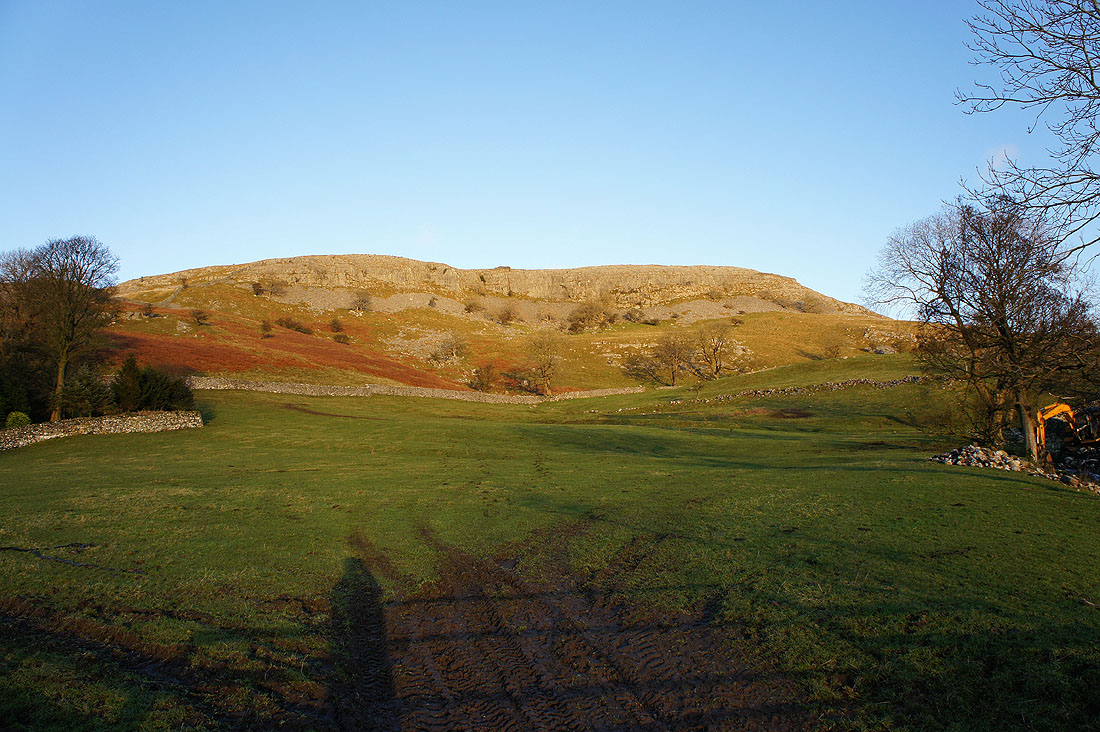
Pot Scar and Smearsett Scar
Pot Scar from Smearsett Scar
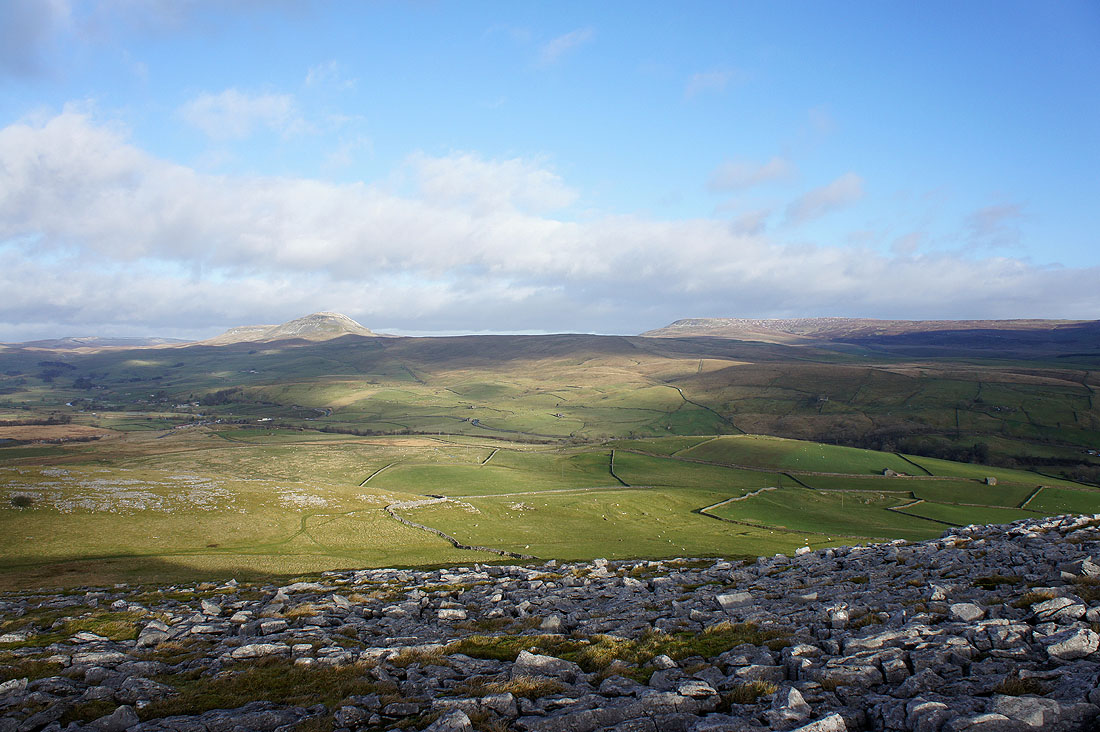
Penyghent and Fountains Fell
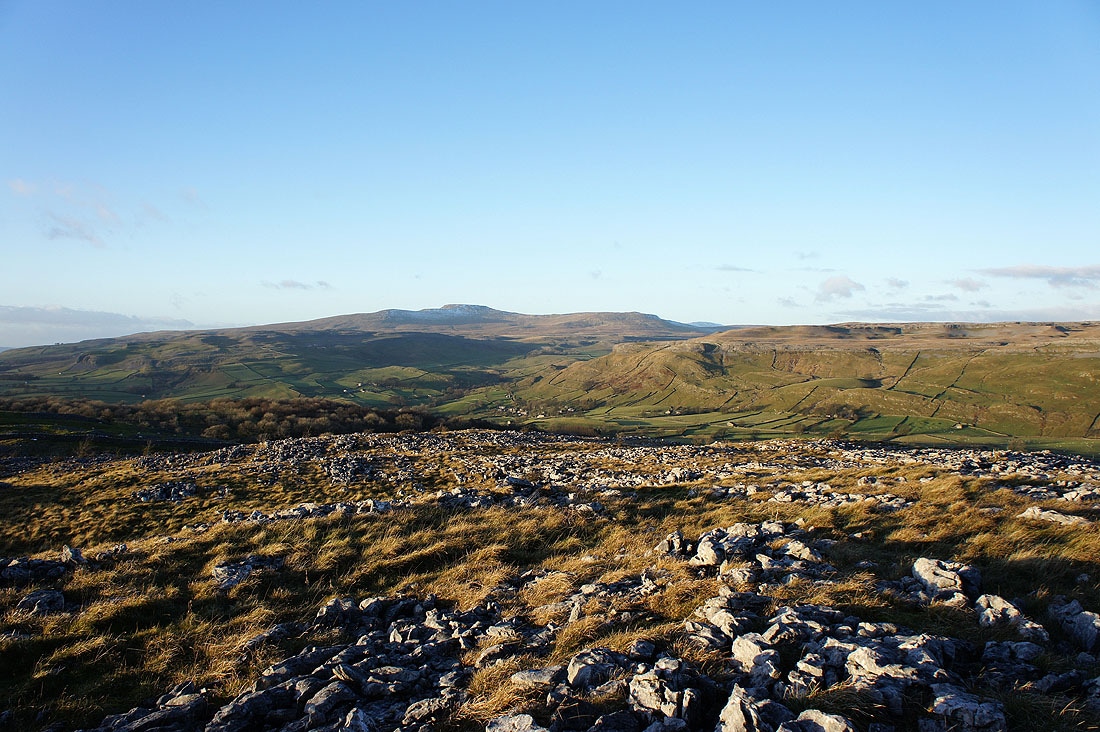
A fantastic view of Ingleborough
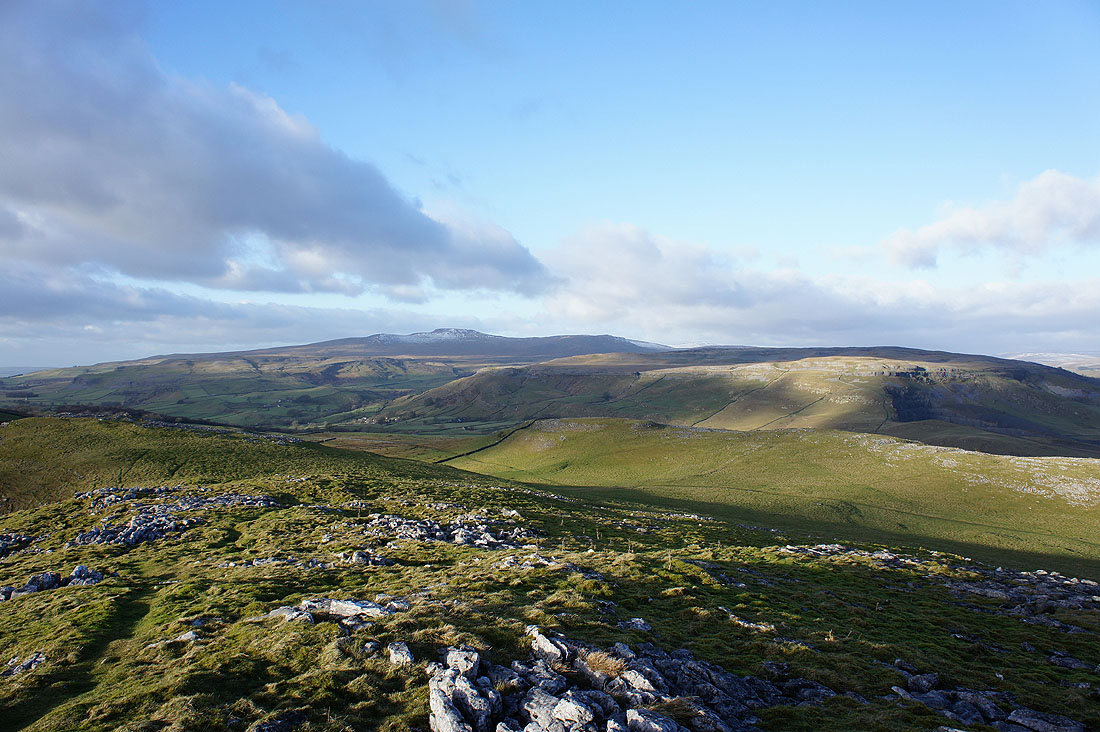
Attermire Scar and Warrendale Knotts on the other side of Ribblesdale
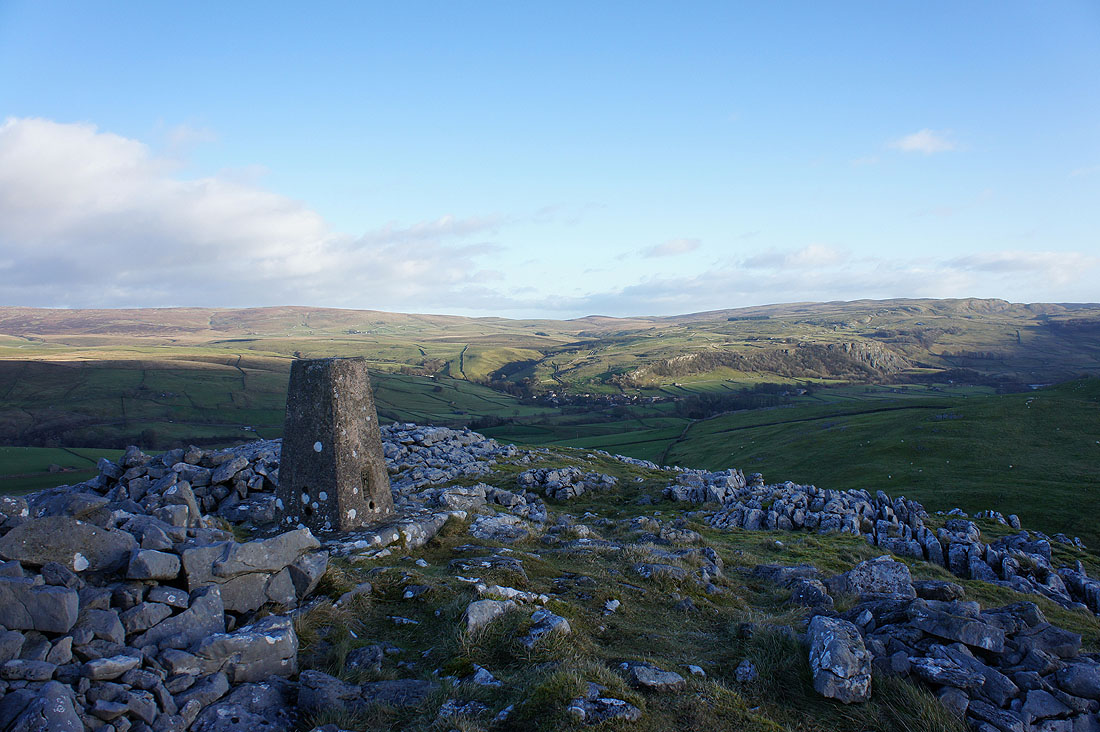
By the trig point on Smearsett Scar. The valley of Stainforth Beck that leads to Catrigg Force is to the right of the trig point.
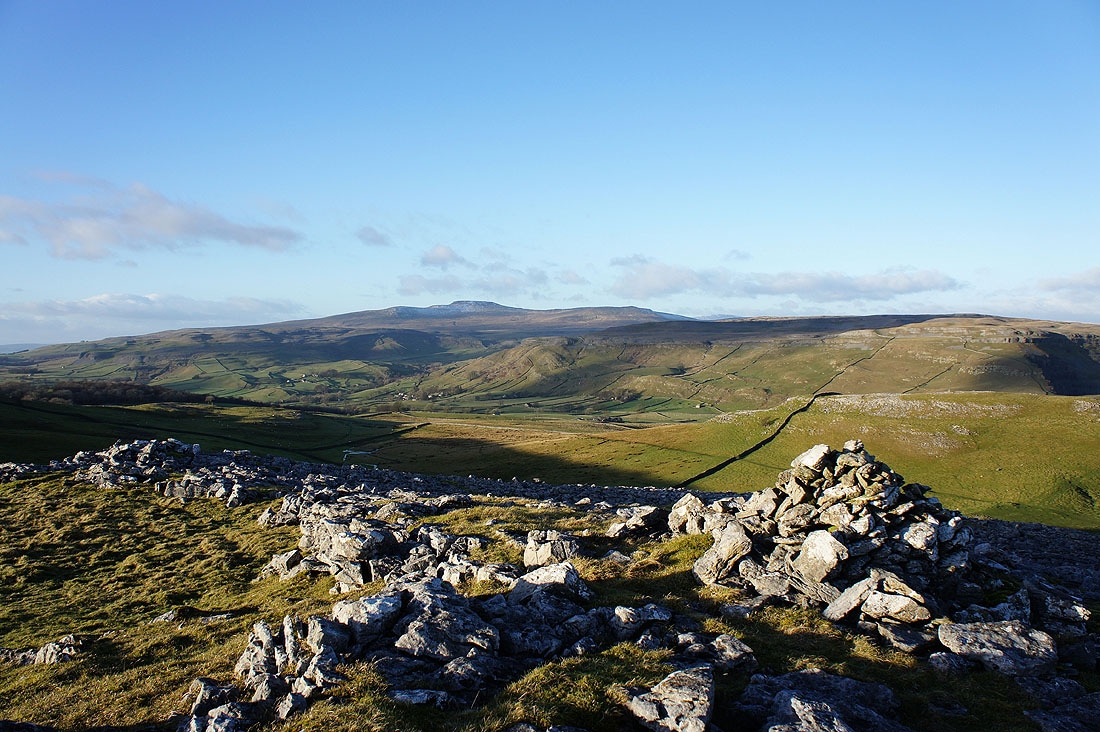
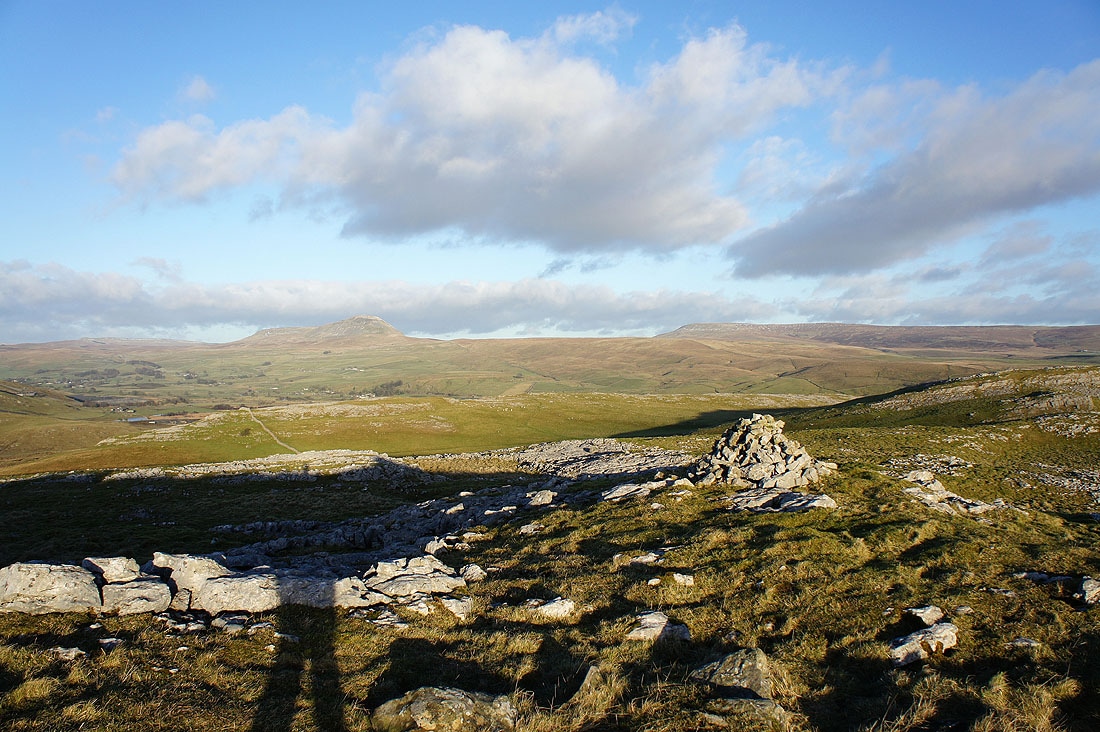
Wandering across to Pot Scar this cairn provided an excuse to stop for another shot of Ingleborough, as if I needed one
Penyghent and Fountains Fell
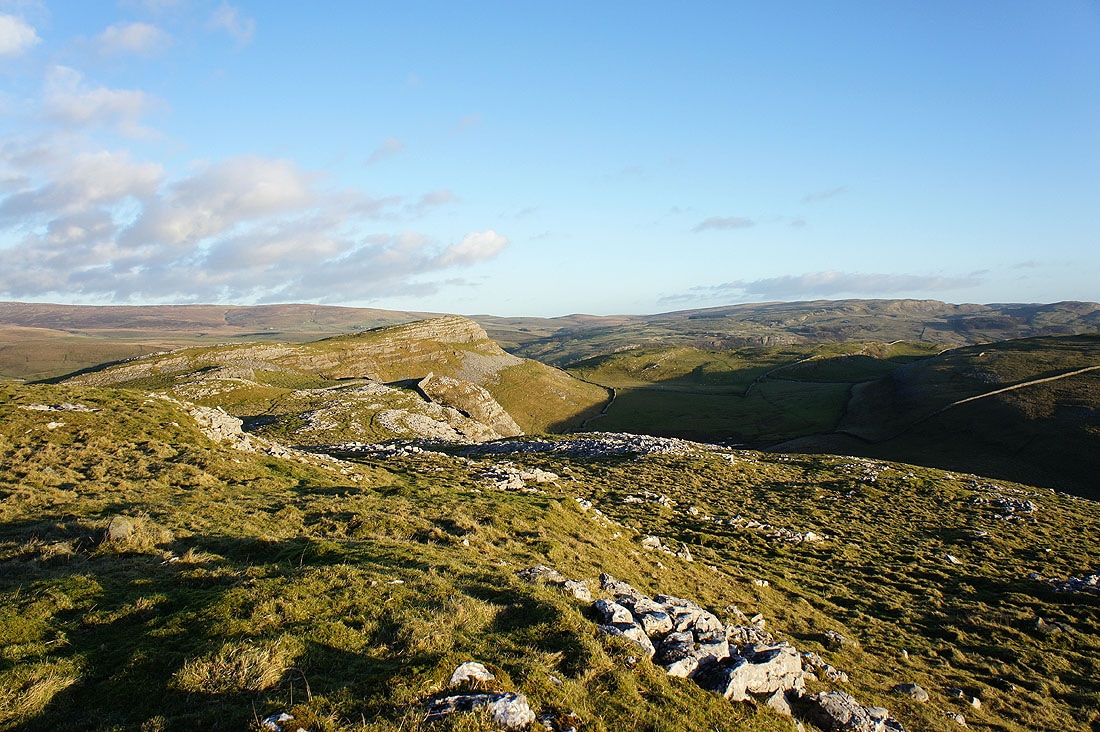
Looking back to Smearsett Scar from Pot Scar
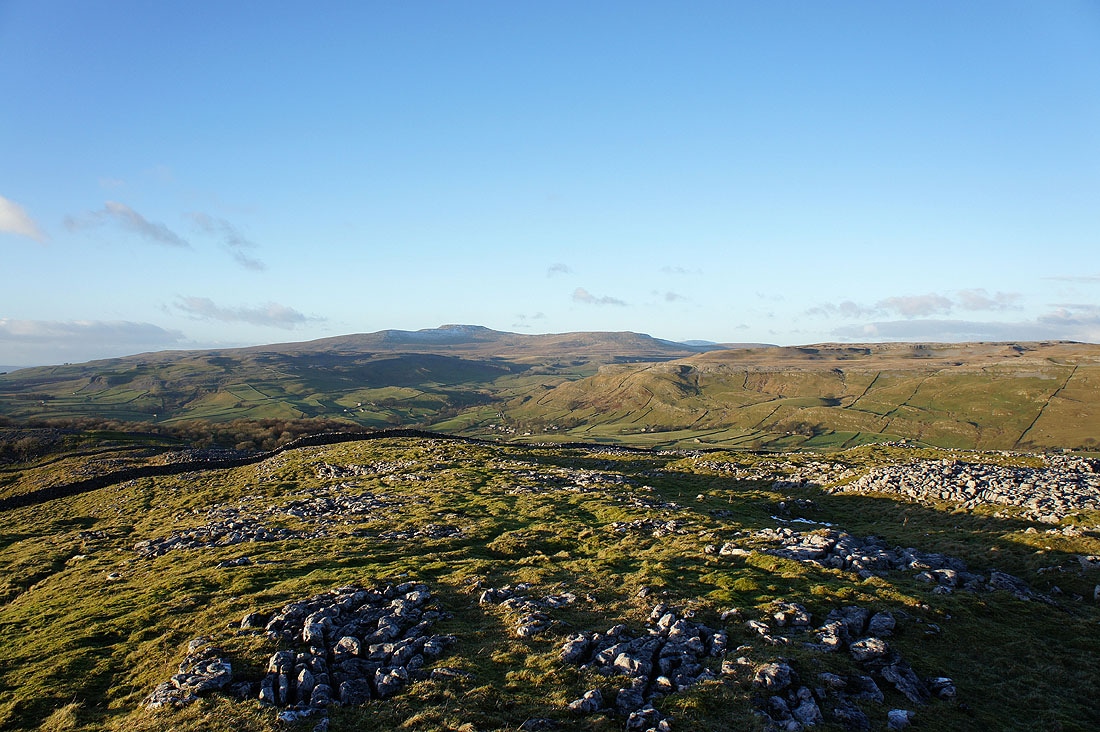
Ingleborough from Pot Scar. I think the view is even better than from Smearsett Scar.
I crossed the wall that's in the previous picture for this final shot and my favourite one
Pot Scar from Feizor
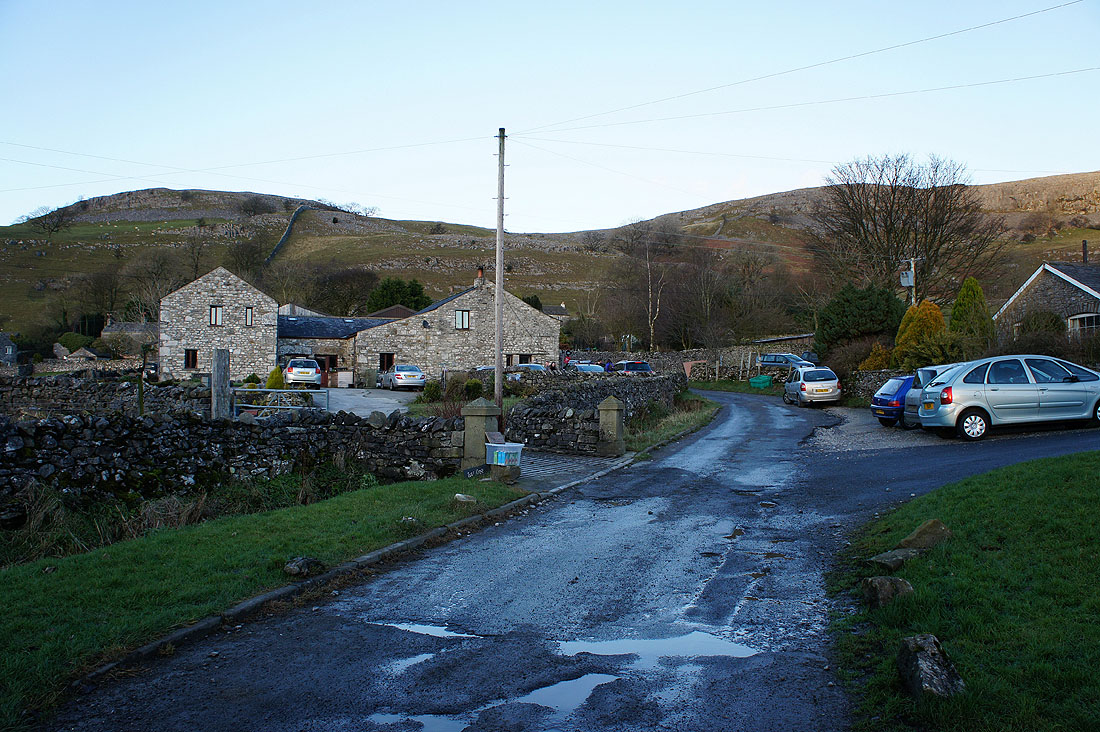
Passing through Feizor. No time to stop and take advantage of the tea-room I'm afraid.
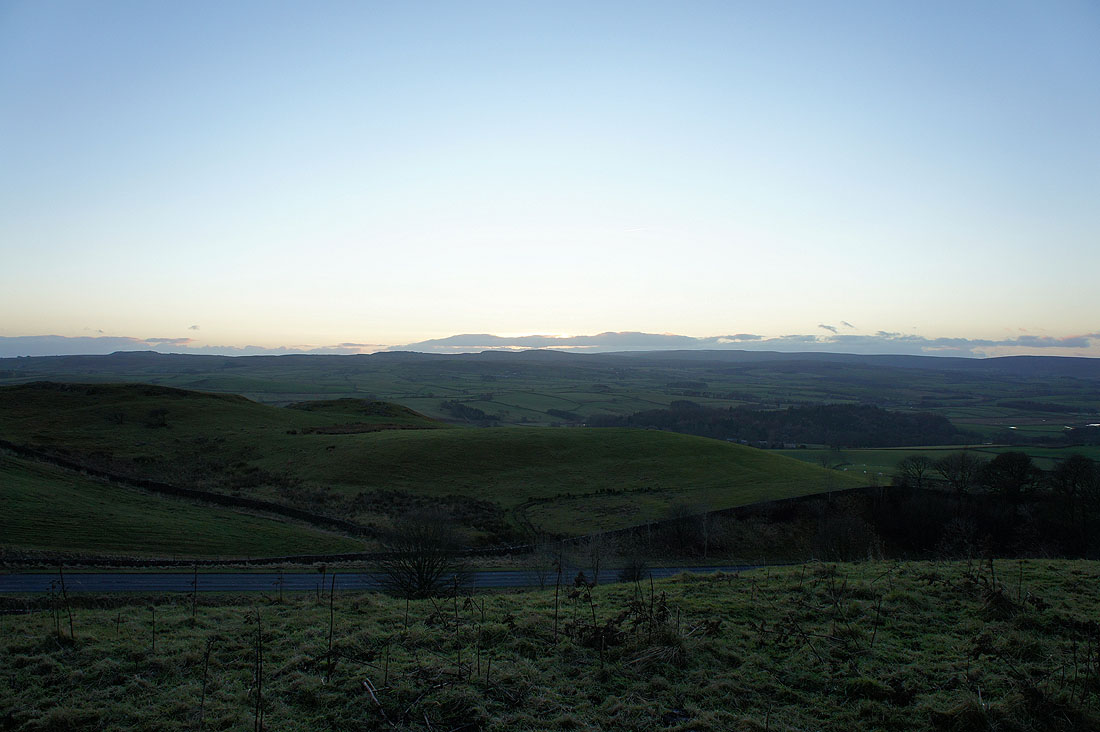
At the end of the walk and the sun has set behind the Forest of Bowland
